
If you are a noob on how to grout a tile backsplash? let me upgrade you to the next level.
The thing to ponder about having the tiling project done is focusing on dividing the job into sections.
So it will be heavenly convenient to fragment the work tiling job into three segments.
The first segment is to prepare the wall as drywall, the second one is to tile, and finally, your grout. It is advisable to keep the grout segment as the last procedure in the tiling project.
I tell you why it’ll cover all the mess you created while tiling and make the job easier and healthier to do. After doing the tiling installment, have a deep nap on this article to learn about how to finish it up with a pro-level grout game.
Yeah, you read it right. Grouting is the game in which you fill every level or block of tiling professionally.
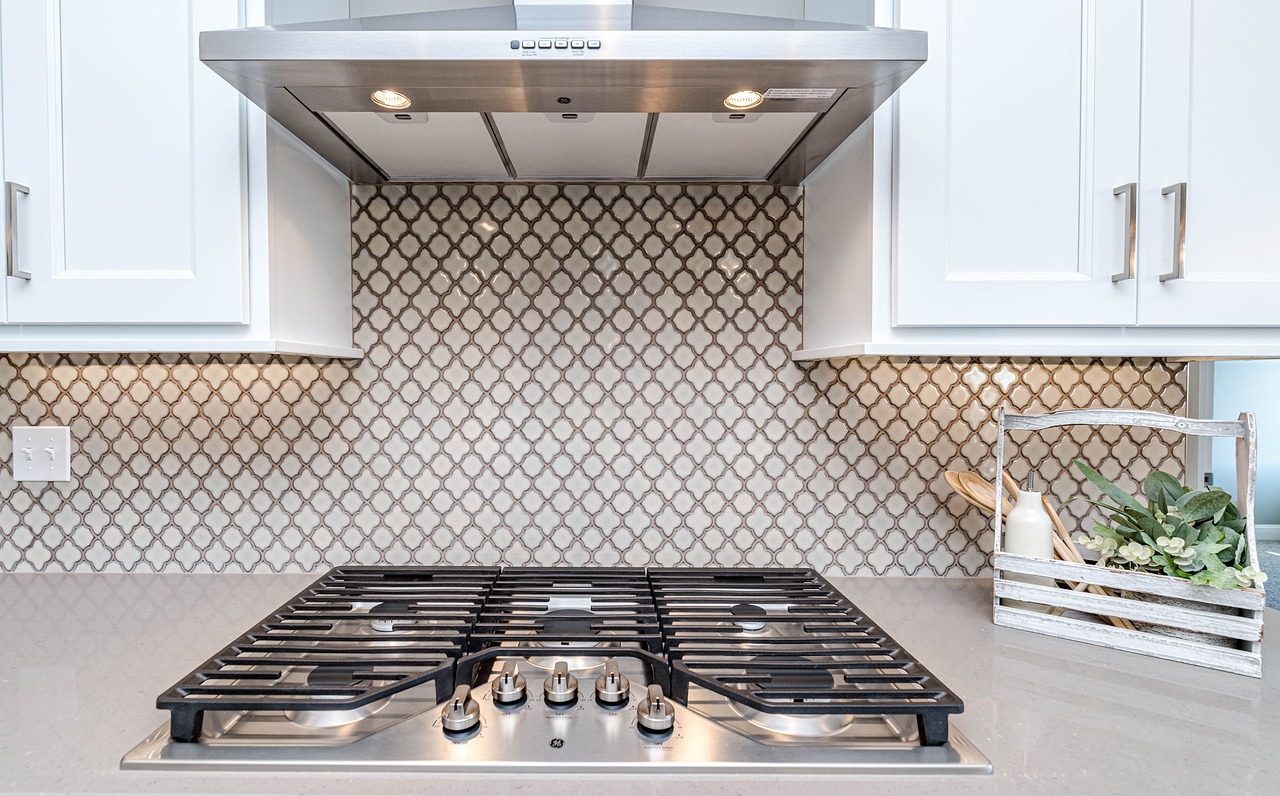
Grouting is the game-changer for your kitchen backsplash project. It can rule all the tiling jobs. It has the potential to transform your kitchen style into a luxurious interior by adding a rich and calm vibe to your space by letting it be done perfectly.
Also, it is a hazard to your kitchen style health by ruining it with a poor grout job.
After knowing the importance of grouting a backsplash, you just need to highlight how to grout a backsplash. Stay tuned for the steps, tips, and tricks on that topic.
How to Grout Backsplash
Let’s crash the procedure of grouting the backsplash into chunks:
Firstly choose the grout.
1. Choose A Grout Type
Mainly the type of grout you should pick up is dependent upon the margin size between tiles.
Choose a high-quality grout to shop if you are dealing with easier installation because it does not need a sealant, which honors the polymers in the mix.
Here following are the grout types. Wisely pick to tick the tiling project.
Unsanded
If you are going to stick baggy joints unsanded grout is not your cup of tea because it does not feature binding power as much as sanded grout has.
Although it may work best for the margins with measures (less than 1/8-inch wide) considered as narrow seams. One more thing if you don’t wish to achieve the sandy look it will be a good choice to pick as it has a polished texture.
Peachy Sanded
This type of grout has sand that maximizes the sticking factor and minimizes shrinkage. If you are dealing with medium-sized margins (between 1/8-inch to 3/8-inch wide) this kind of grout is a labor of love.
Choosing Between Sanded Versus Non-Sanded
A Sanded Version is Preferred:
All right, so it is not that complicated but not so simple as well to choose. Sanded grout is not expensive as it has sand in it, which helps it to bond and settle. It is welcoming for any grout dashes 1/8″ or wider.
A non-sanded grout is considered expensive as it uses polymers as a sticking factor.
It is a grout version that is expected to have a polished smooth texture which makes it perfect for thin grout lines. As I am told it is simpler to apply so it is an easy-breezy option to consider for shower walls.
Quarry type
Quarry type of grout is ideal for served terracotta, basically, it is a cement-based grout self-directed to work best for quarry or slate tiles. It is also skillful for wider grout seams between tiles (3/8-inch to ½-inch wide).
Epoxy
This kind of grout is made of epoxy adhesive and is less spongy letting it serve as less absorbent to liquids.
It is also stain-proof making it snatched for the kitchen where it will have to bravely face acids and grease.
Epoxy grout needs professional assistance as it dries fast and really arduous to apply. The recommendations for avoiding this grout are based on its difficult application.
Pre-Mix Versus Powder
For easier tasks I prefer to have a small packet of pre-mix, it is a safe and budget- healthier pick. It definitely saves time and tidies up.
But if you decide to take out a big amount of time from your busy routine, choose a baggy bucket of grout powder to buy. It will be covered after a while in this article.
Sealer Additive or Post-Seal
Ok so well talking about sealer there is an option of specialty sealer to pick that alternate water in the powder blend but be conscious of the fact of that mixing regular sealer in with grout is not a healthy action.
One more thing sealer should be applied exactly 3 days after the grout job. For sanded grout use a water-based sealer because it is a cement product obviously healing is done chemically.
2. Choose Grout Color
The heavenly right color pick will guide you to achieve an attractive and gumminess transformation. To play with the right grout color following are the considerable factors.
So are you thinking about picking white grout ponder about the element you have to be very keen to maintain its clean look.
Apart from the fact that white gets messy easily, white grout is generally considered to add to the appearance of your backsplash.
Besides as compared to dark gray grout white grout is more probably to depict grease and grime.
Darker pick with light tile is lit, color cohesion of light and dark is eye-catching. It will also make you worry-free about the spots and stains in the kitchen.
If you have an ornament on your tiles that needs to be highlighted go with a soft gray grout it will stand out from the pattern of your tiles moreover it will hide stains appearing on the tiles.
Multi-color grout can add an eye-enriched element to the style of your kitchen. It is amusing to go for a color that exists in the tiles.
After finalizing the grout type and color, this is now the application time.
Let’s begin grouting the Backsplash!
3. Collect the material
- Grout
- Grout sealer( if needed)
- Painter’s tape
- Caulk
- Grout float
- Two buckets
- Sponge
- Cloth
- Putty knife
Let’s jump into the dictionary practical of how to grout backsplash.
4. Safety Precautions
While completing the tile installation and sealing process, it’s essential to remember certain safety measures.
Always use gloves and safety glasses when handling grout and sealers, as they can cause skin and eye irritation. Additionally, ensure proper ventilation while using these products; many contain volatile organic compounds (VOCs), which can cause headaches or respiratory problems if inhaled in high concentrations.
Always follow the manufacturer’s instructions to ensure safe and effective use of these products. Lastly, keep all tools and materials out of reach of children and pets to avoid accidental ingestion or injury.
Remember, safety should never be compromised for the sake of home improvement tasks.
5. Grouting
Step 1: Clean the Tiles
While cleaning the tiles, remember to frequently rinse the sponge to keep it clean. This will help to avoid grout haze on the tile surface. Use the sponge in a circular motion, similar to buffing, to remove the grout residue.
Avoid using too much force while wiping, as this may pull the grout out from between the tiles. After the initial cleaning, let the grout set for another hour and repeat the cleaning process to remove any remaining grout haze.
The goal is to achieve a smooth, clean finish that enhances the beauty of your backsplash.
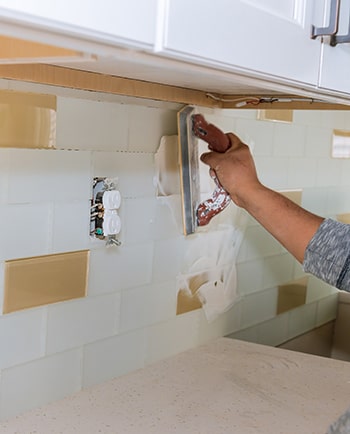
Step 2: Apply the Grout
Use your grout float to apply the grout diagonally across the tiles. Press firmly to ensure the grout fills all the gaps between the tiles.
After the initial application, it’s time to fine-tune your work. This process involves removing the excess grout that may be sitting on the surface of your tiles. A few minutes after you’ve applied the grout, it will start to harden.
This is the ideal time to begin cleaning up. With the edge of your grout float, sweep diagonally across the tiles to scoop up excess grout. Be careful not to dig into the joints and remove grout that’s filling the gaps.
Once you’ve removed as much grout as you can with the float, it’s time to use the sponge. Dampen the sponge in your bucket of water and wring it out well. It should be damp, but not dripping.
Then, with the sponge flat against the wall, wipe in a circular motion to clean the tile faces and smooth the grout joints. Rinse the sponge frequently to keep it clean. Repeat this process until all tiles are clean and the grout lines are smooth and uniform.
Step 3: Let the Grout Dry
Once you’ve applied the grout to all your tiles, it’s important to let it dry completely before proceeding. This will usually take between 24-48 hours depending on the type of grout you’ve chosen. Be sure to follow the instructions on your particular product for best results.
Step 4: Wipe Away Excess Grout
Once the grout has had time to dry, it’s time to remove any excess. Use a damp cloth and gently wipe away any residue or clumps that may have formed. Make sure to get into all the crevices and remove any grout that may have been left behind.
Step 5: Seal the Grout
To apply the sealer, use a small brush or a sealer applicator bottle. Be meticulous in this step and make sure that all the grout lines are covered with the sealer, but avoid getting too much on the tile surfaces.
Let the sealer dry in accordance with the manufacturer’s instructions – this typically ranges from a couple of hours to overnight. After the initial drying period, wipe off any residue from the tile surface.
Depending on the type of sealer, you may need to apply a second coat for optimum protection. Sealing the grout is a crucial step to maintain the look and durability of your tile work.
Step 6: Clean the Tile Again
Once your sealer has had time to set, you’ll want to give the tile a final cleaning before stepping back to admire your beautiful new backsplash. Use a mild cleaner and damp cloth or sponge to remove any residue or dirt that may have been left behind by the sealer.
Step 7: Enjoy Your New Backsplash
Congratulations! You’ve successfully grouted your backsplash in just seven easy steps. Now all you need to do is admire your work and enjoy the backsplash you’ve been dreaming of!
Tips for Grouting Your Backsplash
Grouting your backsplash can seem like a daunting task, but with these simple tips, you can make the process go as smoothly as possible.
- If possible, start each grout line from the center of the tile. This will help prevent any gaps or lumps in your lines.
- Make sure to use a good quality sealer that is designed for ceramic tile and backsplashes.
- Don’t forget to clean up after yourself as you go–it’s much easier than trying to clean up a big mess at the end.
- Allow plenty of time for your sealer to dry before you start using the backsplash.
- When applying the sealer, make sure to use even and consistent strokes and try not to leave any streaks or lines behind.
- Once your grout is completely dry, it’s important to give your tile a final cleaning to remove any residue or dirt that may have been left behind by the sealer.
Related Topics:
Conclusion
Grouting your backsplash is an essential step in transforming any kitchen or bathroom. By following these seven simple steps, you can easily get the job done right and have a beautifully tiled backsplash in no time!
With just a few tools and some patience, grouting your own backsplash is an achievable goal for even the most inexperienced DIYer. So don’t be afraid to give it a try–you won’t regret it!
If you ever get stuck or have any questions, don’t hesitate to reach out to a professional for help. At the end of the day, your backsplash should look perfect and last you many years–it’s worth it to do it right! Happy grouting!
FAQs
Q: How do I know when my grout is dry?
Grout usually takes around 24 hours to dry completely. You can check the consistency of the grout by running your finger along it–if it’s still soft, it’s not ready yet. It also helps to test it in an inconspicuous spot before you grout the entire area.
Q: Can I paint my grout?
Yes, you can paint your grout if you’re looking for a way to add color or change the look of your backsplash. Before painting, make sure your grout is completely clean and dry. Then, use a special sealer designed for painted grout to ensure it will last.
Wow that was strange. I just wrote an extremely long comment but after I clicked submit my comment didn’t show up. Grrrr… well I’m not writing all that over again. Anyways, just wanted to say excellent blog!
Thank you for sharing excellent informations. Your web-site is so cool. I am impressed by the details that you’ve on this website. It reveals how nicely you perceive this subject. Bookmarked this web page, will come back for more articles. You, my pal, ROCK! I found just the information I already searched all over the place and just couldn’t come across. What an ideal website.