
Grout shouldn’t tend to be an afterthought as it is the filler between tiles. If your finished tiles filler project is done untidy the whole look of the room seems to be messy.
The grout should be clean, uniform, tidy, and smooth in order to preserve the whole aesthetic scenery of an ideal bedroom. This DIY task should be done near to or equal to the professional level.
For a smooth and flowy appliance of grout, you need to mix it correctly. The consistent paste will cover the areas easily and help you to achieve even lines between tiles for a silky smooth finishing feel.
Do you feel hesitation while buying or picking a grout type?
Or do you get confused over the question of how to mix grout? After reading this article you will feel confused and hesitation free on selecting grout for your tiles and about how to mix grout.
The topic of mixing sanded and un-sanded grout will wipe away all your worries regarding grout.
Have a deep thought, if the joints between tiles are less than ⅛”-thick, un-sanded grout will be easier to use and adhere better in those narrow margins.
Go with sanded grout for the best patch-up and less shrinkage to join wider margins of ⅛-inch to ½-inch.
Now you conceptually arrived at the correct sound grout for your tiles. So you are good to mingle.
If you are in a hurry! Have the main steps of the procedure:
- Pick the accurate grout for the task
- Choose a grout as per the requirement
- By following the manufacturer’s instructed ratio to mix water and grout
- Stir the solution of water and grout with a grout-mixing knife
- Mix it until it gets consistent, add water or powder to get consistency
- Leave the solution for 10 minutes to rest
- After 10 minutes mix it with a knife once more to get rid of lumps
To have a full ride on the swing of how to mix grout continue pondering the article!
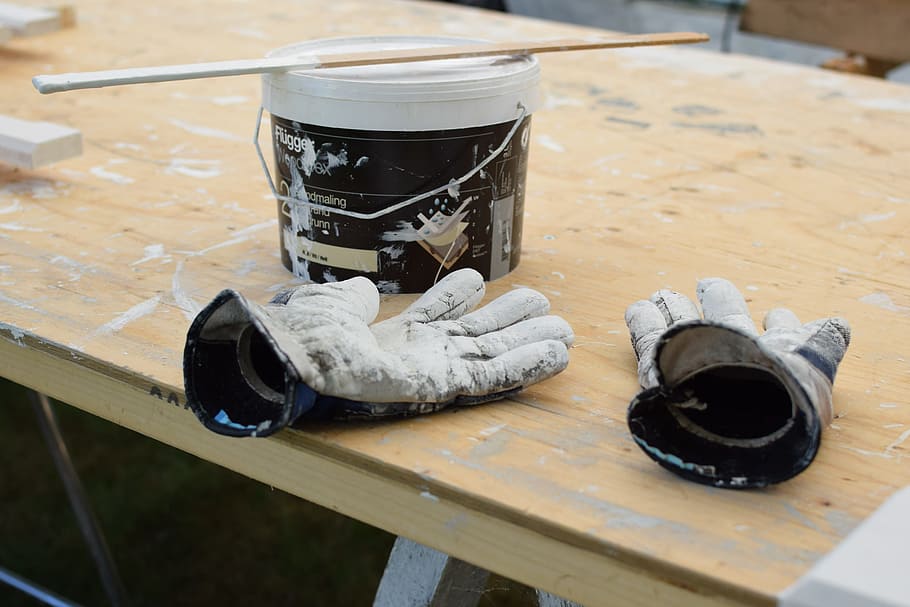
Tools Required
- Bucket
- Caulk gun
- Grout float
- Margin trowel
- Microfiber towel
- Putty knife
- Shop vacuum
- Tiling sponge
- Utility knife
Materials Required
- Caulk
- Grout
- Masking tape
Before selecting the accurate grout for your tiles have a quick view of grout types.
Grout Types:
What is Sanded Grout?
Sanded grout is a combination of filler particles, cement, pigment, and sand in a dry state. It is advised to use sanded grout for margins wider than ⅛ inch for the fact that the sand works better at remaining in the joints. There are fewer chances of its breakage as it cures.
It presents a coarser, grainy surface to touch and display because of the amount of sand available in this type of grout.
It is considered safe for delicate flooring such as marble, polished or honed tile they may get scratched with sanded grout.
Any type of tiling you are wearing in your room you must want to clean off the grouting mess as soon as possible before it gets stubbornly hard. After cleaning off the excess grout give sanded grout a good 72 hours to settle the seal to avoid spotting and discoloration.
A variety of colors are available in sanded grout. Pick the color by following your tiling aesthetic theme.
What is Unsanded Grout?

The unsanded grout particles formula is as same as sanded grout, the difference is only the absence of sand of course.
This type of grout without the bulk of sand works better for narrow joints and is good for a silky smooth finish. But of course, it has less power to bind objects than sanded grout.
Such as marble tile and most mosaics works best, as it is designed for scratch-prone tile material according to Austin, Texas-based tile setter Sean Chavoustie.
While it needed more effort to reach into the margins between tiles, unsanded grout worked as stickier. To avoid the collapsing of un-sanded grout you must need to ensure that each margin is completely filled.
Select a grout additive as per the requirement
Sealant Additives
Sealant is a premade- solution, easy-to-use formulated with the combination of grout powder in lieu of water.
Sealant was created with the idea of making grout joints less solvent for water absorption, keeping the grout safe against stains, mildew, and mold. It takes the place of secondary sealants and is generally applied after installation.
Sealants enhance the quality of grout’s color. It is also known for maintaining the shade of color. Some sealant additive creators claim that it empowers the grout.
Before picking up a sealant, have a compatibility match with your grout and sealant.
Some sealants are particularly designed for sanded grout and some of them are designed for unsanded grout. Pick wisely by having the correct knowledge about your grot type.
According to Chavoustie, some products’ chemistry formulated together does not match well. They are generally considered durable in chilling/fussing conditions.
Colorant Additives
If ready-made grout colors in the market are not your cup of tea. You can make your grout tea as per your taste by personalizing the white grout with grout colorants in the flooring industry.
You can easily and simply add these powdered pigments to your grout to clarify your tiling space. You can customize the pigment level by adjusting the amount to get your favorite shade.
Having the knowledge into your account that when the grout is wet it’ll look darker but after drying it will be a bit lighter than what you saw already. To get a more exact match, follow the manufacturer’s set of instructions for adjusting the ratios of pigment.
To add ambiance to the margins between tiles you are refilling, consider putting glitters in any type or color of shiny textures to your grout solution. The pigment can also do the job of sparkling in the dark.
Latex Additives
To enhance adhesion, workability, durability, strong impression, and freeze-thaw resistance latex additives are added to grout.
Latex additives can maximize the bond power and turn the grout into a tougher cure. The potential advantage of this additive is making the tile joints less affected by water digestion.
Step 1: Gather Your Supplies
The first step in mixing grout is to make sure you have the necessary supplies on hand. You’ll need a bucket, some water, and either powdered or premixed grout (depending on which type you’re using). You’ll also need a mixing tool like a trowel or drill-powered mixer.
Step 2: Prepare Your Grout
If you’re using powdered grout, you’ll need to mix it with water according to the instructions on the package. Start by adding just enough water to make a thick paste. Then, gradually add more water until you get the desired consistency.
If you’re using premixed grout, there’s no need to mix it with water. However, it is important that you stir it well before using it in order to make sure all of the ingredients are evenly distributed.
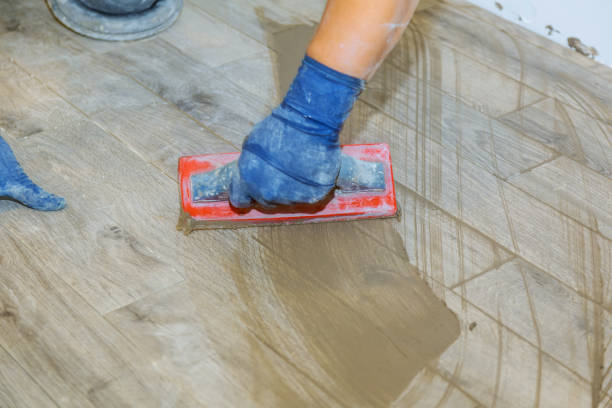
Step 3: Apply Grout
Once you have your grout mixed, it’s time to start applying it. Start by scooping some of the grout onto your trowel and spreading it over the area you want to fill. Make sure you press the grout firmly into all of the nooks and crannies between tiles.
Step 4: Smooth Out the Grout
After you’ve applied the grout, it’s time to smooth it out. You can do this by running your trowel or a damp sponge over the surface of the tiles. This will help ensure that all of the gaps between the tiles are filled and there aren’t any bumps or ridges in your grout.
Step 5: Clean Up

Once you’ve finished smoothing out the grout, it’s time to clean up any excess grout that may have been left behind.
You can do this by taking a damp sponge and wiping away any areas where there are visible clumps of grout. Make sure you don’t leave any grout behind, as this could cause problems later on.
Step 6: Let the Grout Dry
After you’ve finished cleaning up, it’s important to let your grout dry before you move on to the next step. The amount of time it takes for the grout to fully dry will depend on a few factors, such as the type of grout you used and the temperature in the room.
Generally speaking, it’s best to give the grout at least 24 hours to dry before you move on to the next step.
Step 7: Remove Excess Grout
Once your grout has fully dried, it’s time to remove any excess grout that may be left from the application process.
This can be done by taking a damp cloth and wiping away any areas where there are visible clumps of grout. Make sure you don’t scrub too hard, as this could damage the tiles.
Step 8: Seal the Grout
After you’ve removed any excess grout, it’s time to seal the grout. This will help protect the grout from dirt and other debris, as well as make it easier to clean in the future.
There are a variety of grout sealants available on the market, so make sure you choose one that is suitable for your needs.
Step 9: Enjoy Your Work
Once you’ve finished sealing the grout, it’s time to admire your hard work! Take a step back and appreciate the beauty and satisfaction that comes with a job well done. After all your hard work, you can finally enjoy the fruits of your labor.
Tips To Keep In Mind
Mixing grout is not the easiest of tasks, but with patience and practice, you can become a master grout mixer in no time. Here are a few tips to keep in mind while mixing your grout:
- Always make sure to read the manufacturer’s instructions carefully before you begin mixing.
- Start with small batches so that you can get used to the process of mixing the grout and ensure that you get the desired consistency.
- If you’re using a pre-mixed grout, make sure it is at room temperature before you begin working with it.
- Move quickly when applying the grout – once it starts to set, it can be difficult to work with.
- Keep a damp cloth nearby to wipe away any excess grout that may be left from the application process.
- Don’t forget to seal the grout after you’ve finished applying it – this will help protect it and make it easier to clean in the future.
Conclusion
Mixing grout may not be the most glamorous of tasks, but it doesn’t have to be a dreaded chore. With the right tools and a bit of practice, you can become an expert grout mixer in no time.
If you follow these nine simple steps, you’ll be ready to tackle any grouting project with confidence. So, get out there and enjoy mixing your own grout!
Mixing grout can also be a creative endeavor. Have fun experimenting with different colors, textures, and mixes to create unique designs. And remember, when it comes to grouting, practice makes perfect!
FAQs
Q: What is the ratio for mixing grout?
Generally, you need to add quarts of water to 25 pounds of powdered grout. But the ratio can differ slightly from product to product following the manufacturer’s instructions for more convenience.
Q: What is the correct way to mix grout?
To achieve the perfect ratio of grout powder and water follow the manufacturer’s guidelines heartedly. Add powder to the water or water to the powder, and use a knife or trowel specially designed to mix the grout to mix it up together by tilting your bucket at a 45-degree angle.
Let the grout stay for taking rest for 10 minutes and mix it again in order to avoid lumps in the paste.
Q: What happens if tile grout is too wet?
If you accidentally pour more water than is required into grout powder and it becomes the wet solution, to thicken it you just need to add more powder.
Never try to apply wet grout because it is not good at adhering correctly. It would create a big mess for you by dripping out and smearing. Even wet grout after drying presents shrink and crack results.
Related Topics:
I conceive other website owners should take this internet site as an example , very clean and excellent user genial design.
I really like assembling useful info, this post has got me even more info! .