
In the world of DIY home improvements, mastering the use of versatile tools can make a world of difference in your projects. One such tool is the oscillating tool, a powerful and multipurpose device that can handle a variety of tasks.
In this guide, we will specifically focus on how to cut laminate flooring with an oscillating tool. We will take you through a step-by-step process, ensuring you can achieve precise cuts and a professional finish on your laminate flooring.
The importance of using a proper cutting technique when dealing with laminate flooring cannot be overstated.
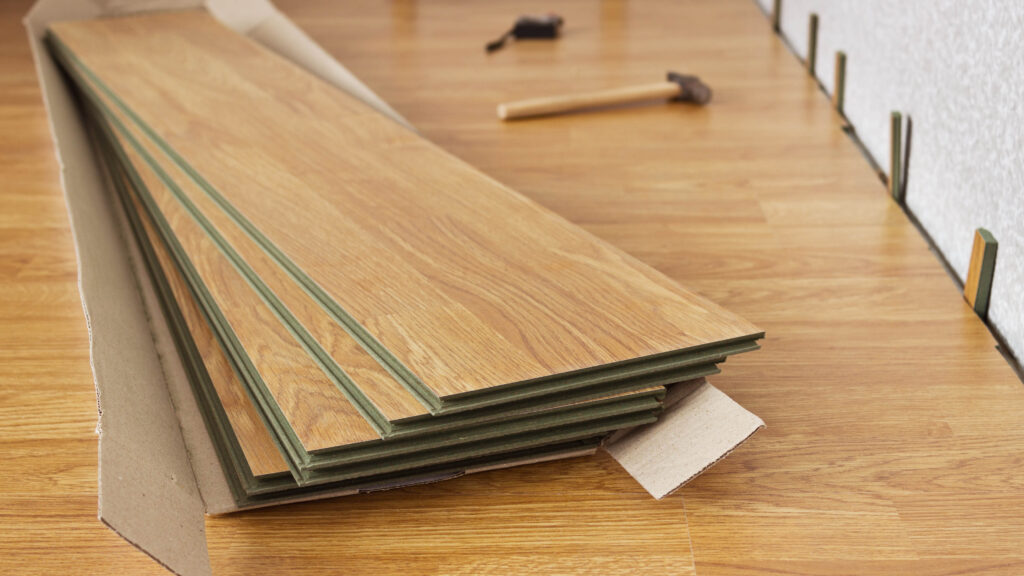
Laminate flooring, while durable and aesthetically pleasing, is a layered material with specific properties that require careful handling.
Cutting it inaccurately can lead to chipped edges, imperfect fits, and ultimately, a subpar appearance of your floor. Additionally, mistakes during the cutting process can result in material waste, causing you to spend more money and time on your project.
That’s why mastering the technique of cutting laminate flooring with an oscillating tool is crucial not only does it assure a precise cut, but it also guarantees a professionally finished look and long-lasting performance of your flooring.
Understanding the Oscillating Tool
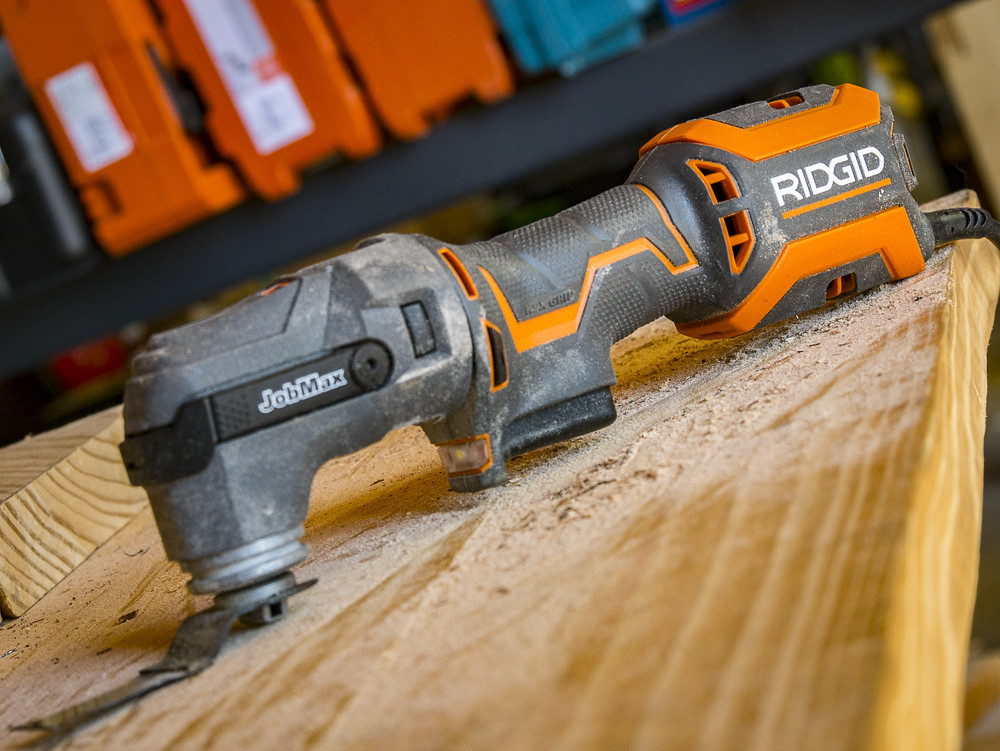
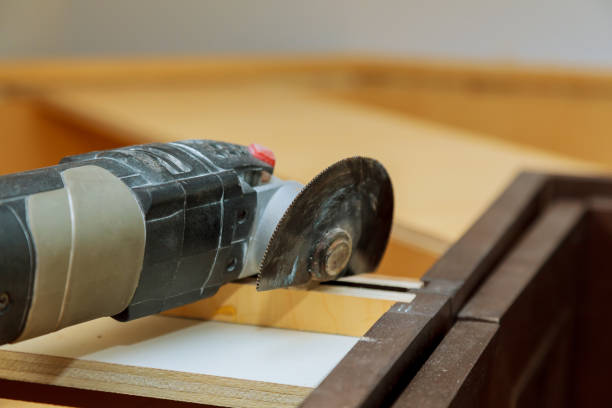
An oscillating tool, also known as a multi-tool, is a compact handheld device designed to perform a multitude of tasks by oscillating (moving back and forth) at a high-speed frequency.
This tool is incredibly versatile because it can be equipped with a variety of attachments, enabling it to carry out tasks such as cutting, grinding, scraping, sanding, and more.
The oscillating tool operates by rapidly moving its accessory attachment in a side-to-side motion, typically at an oscillation angle of 3.2 degrees.
This enables it to deliver precision cuts with minimal dust and without damaging the surrounding material. The speed of oscillation can often be adjusted to suit different materials and tasks, making it a highly adaptable tool.
When it comes to cutting laminate flooring, the oscillating tool is often equipped with a fine-toothed blade that allows for precise, clean cuts.
The blade’s movement is fast yet contained, reducing the chances of chipping or splintering the laminate. This combination of control and speed makes the oscillating tool an excellent choice for cutting laminate flooring.
Benefits of Using an Oscillating Tool
There are several benefits to using an oscillating tool for cutting laminate flooring. Firstly, it offers a high level of precision, which is essential for achieving a professional finish.
Unlike other cutting tools, the oscillating tool’s swift and controlled motion reduces the risk of mistakes, ensuring a neat and accurate cut every time.
Secondly, an oscillating tool is user-friendly and safe. Its compact size and lightweight design make it easy to handle, even for individuals new to DIY projects.
Its oscillation frequency can also be adjusted to match the requirements of the task at hand, giving the user complete control.
Thirdly, the oscillating tool is versatile, and capable of handling various tasks thanks to its interchangeable attachments.
Besides cutting, it can also grind, scrape, and sand, proving its worth in many aspects of your flooring project.
Lastly, using an oscillating tool for cutting laminate flooring minimizes waste and damage. With an oscillating tool, you can achieve clean cuts without causing chipping or splintering, reducing material waste and ensuring the longevity of your flooring.
Safety Precautions
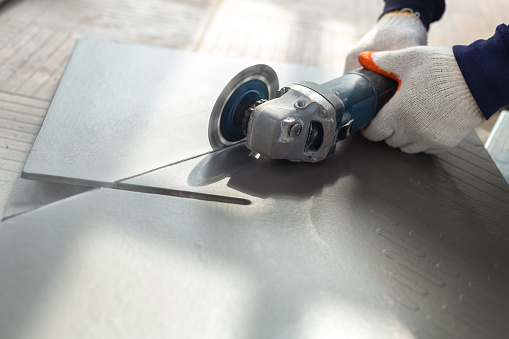
When handling an oscillating tool, particularly for cutting laminate flooring, safety is paramount.
It’s vital to wear the appropriate safety gear, including safety glasses to shield your eyes from dust and fragments, gloves to protect your hands from sharp edges, and ear protection to minimize noise exposure.
Remember to secure the laminate flooring before cutting to prevent unwanted movements that could lead to accidents.
It’s also important to keep your work area clean and clutter-free to eliminate tripping hazards. Always ensure the tool is switched off when changing attachments and avoid forcing the tool – let it do the work at its own pace.
These precautions not only safeguard your well-being but also contribute to the overall success and quality of your DIY project.
Required Safety Equipment
When using an oscillating tool to cut laminate flooring, there are several key pieces of safety equipment that you need to have on hand to ensure your protection:
- Safety glasses: These are essential to protect your eyes from sawdust, laminate particles, and other debris that can be produced during the cutting process.
- Gloves: A sturdy pair of work gloves can protect your hands from potential cuts, splinters, and abrasions.
- Ear protection: Cutting laminate flooring with an oscillating tool can be noisy, so it’s important to have ear plugs or noise-canceling earmuffs to protect your hearing.
- Dust mask: This helps to prevent inhalation of dust and small particles that are often generated during cutting.
- Safety shoes: Wear closed-toe shoes to keep your feet safe from falling pieces of laminate or tools.
Preparing the Laminate Flooring
Before you start cutting your laminate flooring with an oscillating tool, it’s crucial to prepare your materials properly. Here’s a step-by-step guide on how to do that:
Measurement:
Use a tape measure to determine the size of the area where the laminate flooring will be installed. Accurately note down the length and width.
Marking:
Once you have the measurements, mark the exact dimensions on your laminate flooring using a straight edge and a pencil. Always double-check your measurements before proceeding to the next step.
Placement:
Place the piece of laminate flooring on a sturdy surface, like a workbench or sawhorse. Make sure it is secure and won’t move during the cutting process.
Double-check:
Verify the marked lines one more time. If you’re satisfied, you’re now ready to begin cutting the laminate flooring with your oscillating tool. Remember, it’s always better to measure twice and cut once.
Tips for Marking the Cutting Area Accurately
When marking the cutting area on your laminate flooring, precision is key. Here are some tips to ensure accuracy:
Use a Carpenter’s Square:
This tool is very useful for marking right angles or straight lines on your laminate flooring. It ensures a square cut at the end edges of the flooring.
Utilize a Straight Edge:
If you’re cutting long, straight lines, a straight edge or a long ruler can be an invaluable tool. It can guide your pencil or marker straight across the laminate.
Sharp Marking Tools:
Make sure to use a sharp pencil or a fine-tip marker for precise and clear markings.
Lighting:
Good lighting is essential for accuracy in marking. Make sure your work area is well-lit to avoid any measurement or marking errors.
Continuous Marking:
Instead of making segmented lines, try to mark in a continuous line along the straight edge. This will help you get a neat cut.
Mark on the Back:
If possible, do your markings on the back of the laminate. This way, any potential marking mistakes won’t be visible on the finished side. Remember to consider the direction of the cut if you choose this method.
Setting up the Oscillating Tool
Before you begin cutting laminate flooring with an oscillating tool, it’s vital to set it up correctly to ensure precision and safety. Here are the steps to follow:
Choosing the Right Blade
Know Your Tool: Different oscillating tools may require specific types of blades. Be sure to consult your tool’s manual to understand which blades are compatible.
Select the Right Blade for Laminate Flooring: For cutting laminate flooring, a high-quality, fine-tooth blade is advisable. The fine teeth will ensure a smoother cut, preventing chipping or splintering of the laminate’s surface.
Attaching the Blade
Disconnect the Power:
Always ensure your oscillating tool is disconnected from any power source before changing or attaching blades.
Loosen the Lock:
Use the wrench provided with your tool to loosen the bolt at the head of the tool.
Attach the Blade:
Place the blade onto the head of the tool, aligning the holes on the blade with the bolt on the tool. Once in place, tighten the bolt securely with your wrench.
Setting the Speed
Adjust to the Correct Speed Setting:
Laminate flooring is best cut at medium to high speed. Start at a medium speed and adjust as needed based on the performance of the blade and the quality of the cut.
Cutting the Laminate Flooring
Step 1: Measure and Mark the Cut
First, measure the size of the piece you need with a measuring tape and mark the cut line on the laminate flooring using a pencil. Always double-check your measurements before proceeding to the next step.
Step 2: Position the Blade
Position the blade of your oscillating tool on the marked line, ensuring it is perpendicular to the floor. It is crucial to maintain the right angle to get a neat and straight cut.
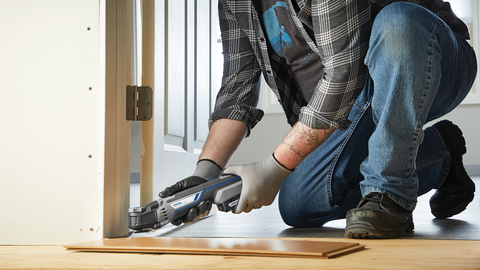
Step 3: Begin Cutting
Start the oscillating tool at a medium speed and begin to slowly and steadily cut along the marked line. Never rush this process as rushing can cause chipping or splintering of the laminate.
Step 4: Adjust Speed if Necessary
If the blade struggles to cut or the laminate begins to chip, adjust the speed setting of your tool. A slower speed might be necessary for denser areas, while a faster speed might work better for softer zones.
Step 5: Finalize the Cut
Continue cutting until you have reached the end of your marked line. Once completed, switch off the oscillating tool and remove the blade from the cut.
Step 6: Inspect the Cut
Inspect the cut to ensure it is clean and straight. If you see any imperfections, you may need to smoothen the edge with a file or sandpaper.
Step 7: Clean Up
After the cutting process is finished, clean up any dust or debris left over to ensure the working area remains safe and tidy. Make sure to safely store the oscillating tool and its accessories.
Related Topics:
Finishing Up
Tips for Cleaning Up the Cut Edge
After cutting laminate flooring with an oscillating tool, some edges might be rough or jagged. These imperfections can be fixed easily with a bit of sandpaper or a file.
Always go along the direction of the cut to avoid further chipping. For a smoother finish, start with a coarse-grit sandpaper, gradually moving to a finer grit.
Remember to wipe down the edge with a damp cloth to remove any residual dust.
Safety Measures to Follow After Cutting is Completed
Safety should always be a top priority when working with power tools. After the cutting process, ensure the oscillating tool is switched off and unplugged before storing.
Keep the tool and its blades in a secure place, out of the reach of children. Always wear protective gear, such as safety glasses and dust masks, during the entire process.
Dispose of any debris or dust in a responsible manner, keeping in mind that laminate flooring often contains substances that need special handling for disposal.
Conclusion
Cutting laminate flooring with an oscillating tool can appear daunting initially, but with the right instructions and safety measures, it can be accomplished skillfully.
This comprehensive guide aims to provide detailed step-by-step instructions to ensure precise cuts and a professional finish on your laminate flooring. Remember, precision and safety are paramount when cutting laminate flooring with an oscillating tool.
By following the steps and tips provided, you can minimize waste, reduce the risk of accidents, and guarantee a professionally finished look and long-lasting performance of your laminate flooring.
Whether you’re a DIY enthusiast or a seasoned professional, mastering the use of an oscillating tool will undoubtedly enhance your home improvement projects.
FAQs
Can I cut laminate flooring with any oscillating tool?
Yes, you can cut laminate flooring with any oscillating tool. However, ensure the tool is equipped with a high-quality cutting blade designed for cutting laminate materials. This will ensure precision and a smooth finish.
How can I prevent chipping while cutting laminate flooring with an oscillating tool?
To prevent chipping, always use a sharp blade and cut from the top side of the laminate flooring. Also, let the tool do the work and avoid forcing it through the material.
What safety measures should I follow when using an oscillating tool to cut laminate flooring?
Always wear protective gear such as safety glasses and dust masks. Make sure the tool is switched off and unplugged before storing. Keep the tool and its blades out of the reach of children. Dispose of debris or dust responsibly, as laminate flooring often contains substances that require special handling for disposal.
1 thought on “How To Cut Laminate Flooring With An Oscillating Tool”