
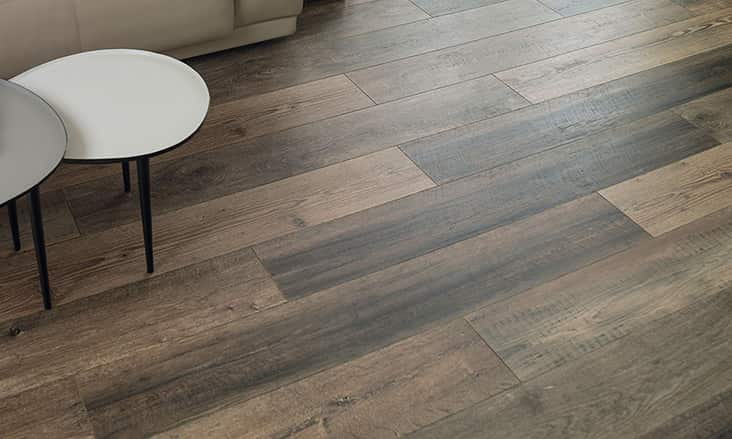
If you’re looking to update your home with a stylish and durable material, then look no further than Lifeproof’s rigid core luxury vinyl flooring. Not only is it easy to install, but it also provides superior protection against scratches, dents, and water damage.
Let’s take a look at how to get started on installing this type of flooring in your home.
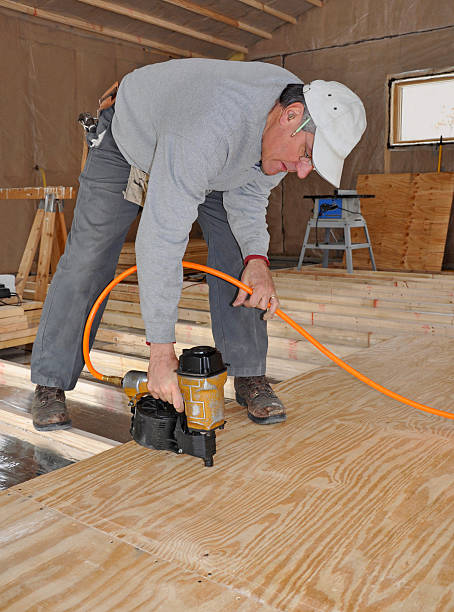
Step 1: Prepare the Subfloor
First, you will want to prepare the subfloor by vacuuming or sweeping away any dirt or debris that may be present. Then, use a leveler to make sure that the subfloor is flat even before beginning installation.
If there are any large dips or high spots on the floor, these should be filled in with a self-leveling compound prior to installation. This will ensure that your new flooring has an even surface for installation.
Types Of Subflooings
1. Plywood
Plywood is a type of wood that is made up of multiple layers of thin wood that are glued together. Plywood is a very strong and stable material, making it ideal for use as a subfloor.
2. OSB
OSB, or oriented strand board, is a type of wood that is made up of multiple layers of thin wood that are glued and pressed together. OSB is a very strong and stable material, making it ideal for use as a subfloor.
3. Particle Board
Particle board is a type of wood that is made up of small pieces of wood that are glued and pressed together. Particle board is not as strong or stable as plywood or OSB, but it is much cheaper, making it a popular choice for subfloors.
4. Concrete
Concrete is a type of material that is made up of cement, sand, gravel, and water. Concrete is very strong and stable, making it an ideal choice for use as a subfloor. However, concrete can be very heavy and difficult to work with.
5. Metal
Metal can also be used for subfloors, although it is not as common as other materials. Metal subfloors are typically made from aluminum or steel. Metal subfloors are very strong and stable, but they can be very expensive.
Related Topic: Best Waterproof Subfloor Material: 6 Options
Step 2: Place Underlayment
Once the subfloor is prepped and ready for installation, you can begin placing underlayment of the material used between the subfloor and the vinyl planks across the entire area you plan on covering with flooring.
Make sure to overlap each section of underlayment by about 4 inches so that it creates an even layer of coverage across the entire space. You also want to make sure that all seams are taped down securely so they won’t shift during installation.
Types Of Flooring Underlayments
1. Foam
Foam underlayments are made from a variety of materials, including polyethylene, polypropylene, and recycled rubber. Foam underlayments are lightweight and easy to install, and they provide good sound absorption and insulation.
2. Fiberboard
Fiberboard underlayments are made from wood fiber that has been compressed and bonded together with resin. Fiberboard underlayments are heavier than foam underlayments, but they provide excellent sound absorption and insulation.
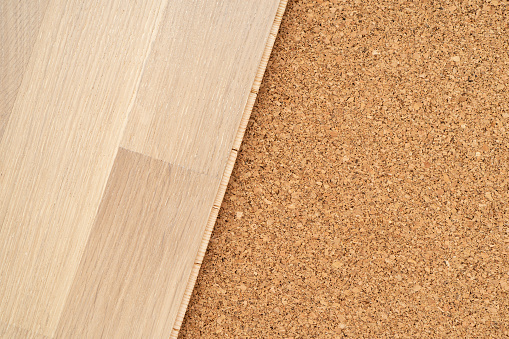
3. Cork
Cork underlayments are made from the bark of cork oak trees. Cork underlayments are lightweight and easy to install, and they provide good sound absorption and insulation.
Additionally, cork underlayments are environmentally friendly as they are made from renewable resources.
4. Rubber
Rubber underlayments are made from recycled tires or synthetic rubber. Rubber underlayments are heavy and difficult to install, but they provide excellent sound absorption and insulation.
Additionally, rubber underlayments are environmentally friendly as they are made from recycled materials.
5. Linoleum
Linoleum underlayments are made from linseed oil, wood flour, cork dust, and other materials. Linoleum underlayments are environmentally friendly as they are made from natural materials, and they provide good sound absorption and insulation.
Related Topic: Laminate Flooring With Attached Underlayment Pros and Cons
Step 3: Install Vinyl Planks
Now it’s time for the fun part! Begin installing your vinyl planks by laying them out along one wall and working your way towards the opposite wall until all of your desired areas are covered with vinyl planks.
Make sure each plank is properly connected to its neighbor via their click-and-lock system so they won’t shift during use.
Additionally, make sure each plank is aligned correctly before clicking into place; if not, it can cause problems down the line when you try to connect other pieces later on.
Conclusion
Installing Lifeproof Rigid Core Luxury Vinyl Flooring doesn’t have to be complicated! With just a few steps preparing your subfloor, placing underlayment, and installing vinyl planks you can transform any room in no time at all!
The key is making sure each step is done accurately and carefully so that you don’t run into any issues down the line when connecting multiple pieces together later on.
Once everything is installed correctly, though? You’ll have a beautiful new floor ready for years’ worth of use!
FAQs
Can I install LifeProof flooring myself?
If you’re looking for a new flooring option that is easy to install and maintains its longevity for years, then LifeProof Flooring could be right for you. This type of flooring is designed to provide superior waterproof protection and scratch resistance.
Although it’s possible to do the installation yourself, it’s highly recommended that you seek professional help to ensure the job is properly done after all, if your floor isn’t installed correctly it could be costly down the line!
Ultimately, depending on your skill set and confidence level, consider your options carefully before deciding how best to tackle this task.
Does LifeProof flooring need adhesive?
LifeProof flooring is a great choice for those wanting a durable floor without the hassle of having to use adhesive during the installation process. It’s made with interlocking planks that snap together requiring no nails or glue to hold them in place.
Plus, since it is water and stain resistant, it’s perfect for high-traffic areas like kitchens and bathrooms where spills may be common. LifeProof flooring can also be moved easily if needed simply just unsnap, move, and snap into place!
Can you put LifeProof flooring on cement?
Installing LifeProof flooring on a cement surface is possible with the use of a leveling system and specialized glue. An epoxy adhesive is most suitable for holding the tiles in place, as it provides superior adhesion to the otherwise non-porous surface.
With proper preparation, such as cleaning and checking for moisture, LifeProof tiles can make a beautiful addition to any cement floor. As an added benefit, this flooring tends to require minimal maintenance due to its water-resistant nature.
2 thoughts on “How To Install Lifeproof Rigid Core Luxury Vinyl Flooring? Guide!”