
Laminate flooring is an attractive, cost-effective way to spruce up any room in the home. But cutting laminate flooring can be a daunting task for even the most experienced DIYer. Luckily, with the right tools and technique, you can easily cut laminate flooring using a router.
Follow this step-by-step guide to learn how to trim laminate flooring with a router.
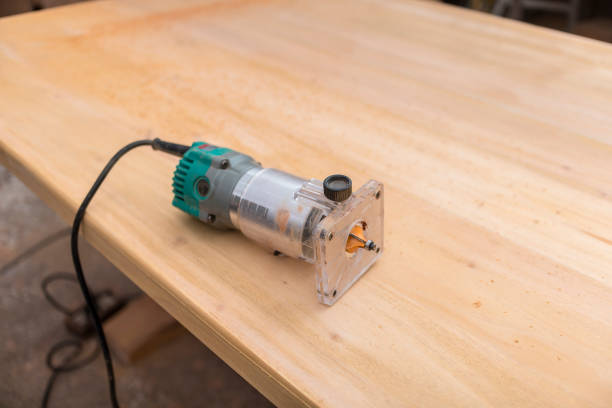
Step 1: Preparing Your Router
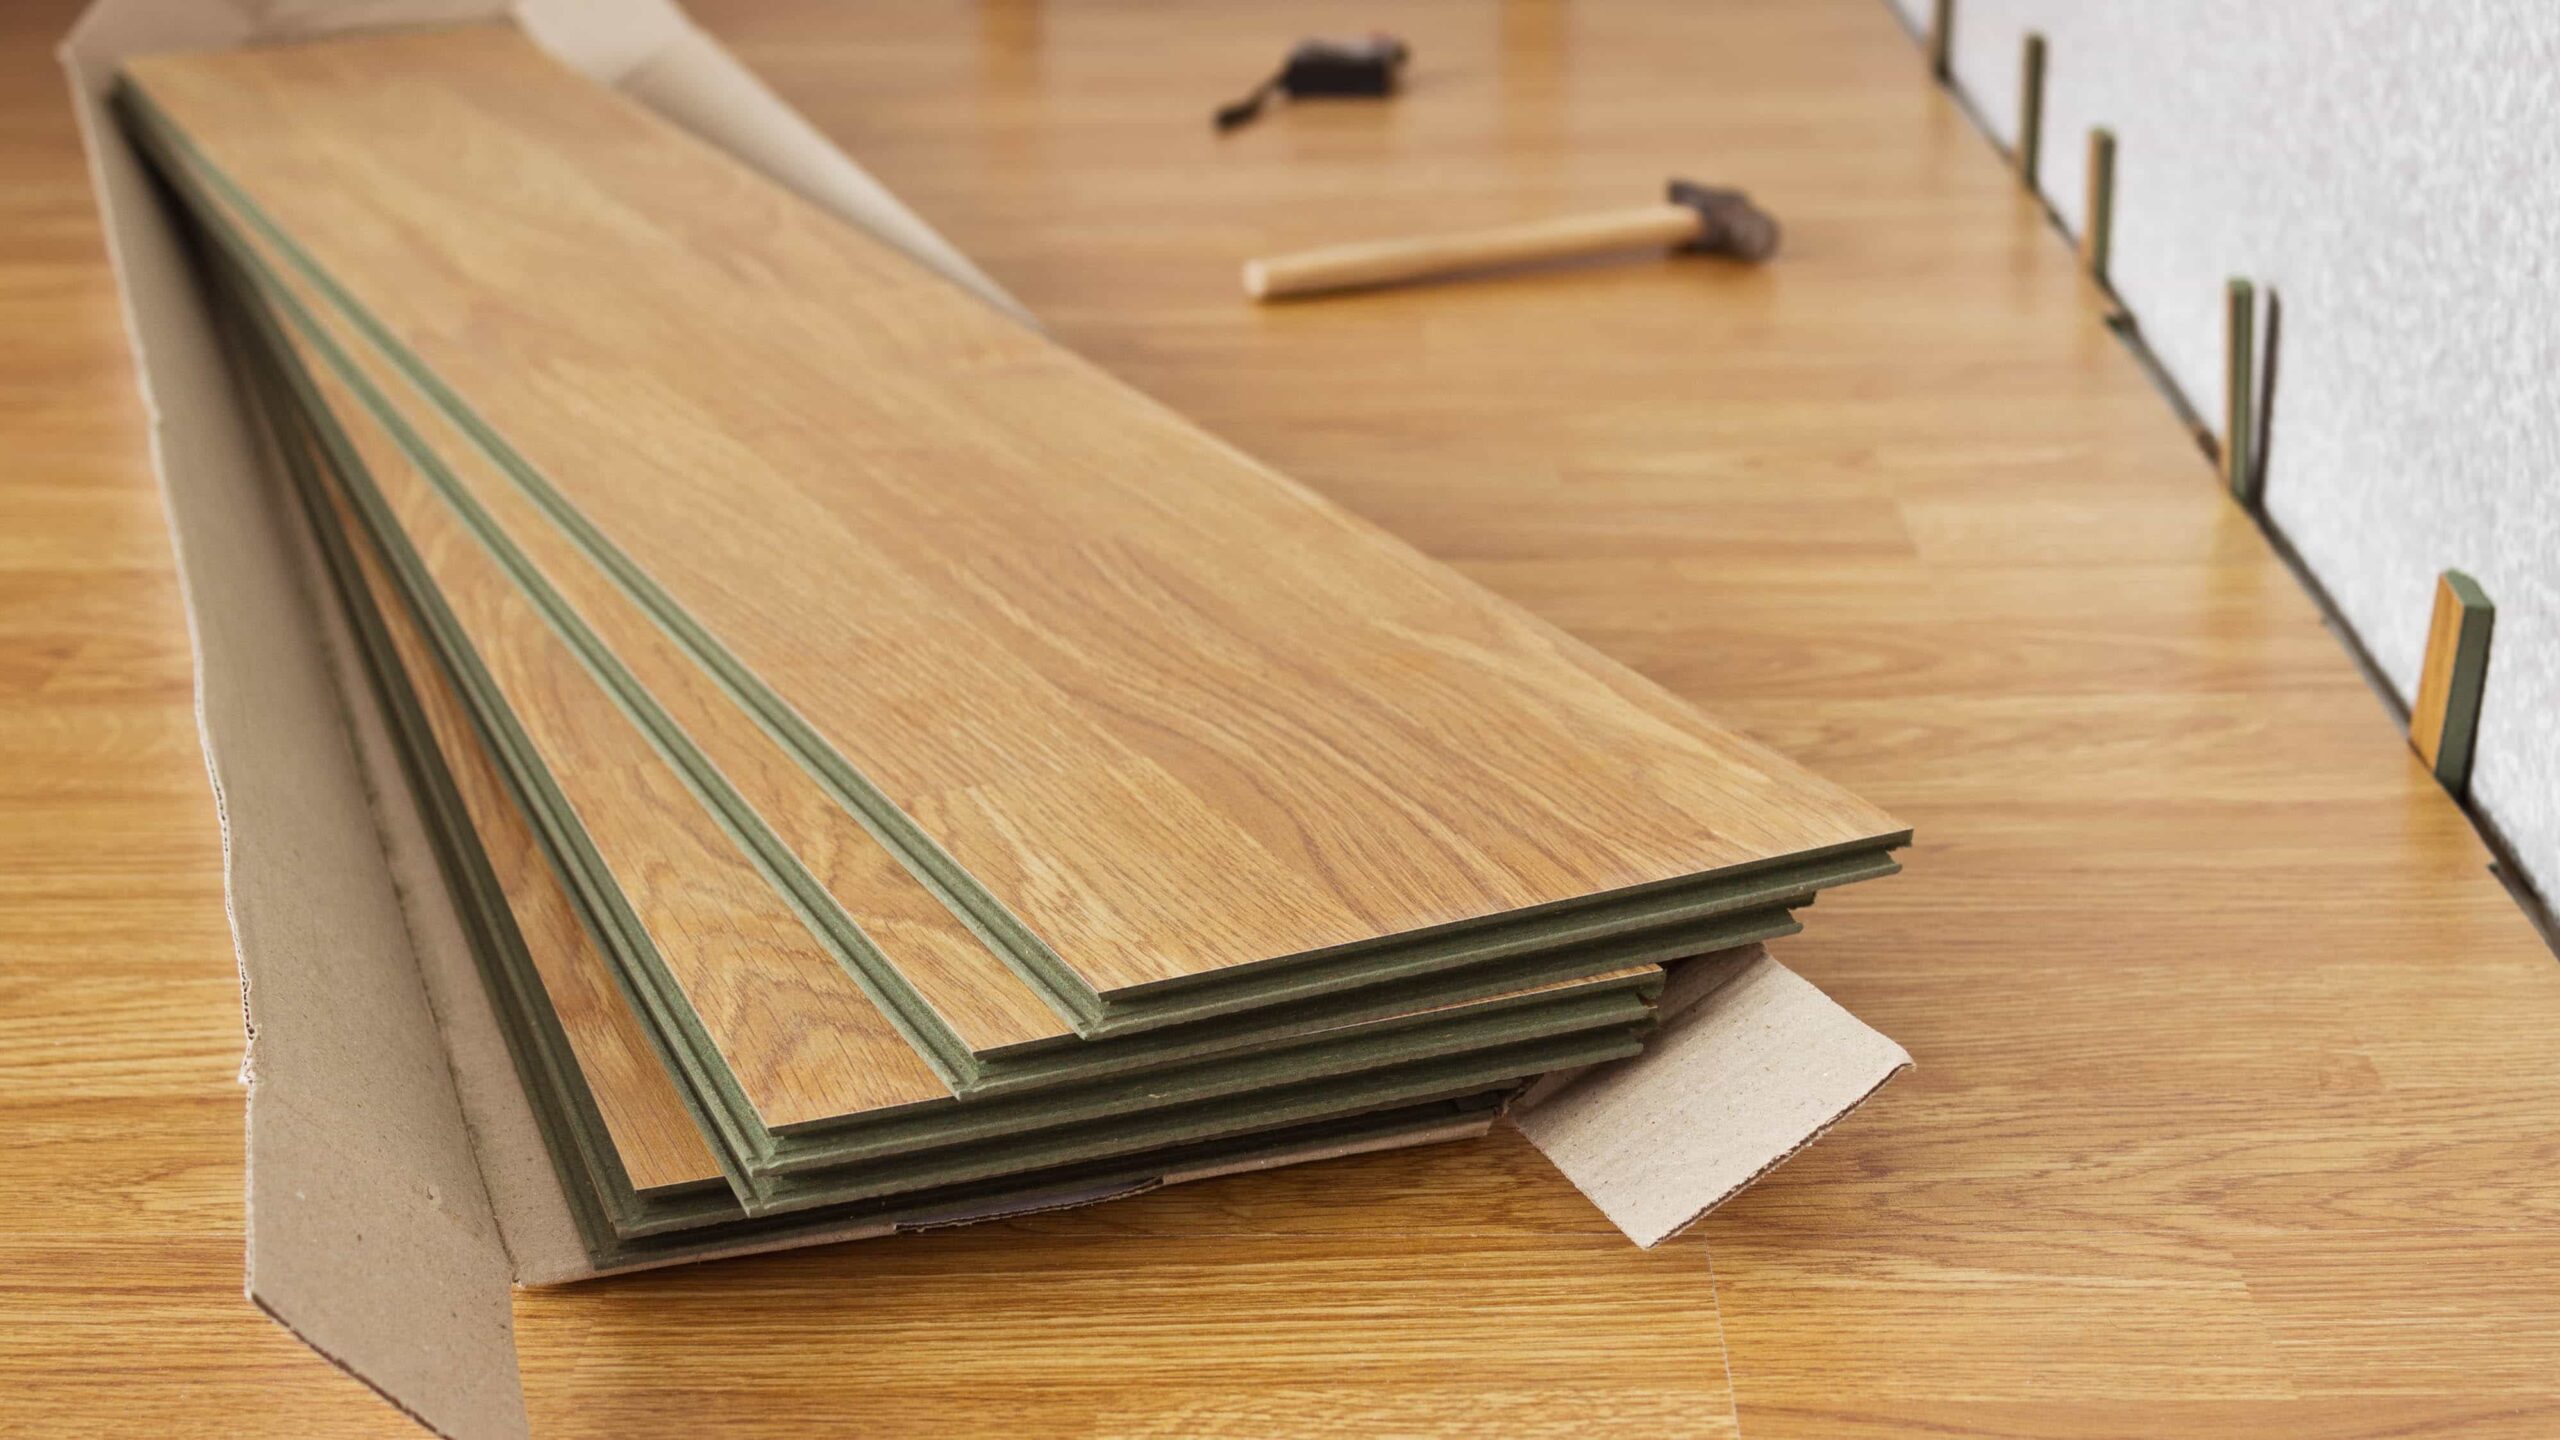
Credit: Getty Images/iStockphoto
Before you start cutting your laminate flooring, you’ll want to make sure your router has been properly prepped. Start by attaching a router bit that is designed specifically for cutting laminates.
Next, adjust the depth of the bit so it cuts through the top layer of your laminate but not too deeply into the substrate below. This will help ensure clean cuts and prevent chipping or splintering of your laminate boards.
Types Of Flooring Routers
1. Edge routers
Edge routers are used to create a smooth transition between two different types of flooring, such as hardwood and carpet. Edge routers can also be used to create a decorative border around the perimeter of a room.
2. Handheld routers
Handheld routers are portable tools that can be used to route various types of materials, including wood, plastic, and metal.
Handheld routers are available in a variety of sizes and shapes, and they can be fitted with a variety of different bits to suit your specific needs.
3. Plunge routers
Plunge routers are designed for making precise, deep cuts into materials such as wood and plastic. Plunge routers typically have a base that is adjustable, so that you can control the depth of the cut.
4. Fixed-base routers
Fixed-base routers are designed for making shallow cuts into materials such as wood and plastic. Fixed-base routers have a base that is fixed in place, which means that you cannot adjust the depth of the cut.
5. CNC routers
CNC (computer numerical control) routers are computer-controlled machines that can be used to route various types of materials, including wood, plastic, and metal.
CNC routers are available in a variety of sizes and shapes, and they can be fitted with a variety of different bits to suit your specific needs
Step 2: Cutting Your Laminate Flooring
Once your router is ready to go, place your first board faces down onto a flat surface and line it up against the edge of the routing table or jig that you’ve set up.
Carefully route along each side of the board until it’s been completely trimmed. Make sure to apply steady downward pressure throughout this process as you work slowly and steadily along each edge of the board.
If needed, use light sandpaper to smooth out any rough edges before moving on to your next piece of laminate flooring.
How do you Route Laminated Edges?
1. Safety First!
Before we get into the details of routing laminate edges, let’s talk about safety. Routing can be dangerous if not done properly, so make sure to wear protective eyewear and gloves when operating any power tools.
Also, always remember to follow all manufacturer instructions for the proper use of your router or other power tools, as well as your specific laminate material.
2. Router Bits and Settings
The first step in routing laminate edges is choosing the right router bit for your project. Laminate surfaces require a special router bit with a guide bearing at its tip.
The bearing will keep the router bit from digging too deeply into the surface while still allowing you to achieve a clean-cut edge on your workpiece.
Once you’ve chosen the right router bit for the job, set up your router with the appropriate settings. Be sure to adjust both speed and depth before beginning work to ensure consistent results with each pass of the router over your workpiece.
3. Technique Matters
Now that you have chosen a router bit and set up your router appropriately, it’s time to get into the technique. To begin routing, start by making light passes over your workpiece until you have achieved an even surface all around the edge of your piece.
Make sure to keep consistent pressure throughout each pass; this will help ensure that all edges are even and uniform when finished.
Once you are satisfied with your initial passes, increase speed and pressure slightly for final finishing passes until the desired result is achieved.
Related Topic: How To Install Lifeproof Rigid Core Luxury Vinyl Flooring? Guide!
Step 3: Finishing Up
Once all of your boards have been cut and are ready for installation, take some time to clean up your workspace and check over each piece once more before beginning installation.
Double-check that all edges are smooth and free from chips or splinters before installing them in their designated area in your home!
Conclusion
With these simple steps and some patience, anyone can learn how to trim laminate flooring with a router!
While it may seem like an intimidating task at first glance, following these instructions will help ensure that you get professional results every time all without having to hire an expensive contractor!
Plus, learning how to do this yourself means that you can save money while also enjoying a sense of pride in knowing that you did it all yourself! So grab those tools and get started today!
Related Topic: How Do You Replace A Piece Of Click Flooring: Is It Possible?
FAQs
What is the difference between a router and a laminate trimmer?
A router is a powerful tool that is used to route out an area in the face of a piece of wood or plastic. It uses spinning cutters to cut grooves, patterns, and other objects into materials. On the other hand, a laminate trimmer is a manual tool for trimming laminate flooring, wall paneling, and countertops.
It has an adjustable blade that is manually rotated which allows you to trim edges from all sides easily and safely. Both tools have unique purposes but both are incredibly useful for working with wood or plastic.
Can a router be used as a trimmer?
A router can indeed be used as a trimmer, though it is not usually recommended. Routers are commonly used for trimming edges of wood materials to create different shapes and patterns of edges.
However, the trimming power of routers will vary depending on the size and wattage. If you plan on using a router for your trimming needs, ensure to pick one with the right size and wattage so it can adequately handle the job.
Related Topic: How To Cut Laminate Flooring With Padding Attached? Safely!
Is a trim router enough?
Deciding if a trim router is enough really depends on your project. Trim routers are best used for cutting small details, such as trimming door casings, dadoes, rabbets, or freehand patterns.
For bigger projects like routing large profiles or stocking up cabinet doors, you may need to invest in a larger and more powerful router. Consider the type of work you plan on doing before investing in a router.
I really like and appreciate your blog post. Really Great.