
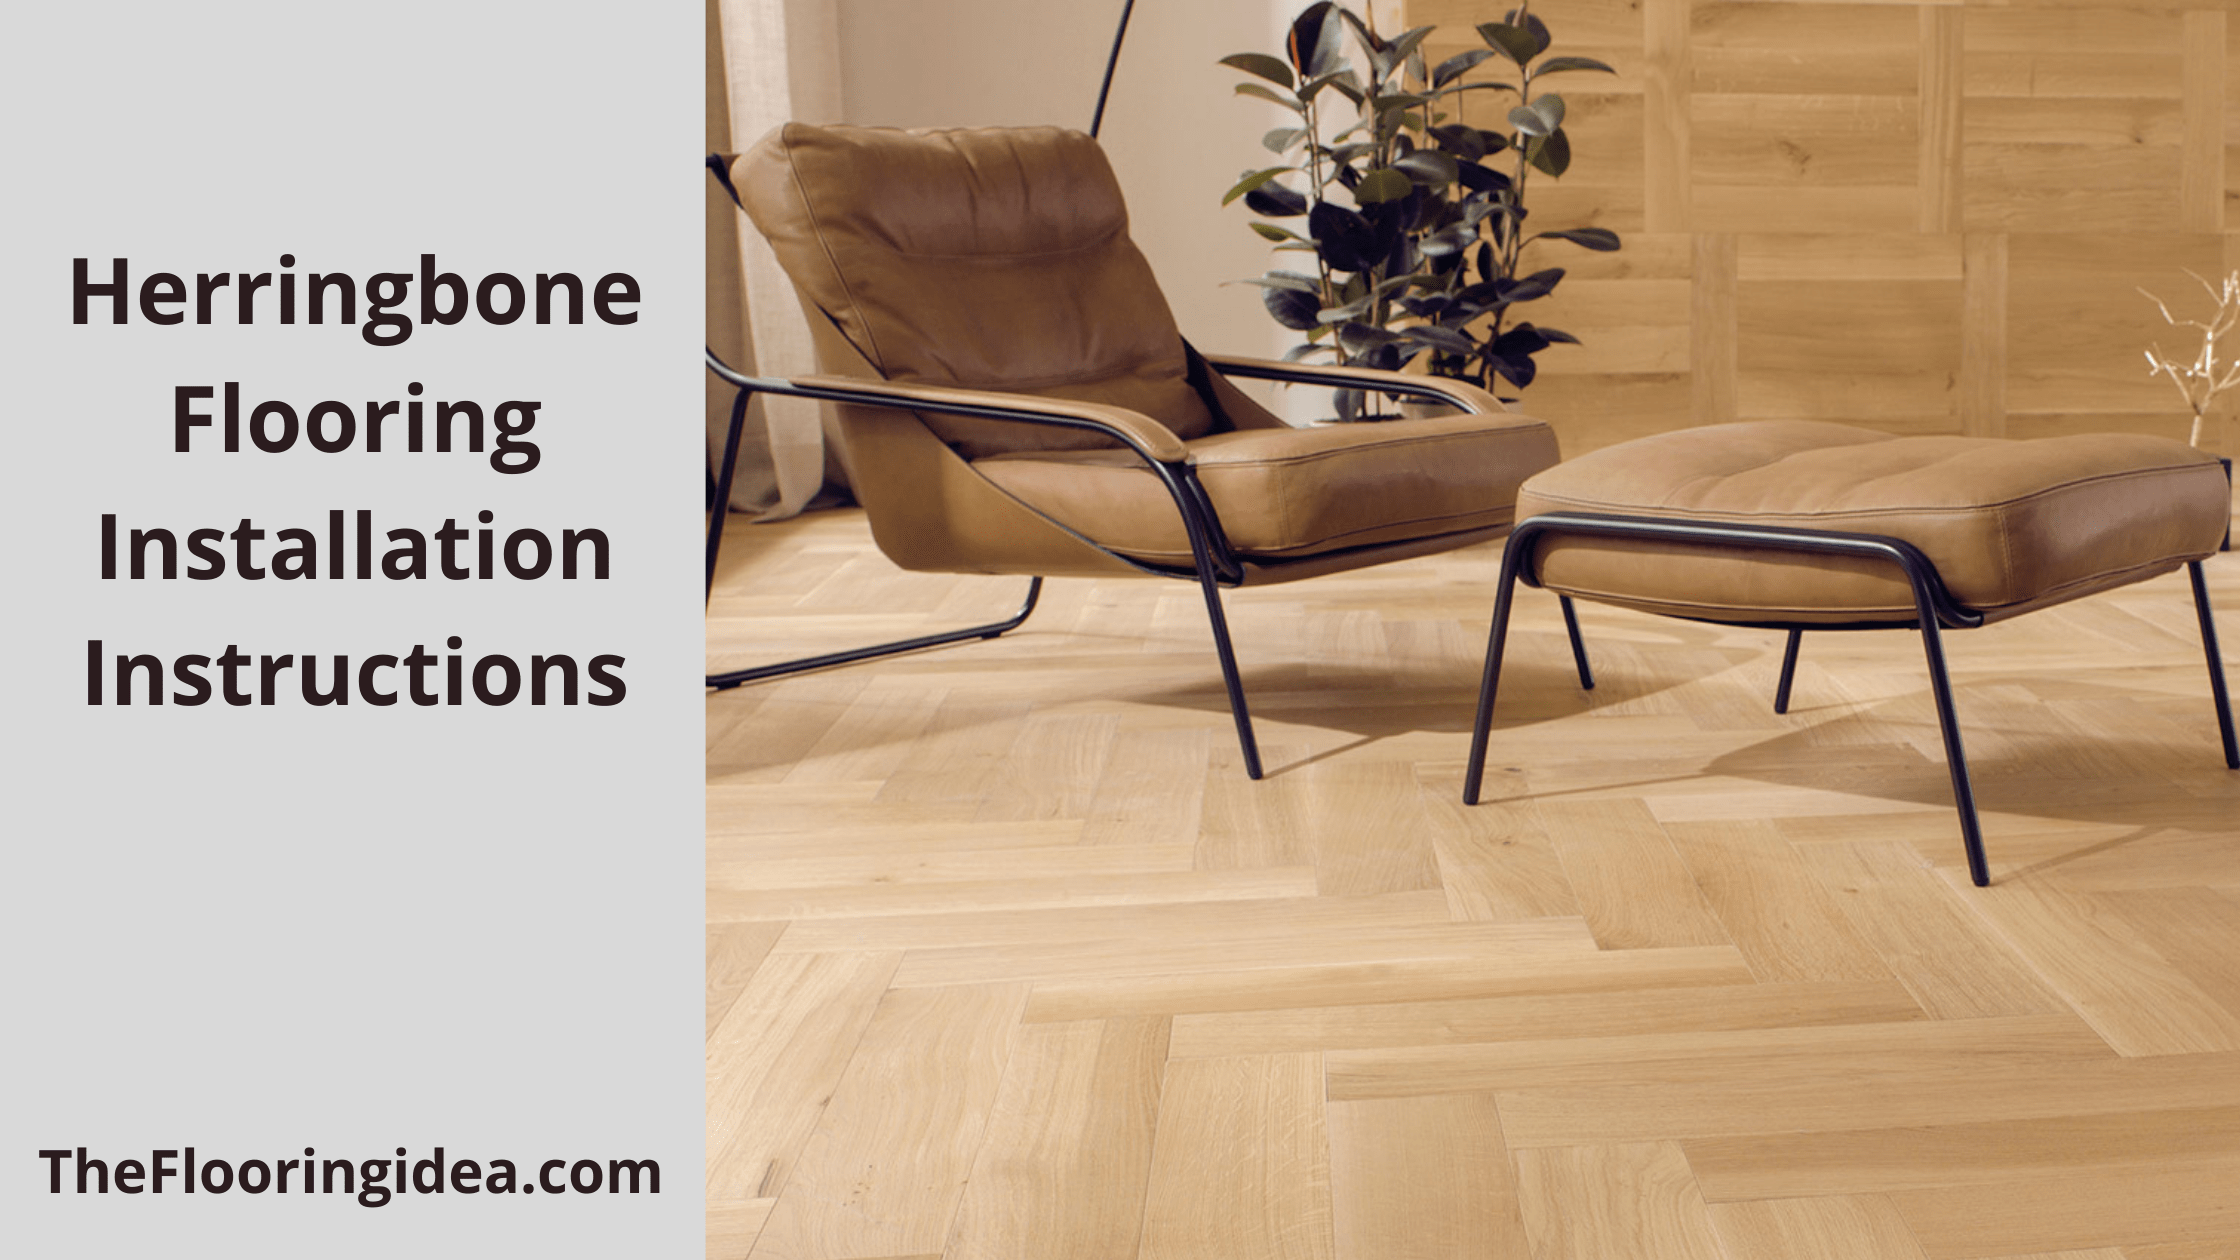
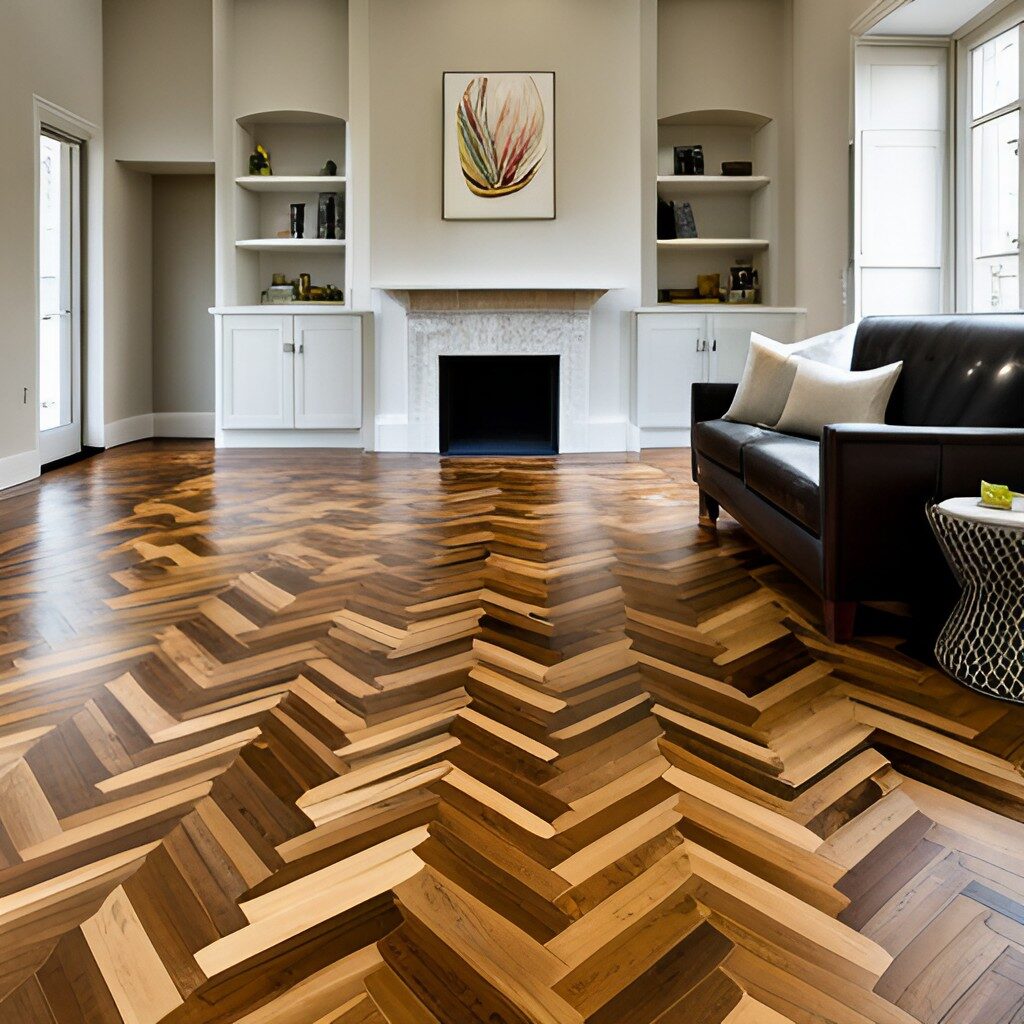
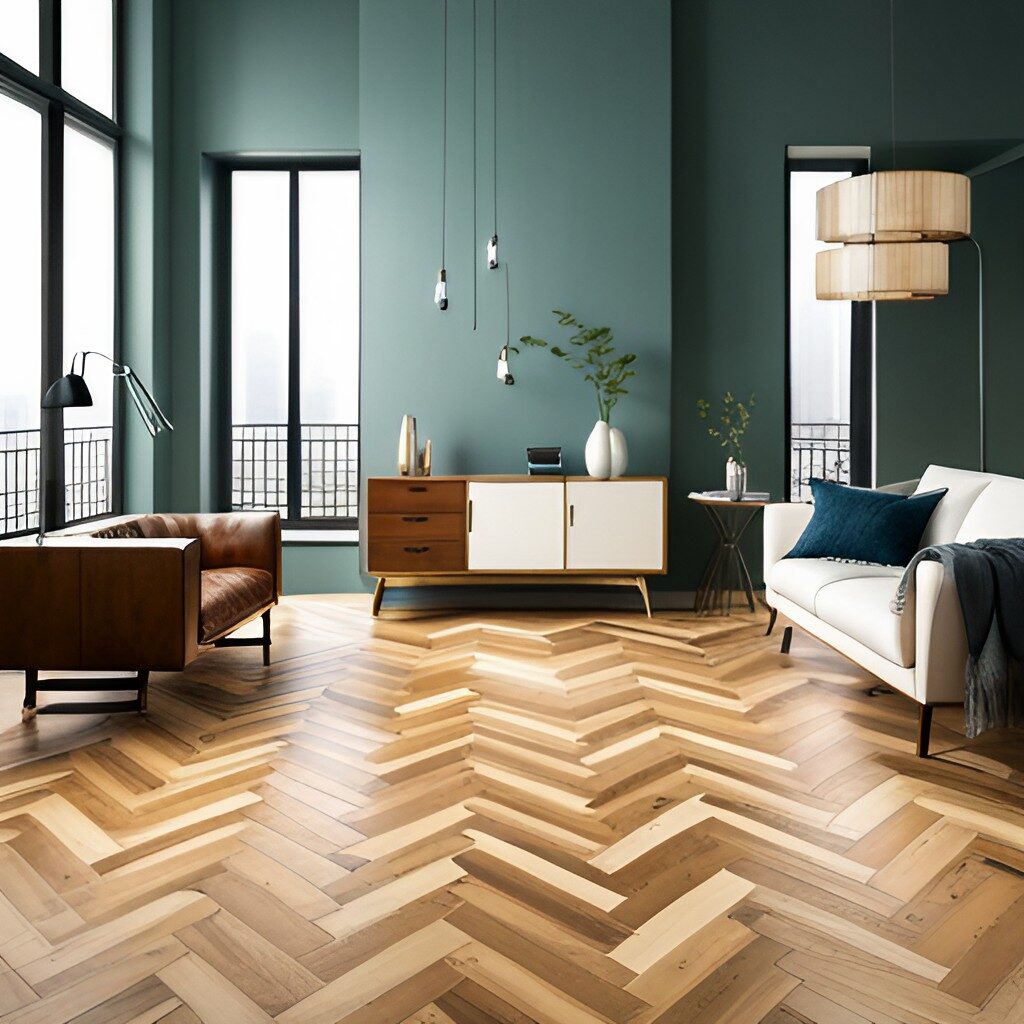
Herringbone flooring, with its distinctive V-shape pattern, offers a timeless elegance that can significantly elevate the aesthetic appeal of any living space. This guide aims to provide homeowners and DIY enthusiasts with a simplified yet comprehensive overview of installing herringbone flooring.
Whether you’re undertaking a renovation project or giving your home a makeover, mastering the installation process can lead to stunning results, enhancing the overall look and feel of your interiors.
From preparing the subfloor to laying the final piece, these eight key instructions are designed to guide you through each critical step, ensuring a smooth and successful installation.
What is Herringbone Flooring?
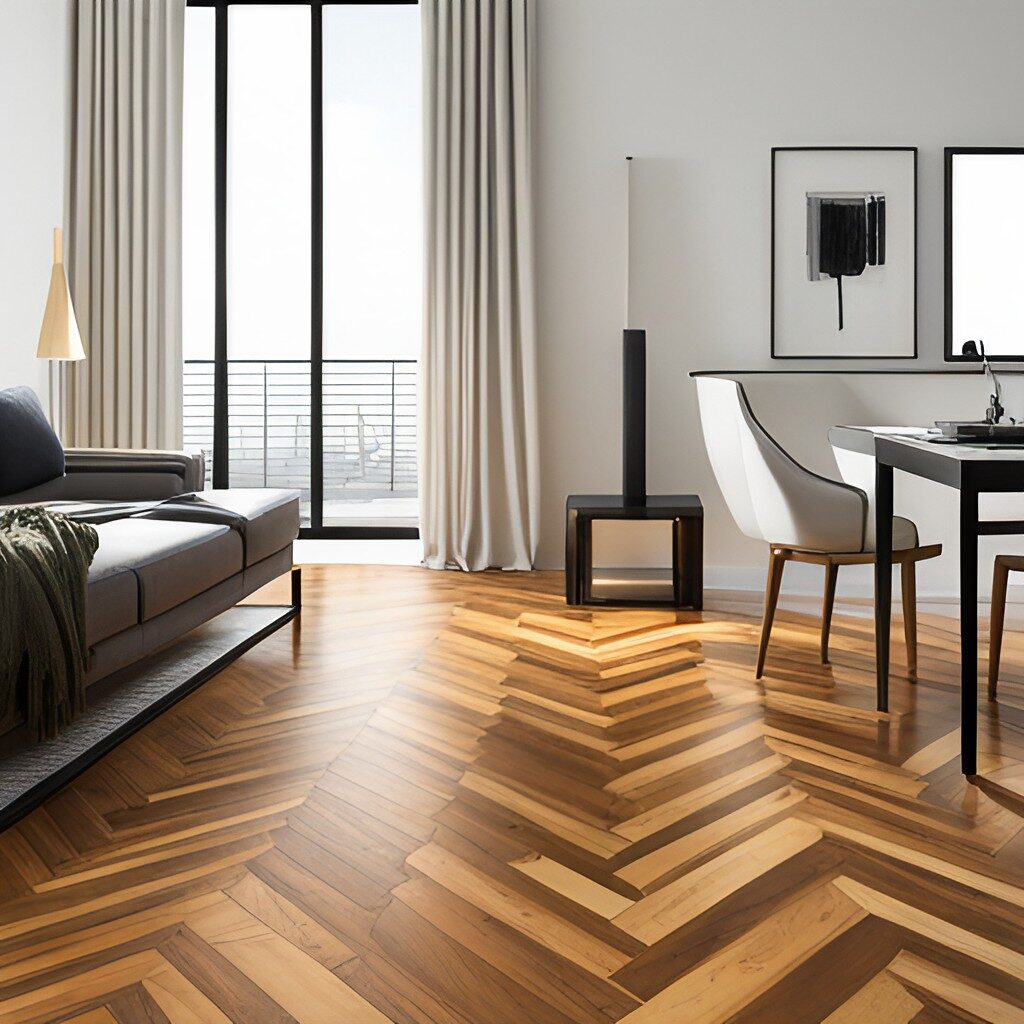
Herringbone pattern flooring is a type of flooring that is made up of a series of interlocking pieces. The name comes from the fact that the pieces resemble the bones of a herring fish.
The herringbone pattern is one of the most popular patterns for flooring, and it can be used in a variety of different settings.
For example, it is often used in entryways and hallways, as it provides a sophisticated and stylish look. Additionally, herringbone pattern flooring can also be used in living rooms and bedrooms to add a touch of elegance.
Regardless of where it is used, herringbone pattern flooring is sure to add beauty and sophistication to any setting.
Why Herringbone Flooring?
For modern homes, the herringbone flooring design becoming a widely preferred option nowadays. In any way such as design adaptability, suiting the background, and creating a subtle effect, it has a dominating presence and appearance.
Not only on the ground, additionally you can use it on the wall and furniture as well. Moreover, it can be used on cabinets, doors, desks, and all the flat surfaces in the home.
One of the most amazing things that make herringbone flooring designs a more suitable option is its easy-to-clean feature.
Yes, no more headaches from deep cleaning with heavy tools.
You simply need a simple wipe to clean, usually with a microfiber head mop.
Advantages of Herringbone Flooring:
WaterProof: A home with naughty children and pets usually has spread water on the room floor surface. So, it keeps safe your floor from water and all other types of liquids.
Scratch-Free: The only solution to a floor surface with deep scratches is to replace it. But who can afford a complete floor replacement just because of scratches? So, the herringbone flooring is fully free from scratches. But still, you need to take care!
Heat- Resistant: with the help of the heat resistance feature it keeps the surface safe from any type of heat.
No-Residue!
The variety of various flooring options makes it more popular. Let’s talk about its different types.
Types of Herringbone Floors
Solid Hardwood Herringbone Flooring
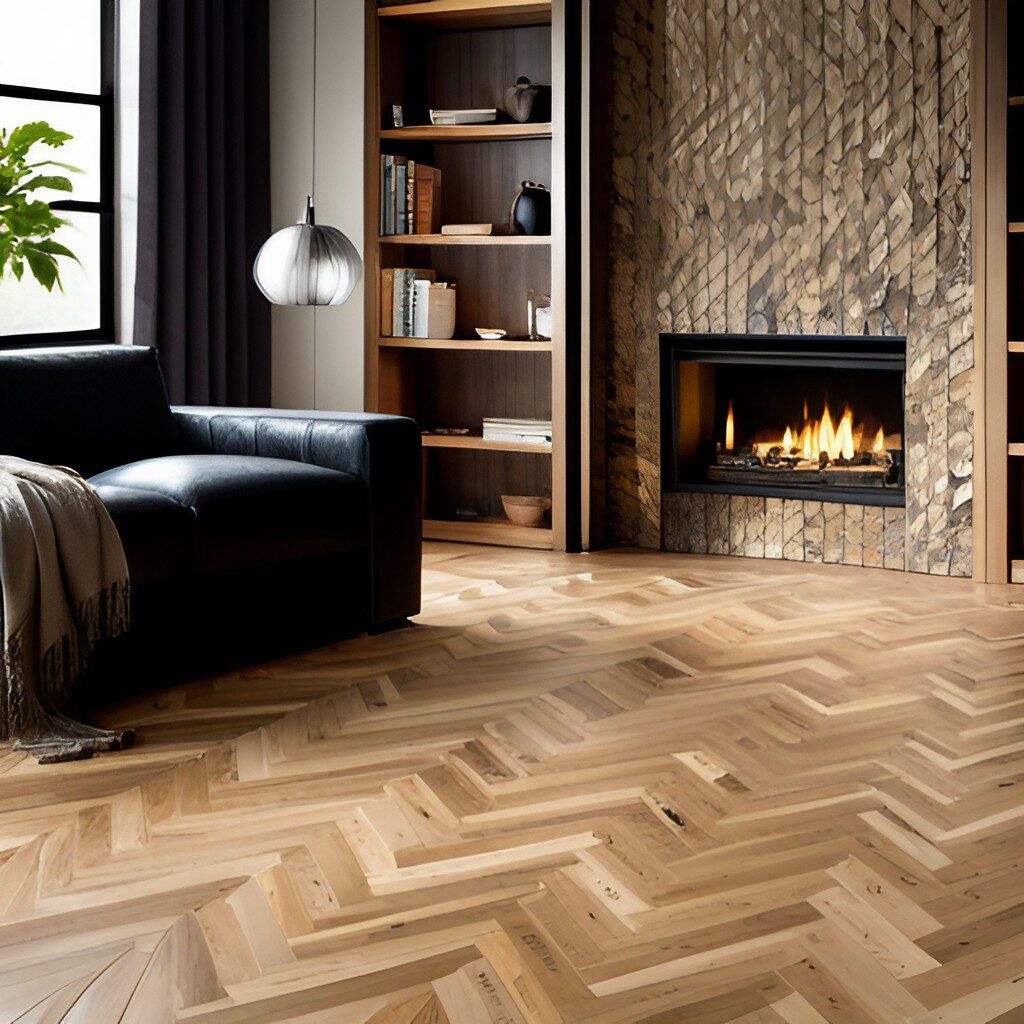
With the beauty of the herringbone design pattern, solid hardwood herringbone flooring is most commonly used. For the herringbone design floor surface, the most common wood species is solid oak.
With multiple options, the solid wood herringbone can be used anywhere in your home like in living rooms, bedrooms, bathrooms, stair landing areas, and, more.
Moreover, it won’t fade with long-lasting durability in both indoor and outdoor conditions.
Engineered Herringbone Flooring

Engineered herringbone floors are more advanced and practical floors that can be used in the most used areas with high moisture levels. Most importantly in the bathrooms and kitchens.
These floors are fully waterproof, long-lasting, and durable even under extreme conditions.
To get a safe, stunning, and stable floor surface under the foot, herringbone-engineered flooring is a better option than any other.
Laminate Herringbone Flooring
Laminate herringbone flooring is an ideal choice in the widely used areas with heavy foot traffic like hallways and entryways of your home.
Not only there but also in the living rooms, bathrooms, and kitchens. Anywhere you want in the home!
They are water-resistant and scratch-free which keeps the floor surface safe from any type of damage.
To easily clean them from any type of dirt, dust, or grime you simply need a microfiber head mop cleaner to sweep.
But to eliminate the deep stains you should use a steam mop that works well for deep stains on a laminate herringbone floor in an effective manner.
Vinyl Herringbone Fooring
With a multi-layer structure, vinyl herringbone floors are the most stunning, decorative, and easiest to clean. The UV-coated layers can remain safe in any extreme condition.
The multiple tough layers make these floors more durable and long-lasting and keep them safe from any type of damage.
As they are more stunning and decorative they are a great addition anywhere in a home.
Pre-Installation Prep
Before you install herringbone flooring, there are a few things you should take into consideration. First of all, herringbone is a pattern that can be quite tricky to lay. If you’re not experienced in laying floors, it’s best to leave this one to the professionals.
Secondly, herringbone is a fairly high-maintenance pattern – it’s not ideal for areas that see a lot of traffic or dirt.
Before starting, ensure that the subfloor is clean, dry, and leveled. Remove any old flooring, debris, or nails that could interfere with installation.
Also, acclimate the herringbone flooring to the room’s humidity and temperature for at least 48 hours before installation.
And finally, herringbone can be quite pricey – so if you’re on a budget, you might want to consider another option. But if you’re set on installing herringbone flooring, then just be sure to keep these things in mind!
How to Install Herringbone Flooring
Tools you Need
- Tape measure
- Chalk line
- Trammel
- Straight edge
- Framing square
- Miter saw
- Rubber mallet
- Router
- Rafter square
- Drill driver
- Flooring nailer
- Circular saw
1. Preparing The Subfloor

Your subfloor must be clean and flat before you begin laying down the tiles. Start by applying a leveler if necessary, then use a vacuum cleaner or broom to remove any dirt or debris from the surface of the subfloor.
So, don’t skip this.
To do a deep cleaning you should use a microfiber head mop with taped water. You can also a concentrated liquid floor cleaner but still, the use of tap water is enough.
After cleaning the surface completely you have to wait for some time.
Why?
To dry the surface!
2. Measuring And Laying Out The Pattern

The herringbone pattern is made up of a series of small V-shaped tiles that fit together to form a larger diamond shape.
Begin by measuring the area you’ll be working with and drawing out the pattern on the subfloor using a pencil and a straight edge. This will act as your guide when placing the individual tiles.
Always consider a 4 to 5 percent cutting loss while measuring. To guide tile placement use a level or chalk to create one vertical and one horizontal reference.
3. Cutting The Tiles
Since herringbone tiles are typically cut at odd angles, you must take your time when cutting them to ensure they fit together correctly.
You may need specialized tools depending on the type of tile you’re working with consult your local hardware store for advice on what tools are best suited for the job.
4. Inter-lock with Each Other
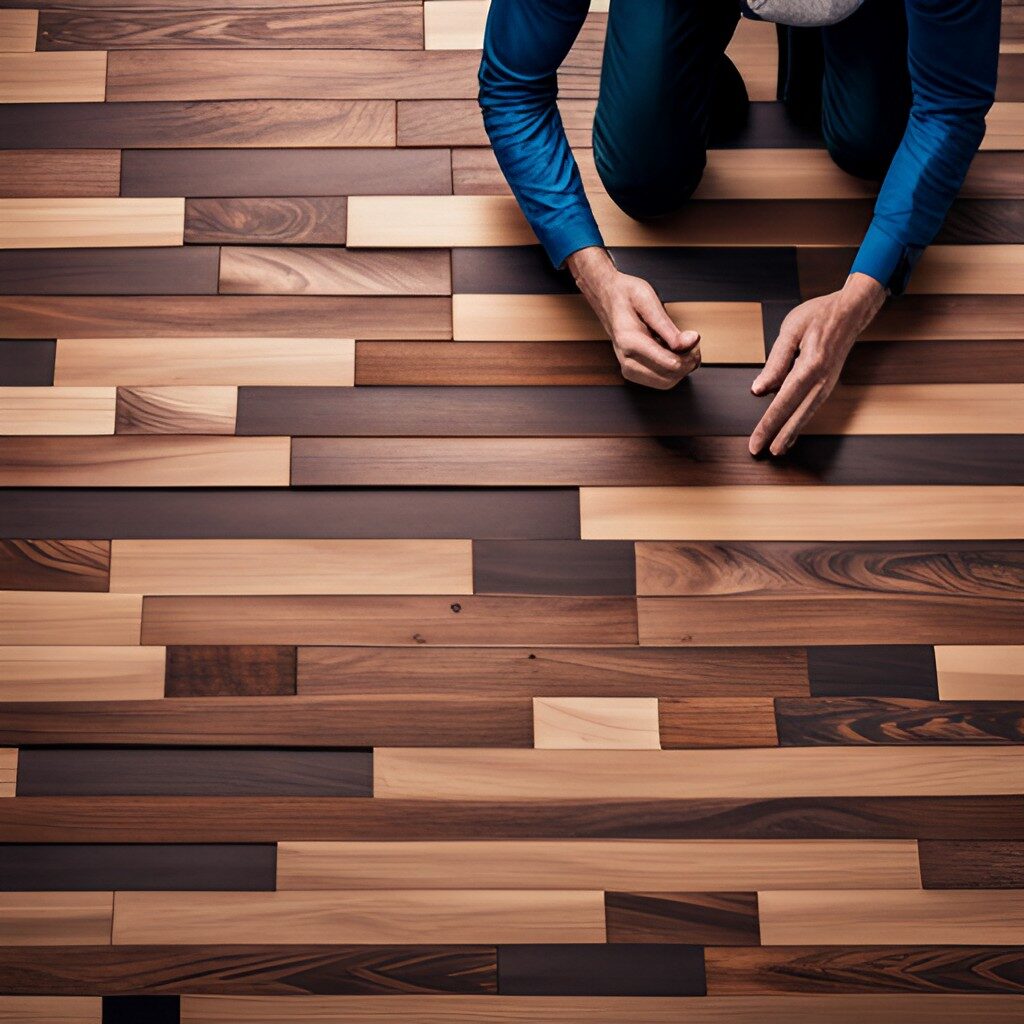
Work your way out from the middle of the room, placing each subsequent board next to the previous one and angling it so that it forms a herringbone pattern.
Secure each board with nails.
Once all the boards are in place, fill in any gaps with wood filler and let it dry completely. Sand the entire floor until it is smooth, then vacuum up any dust.
Apply a sealant or topcoat of your choice and let it dry completely before walking on the floor or moving furniture back into the room.
Once all of your tiles are cut, you can begin laying them out according to the pattern you drew on the subfloor. Make sure that each tile is pressed firmly into place and that no excess adhesive or grout is showing around the edges.
5. Add Borders
So you’ve finally decided to install herringbone flooring in your home. Congrats! This classic pattern adds a touch of elegance to any room.
But before you start tearing up your old flooring, there’s one more important decision to make: what kind of border should you use?
There are many factors to consider when choosing a border for your herringbone floor. The most important thing is to make sure the border complements the overall design of the floor.
You’ll also want to choose a material that will wear well and be easy to clean. And of course, you’ll need to take into account the size and shape of your room when selecting a border.
With so many options to choose from, it can be tough to decide which border is right for you. But don’t worry, we’re here to help! Here are a few of our favorite border ideas for herringbone floors:
A classic straight border. This simple yet chic option creates a clean look that works well with a variety of design styles.
A curved or scalloped border. Add a bit of interest to your herringbone floor with a curved or scalloped border. This playful option is perfect for rooms with an eccentric or vintage vibe.
A multi-colored or patterned border. If you want your herringbone floor to stand out, go for an eye-catching border in a bold color or fun pattern. Graphic geometrics are especially popular right now.
No border at all! Yes, you read that correctly. One of the hottest trends in flooring right now is the “floating” herringbone pattern, which features no border at all.
This modern look is perfect for minimalists who want their flooring to make a statement without being too fussy.
So there you have it! These are just a few ideas to get you started as you select a border for your herringbone flooring. Whatever option you choose, we know your new floors will look amazing!
6. Stagger the Seams
To ensure the pattern’s integrity and the floor’s stability, stagger the seams of the planks or tiles. This step requires careful planning and execution.
Staggering the seams in a herringbone pattern is not only crucial for the floor’s aesthetic appeal but also for its structural integrity. To achieve a professional and seamless look, it is important to plan the layout of each row meticulously.
Each piece should be positioned so that the ends do not line up directly with the ends of the pieces in adjacent rows. This staggering effect can help distribute the weight more evenly across the floor, reducing the risk of warping or separating over time.
Attention to detail during this process will ensure a beautiful and durable finish that complements the overall design of the space.
7. Grouting The Tiles

After all of the tiles have been laid, it’s time to apply grout to fill any gaps between them. Mix up a batch of pre-mixed grout according to the manufacturer’s instructions, then use a trowel or rubber float to spread it over the surface of the floor and into any crevices.
Allow the grout to dry completely before walking on it.
8. Finishing Touches
Once the grout has dried, you can add a sealant if desired to help protect your floor from moisture and dirt.
Finally, apply furniture pads or felt feet underneath any heavy objects that may be placed directly on top of the tiles to prevent scratching or denting. With these steps completed, your herringbone floor is now ready for use!
Conclusion
The installation of herringbone flooring is a meticulous process that can dramatically enhance the visual appeal and value of any space.
By following the eight crucial steps outlined from choosing the right materials and tools, accurately measuring and planning the layout, to the precise cutting and fitting of the planks homeowners and installers alike can achieve a stunning result.
Although the task requires patience and attention to detail, the timeless elegance and unique character that herringbone flooring brings are well worth the effort.
With proper preparation and care, this flooring option stands as a testament to both quality craftsmanship and enduring design.
FAQs
Is herringbone flooring hard to install?
No, if you follow the steps we’ve mentioned above you can do this as a DIY project. But to avoid any issues you have to keep in mind the sequence of steps you are going to do as well.
How do you start a herringbone pattern?
For a traditional look, you should choose a 2×4 or 3×6 size tile.
Does herringbone make a room look bigger or smaller?
It does make a room look bigger and the reason is its pattern. However, different styles with different colors provide a different look to a room. But if you have a small room you should try herringbone flooring it will refresh the size and the look of your room.
Hi, i think that i saw you visited my blog so i came to return the favour.I am trying to find things to improve my website!Is it ok if i use some of the things i saw here?!