
Removing stick-on floor tiles may seem like a daunting task, but with the right tools and steps, it can be a fairly straightforward process. Whether you’re replacing outdated designs or repairing damaged sections, this guide will provide you with essential tips and techniques to efficiently remove stick-on floor tiles and prepare your floor for its next upgrade.
Preparation
Gathering necessary tools
- Utility knife or putty knife
- Heat gun or hair dryer
- Floor scraper or chisel
- Protective gear (gloves, safety glasses)
Clearing the Area
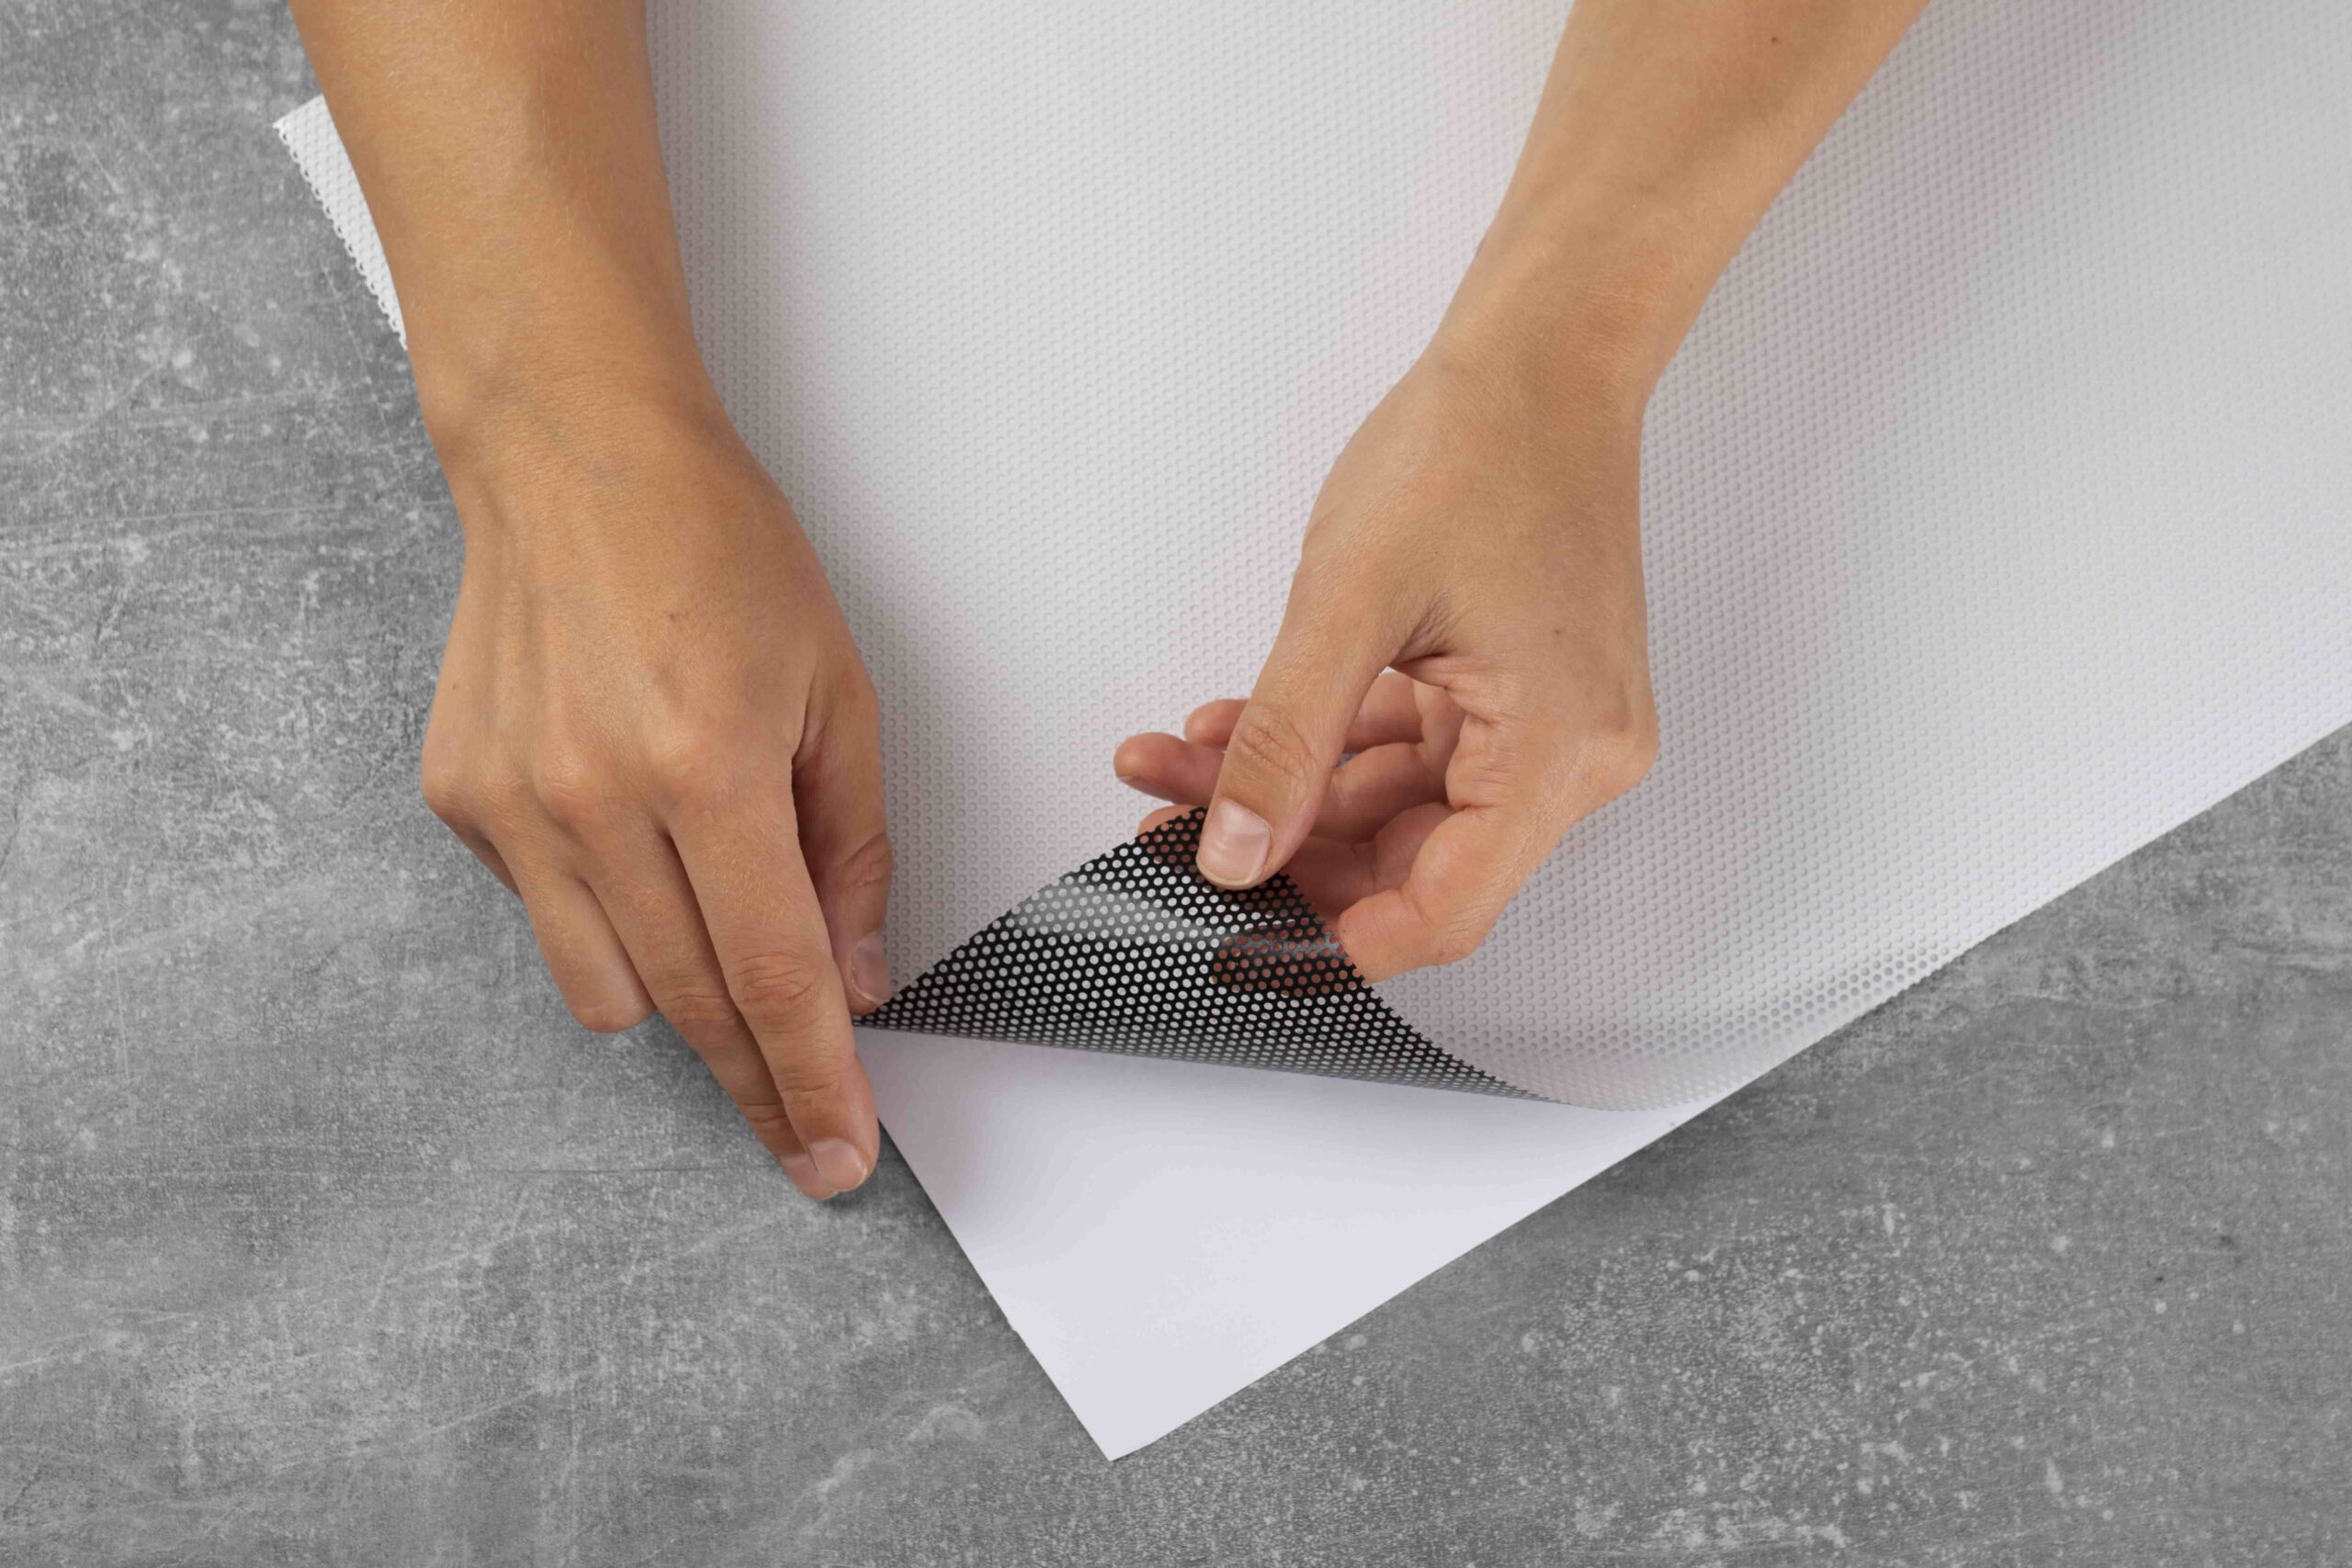
Before you begin the task of removing the stick-on floor tiles, it is crucial to clear the area of any furniture, rugs, or other items that may obstruct your work.
Prepare a clean, uncluttered workspace to ensure your safety and the efficiency of your task. If you have heavy furniture that’s difficult to move, consider covering it with a protective sheet to shield it from dust or debris.
Remember, a clear area will provide you with better visibility and ease of movement. It will also reduce the risk of accidentally damaging any items in the room during the removal process.
Warming the Tiles
Using the Heat Gun to Soften the Adhesive
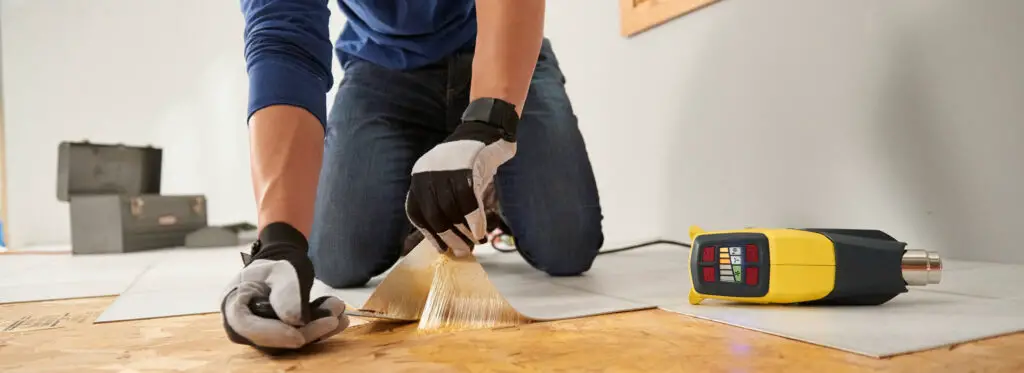
Once you have your workspace prepared, start with one tile at a time. Plug in your heat gun or hair dryer and set it to a medium to high setting. Hold the device a few inches above the tile surface and move it over the tile in a slow, circular motion.
Be cautious not to hold the heat source too close to the tile as it may cause it to burn or melt. The goal is to warm the tile enough to soften the adhesive beneath it.
This process might take a few minutes, but be patient. Once the adhesive is softened, it will be much easier to lift the tile using your utility knife or putty knife. Remember to turn off the heat gun or hair dryer before proceeding to the next step.
Ensuring safety
When using a heat gun or hair dryer, always remember to wear protective gear like gloves and safety glasses. The heat can cause the adhesive to release fumes, which may be harmful if inhaled.
Protective gear will not only protect you from any potential harm but also provide you with better grip and dexterity when handling tools.
Scrapping Off Tiles
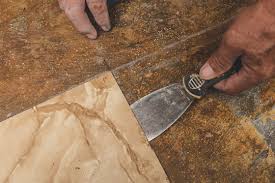
After warming the tile and softening the adhesive beneath it, you can begin to remove it. Take your scraper or utility knife, and gently insert it under the edge of the heated tile. Be careful to avoid pushing too hard or too abruptly, to prevent damage to the subfloor beneath.
Slowly and steadily, work the scraper under the tile, maintaining a low angle to keep the action smooth and reduce the risk of causing damage.
As the edge of the tile starts to lift, apply a gentle upward pressure on the handle of the scraper. The adhesive should give way, allowing the tile to be removed.
Repeat this process for each tile across the floor until all tiles are removed. Remember, patience and a gentle touch are key to the successful removal of sticks on floor tiles.
Cleaning the Subfloor
Scrapping Residual Adhesive Off the Floor
Once all the tiles are removed, there will likely be patches of adhesive residue clinging to the subfloor. Removing this lingering adhesive is crucial to prepare the floor for any new covering. To remove the residual adhesive, you’ll need a scraper or putty knife and some elbow grease.
Begin by gently scraping the adhesive with your tool, taking care not to gouge or damage the subfloor. If the adhesive proves to be stubborn, you may need to apply a suitable adhesive remover, following the manufacturer’s instructions.
This should help loosen and dissolve the adhesive, making it easier to scrape away. Keep in mind to ventilate the room well when using chemical removers. After all the adhesive is removed, clean the floor with a mild detergent and warm water to remove any dust or remnants.
Using the Adhesive Remover
If scraping doesn’t completely remove the adhesive, or if the process is too laborious, an adhesive remover can be used as a last resort. There’s a wide range of adhesive removers available in the market, so choose one that’s suited for floor tiles and is safe to use on your type of subfloor.
Always follow the manufacturer’s instructions when using an adhesive remover. Typically, you will apply it to the adhesive residues, wait for the specified amount of time for it to penetrate and soften the adhesive, and then scrape off the adhesive.
Ensure that the room is well-ventilated during this process to avoid inhaling fumes. Wear gloves to protect your hands and consider wearing safety glasses as an extra precaution.
After using adhesive remover, it’s crucial to clean the floor thoroughly to ensure no residue is left behind.
Properly Cleaning and Drying the Floor
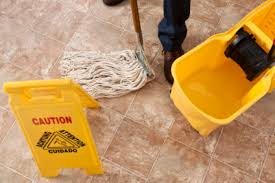
Once the adhesive has been fully removed and the floor is clean, it’s important to ensure the floor is completely dry before installing new flooring. Begin by thoroughly sweeping and vacuuming the area to ensure all debris has been removed.
You can then mop the floor using a mixture of warm water and mild detergent. Take care to rinse the floor well to remove any soap residue. Once the floor is clean, use a dry mop or towels to dry the floor as much as possible.
If you have a fan or dehumidifier, use these to help speed up the drying process. Allowing the floor to dry completely is crucial, as any remaining moisture can lead to problems with your new flooring such as warping or mold and mildew growth.
It’s important to take your time with this step – rushing things could lead to costly and time-consuming issues down the line.
Disposing of the Tiles
After removing the old tiles, it’s essential to pay attention to proper disposal methods and respect local regulations and guidelines. In many localities, specific rules dictate the disposal of construction debris, including old floor tiles.
These regulations are in place to prevent environmental contamination and to promote recycling efforts. In some areas, tiles may be accepted at local recycling facilities, especially if the tiles are made of materials like ceramic or porcelain.
In other cases, you may need to take the tiles to a special waste disposal facility or arrange for a special pickup. It’s important not just to dispose of tiles in your regular household trash.
Always check with your local waste management facility or municipality for guidance. Ignoring these rules may lead to penalties or fines.
Related Topics:
Conclusion
Successfully removing stick-on floor tiles requires patience, correct tools, and a thorough approach. It’s not just about peeling off the tiles; the aftermath of cleaning the floor, ensuring it’s completely dry, and disposing of the tiles responsibly are crucial steps to prevent potential issues in the future.
Adhere to local regulations for tile disposal to promote sustainable practices and avoid penalties. It may seem like a daunting task, but with careful planning and execution, you can prepare your floor for a fresh, new look.
FAQs
Do I need to use a particular type of adhesive remover?
There are various types of adhesive removers available on the market. You can choose one that is specifically made for your type of tile or consult with a professional to determine the best product for your needs.
Can I reuse stick-on floor tiles after removing them?
Unfortunately, stick-on floor tiles are not reusable once removed as the adhesive loses its effectiveness. It’s best to dispose of them properly and use new tiles for your next project.
How do I know if the subfloor is damaged after removing stick-on floor tiles?
After removing the tiles, thoroughly inspect the subfloor for any damage or residue from the adhesive. If you notice any issues, it’s best to consult with a professional for repairs or replacements.
1 thought on “How To Remove Stick On Floor Tiles: Safely!”