
When it comes to renovating or updating your home, one of the most common projects is removing old floor tiles. While this task may seem daunting at first, with the right tools and techniques, you can easily remove floor tiles from concrete on your own.
Whether you’re looking to update your flooring or want to replace a damaged tile, learning how to remove floor tiles from concrete is an essential skill for any homeowner.
Importance of Safety Measures
Prior to starting the tile removal process, it’s crucial to prioritize safety measures. Removing tiles from concrete can be a messy and potentially hazardous task. It often involves the use of heavy tools and the creation of dust and debris, which can cause injury if not managed properly.
Therefore, wearing suitable protective gear such as safety glasses, work gloves, and a dust mask is essential. Additionally, ensuring the work area is well-ventilated will help to minimize dust inhalation.
Remember, protecting yourself is not just about immediate safety, but also about preventing potential long-term health complications.
Materials Needed
- Safety glasses
- Work gloves
- Dust mask
- Pry bar or floor scraper
- Hammer
- Chisel
- Floor scraper with a razor blade attachment (optional)
- Heavy-duty vacuum cleaner
Preparation
Preparing the Area
Before you begin the process of tile removal, it’s essential to prepare the area to maintain a safe and efficient workspace. Start by removing any furniture, rugs, and other movable items from the room.
If there are fixtures or immovable objects, consider covering them with a tarp or plastic sheeting to protect them from dust and debris. To further control the spread of dust, close any doors leading to other rooms and cover air vents with plastic sheets.
Remove any baseboards or trim that may obstruct your working area; these can be gently pried away from the wall with a pry bar. Lastly, sweep the floor to remove any loose debris.
By taking these steps, you will ensure an unobstructed, clean space to work in, minimizing potential hazards and making the process of tile removal as straightforward as possible.
Protective gear
As mentioned before, personal protective equipment (PPE) is vital in ensuring your safety while removing floor tiles. Here’s a closer look at the necessary gear and why it’s essential to wear them:
- Safety glasses: Fragments of tile or other sharp debris can fly off during the removal process, potentially causing eye injuries. Safety glasses provide protection against these hazards.
Removing the Tiles
Techniques for Loosening the Tiles
Often, floor tiles will be firmly adhered to the concrete beneath them, necessitating a technique to loosen and lift them. Here are a few methods to help:
Hammer and chisel: This is the most common method and requires a good deal of physical effort. Position the chisel at an angle at the edge of the tile and strike with the hammer. This should start to lift the tile from the concrete. Be careful not to strike too hard, as this can cause the tile to shatter, creating more mess to clean up.
Pry bar or floor scraper: If the tiles are not too firmly stuck, you might be able to pry them up using a pry bar or floor scraper. Place the edge of the tool beneath the edge of the tile and apply pressure. The leverage created should lift the tile.
Floor scraper with a razor blade attachment: For stubborn tiles or if the adhesive beneath the tiles is very sticky, using a floor scraper with a razor blade attachment might be more effective. This tool can slide under the tile, cutting through the adhesive and making it easier to lift the tile.
Methods for Prying or Lifting the Tiles
Once you’ve loosened the tiles, the next step is lifting them off the concrete. This step can also prove challenging, but multiple methods can help:
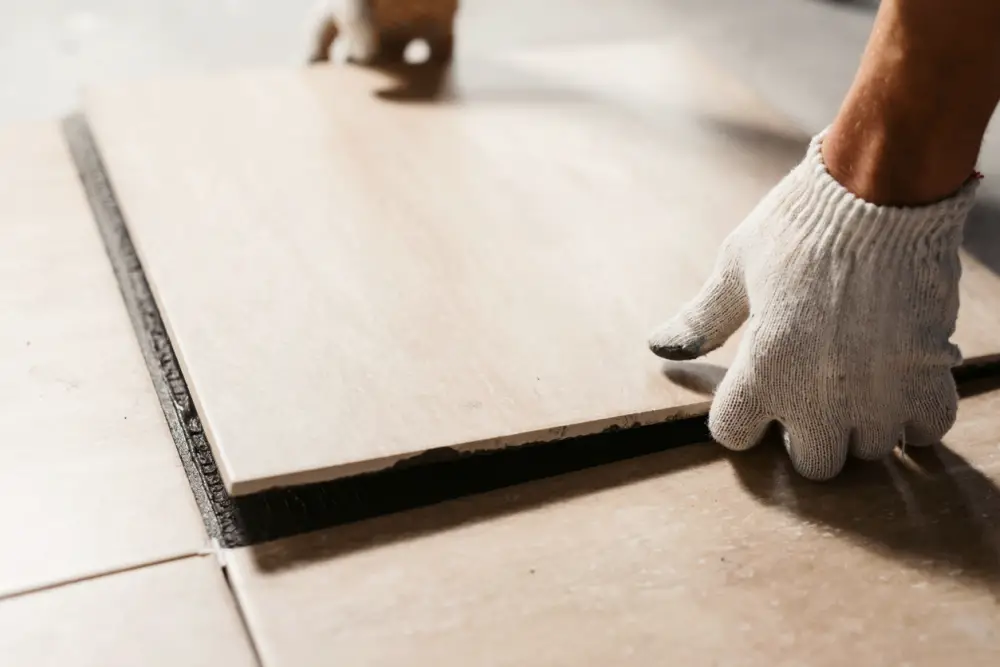
Using a pry bar: Push the pry bar’s edge under the loosened tile’s edge and apply upward pressure. The tile should pop off the floor. If the tile doesn’t come up easily, try moving the pry bar around and lifting different parts of the tile.
Leverage with a long-handled floor scraper: If the tiles are stubborn, a long-handled floor scraper can provide the necessary leverage. Slide the scraper beneath the tile and use the handle to apply pressure, prying the tile off the floor.
Heat gun method: If some tiles are particularly resistant to being removed, a heat gun can help. Aim the heat gun at the tile to warm the adhesive underneath. As the adhesive softens, use a floor scraper or pry bar to lift the tile.
Dealing with Adhesive
How to remove leftover adhesive
After removing the tiles, you’ll often find patches of adhesive still clinging to the concrete. Here are a few methods to deal with leftover adhesive:
Scraping: Start by using a floor scraper or a putty knife to scrape off as much of the adhesive as you can. Be careful not to gouge or damage the concrete floor beneath.
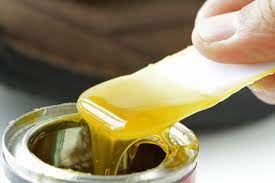
Adhesive remover: If scraping doesn’t remove all the adhesives, consider using a commercial adhesive remover. Apply the remover according to the manufacturer’s instructions, usually by spreading it over the adhesive and letting it sit for a specified amount of time. Afterward, you can scrape off the softened adhesive.
Grinding: For particularly stubborn adhesive or when you need to prepare the surface for a new flooring installation, you might need to grind the concrete floor. Use a floor grinder with a diamond grinding pad, moving it in small circles over the adhesive until it’s removed. Always use protective gear, including safety glasses, gloves, and a respirator, when grinding concrete.
Heat gun method: Similar to the tile removal process, a heat gun can also soften the adhesive for easier removal. Once the adhesive is heated, use a scraper to lift it away.
Safe Disposal of Adhesive
Once the adhesive has been successfully removed, it’s essential to dispose of it properly to prevent any potential harm to the environment or risk of fire. Adhesives are classified as hazardous waste, and as such, they should not be thrown in the regular trash. Instead:
Hazardous waste collection: Check with your local government or waste disposal company for information about hazardous waste collection programs. These programs typically have specific sites where you can drop off your adhesive waste for proper disposal.
Re-homing: If there is any adhesive left in the original container that can still be used, consider giving it to someone who might need it, such as a local school, community center, or a neighbor undertaking a DIY project.
Dry it out: If the adhesive is water-based, you can leave the container open in a well-ventilated area away from pets and children until the adhesive dries out completely. Once it’s dry, it can be disposed of safely with regular household waste. Always check local regulations as this may not be allowed in all areas.
Special waste facilities: Some areas have special waste facilities where you can take hazardous items, including adhesives, for proper disposal.
Cleaning and Preparing the Concrete
Techniques for cleaning
After the adhesive is removed and disposed of properly, the next step is to clean and prepare the concrete surface for the next phase of your project. Here are some techniques you can employ:
Sweeping: Start by sweeping the area thoroughly to get rid of any loose debris. This can be done using a regular broom or a shop vacuum for the best results.
Scrubbing: For any stubborn adhesive residue, scrubbing with a hard-bristle brush can be effective. You can use a mixture of warm water and mild detergent for this process.
Pressure Washing: If the concrete surface is outdoors, a pressure washer can be a useful tool to clean the surface. Remember to adjust the pressure settings appropriately to avoid damaging the concrete.
Chemical Strippers: For extremely stubborn spots, you might want to consider using a chemical stripper. Always follow the manufacturer’s instructions and ensure proper ventilation while using these products.
Neutralizing: After cleaning, it’s essential to neutralize the surface, especially if you’ve used any chemical strippers. You can use a mixture of baking soda and water for this. After applying the mixture, rinse the surface thoroughly and let it dry.
Preparing for New Floor Covering
After the concrete surface is cleaned and neutralized, it’s time to prepare it for the new floor covering. The following steps detail how to get your surface ready for its new look:
Inspect the surface: First, inspect the surface for any cracks or imperfections. These should be addressed before proceeding with the new flooring installation to ensure a smooth and level surface.
Repair any damage: Use a concrete repair mix to fill in any cracks or holes you’ve found. Follow the manufacturer’s instructions for the best results.
Level the surface: If the floor is not level, use a self-leveling compound. This will help to avoid any uneven surfaces that could cause problems with your new flooring.
Apply a primer: Applying a primer to the concrete will help the new flooring adhere better. The type of primer will depend on the flooring material you’ve chosen, so be sure to choose a primer that’s compatible with your new floor.
Plan your layout: Finally, before you begin laying your new flooring material, it’s a good idea to plan your layout. This can help to avoid waste and ensure that your floor looks its best once completed.
Related Topics:
Conclusion
Removing floor tiles from concrete may seem like a daunting task, but with the right tools and techniques, it can be done efficiently and effectively.
By following the steps outlined in this guide, you can successfully remove old floor tiles and prepare your concrete surface for its new flooring. Always remember to prioritize safety and take proper precautions when working with any chemicals or tools.
With patience and attention to detail, you can achieve beautiful and durable flooring for your space. So go ahead, roll up your sleeves, and get ready to transform your floor!
Happy renovating! Remember if you are looking for content to complete the project of this article or other home improvement tasks – check out our other articles for more informative guides. Thanks for reading!
FAQs
Can I remove floor tiles without damaging the concrete?
Yes, it is possible to remove floor tiles without causing significant damage to the concrete underneath. However, some minor scratches or imperfections may occur during the removal process.
Do I need special tools for removing floor tiles from concrete?
While certain tools can make the process easier, you can remove floor tiles from concrete with basic hand tools such as a chisel and hammer. However, an electric or pneumatic jackhammer may be more efficient for larger areas.
Can I reuse the old floor tiles after removing them?
It is not recommended to reuse old floor tiles as they may become damaged or cracked during the removal process. It is best to purchase new tiles for your flooring project.
1 thought on “How To Remove Floor Tiles From Concrete: (Guide)”