Hardwood floors are a great investment for any home, adding both beauty and value. However, when hardwood flooring is exposed to moisture, it can become warped and begin to buckle. If left unchecked, this can result in significant damage that could potentially cost thousands of dollars to repair.
Fortunately, there are steps you can take to fix a buckling hardwood floor and prevent further damage.
Brief explanation of the problem
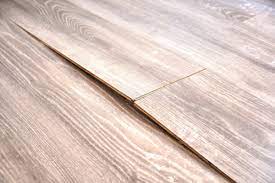
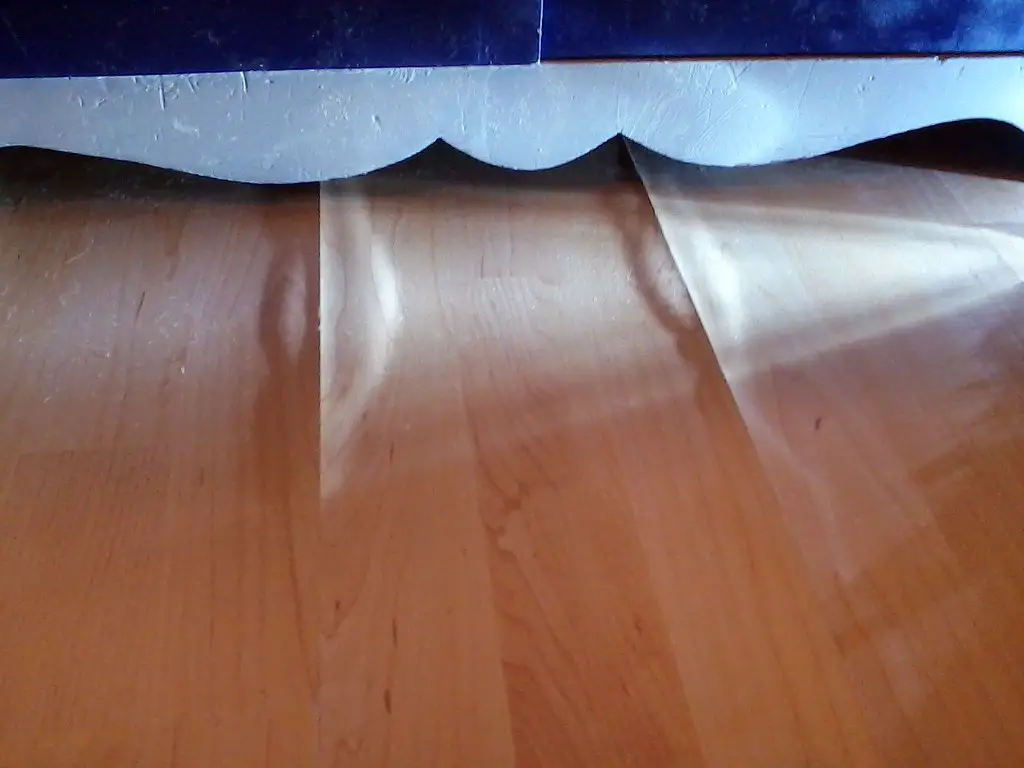
Buckling is a type of warping that happens when moisture or humidity seeps into the hardwood and causes it to expand. This can cause the floorboards to rise, creating an uneven surface that feels like walking on a trampoline.
If left unchecked, the buckling can cause serious damage to subfloors and walls, as well as increase the risk of injury.
Importance of timely repair
It is important to address buckling hardwood flooring as soon as possible. If the moisture problem is not addressed, the damage can quickly spread and become more costly to repair.
Additionally, a buckled floor creates an uneven surface that increases the risk of slips and falls, potentially leading to serious injury.
Identifying the Causes
Excess moisture

The most common cause of buckling hardwood flooring is excess moisture in the subfloor or environment. This could be caused by a number of factors, such as flooding, plumbing leaks, high humidity levels, or condensation from a cold surface.
It’s important to identify the source of the moisture and address it before attempting to fix the buckled hardwood.
Improper installation

In some cases, buckling hardwood floors can be caused by improper installation. This could include inadequate acclimation of the wood, or not allowing for enough space between the boards and walls.
It’s important to make sure that there is at least a 1/4 inch gap between the walls and floorboards in order to prevent warping from occurring.
Temperature fluctuations
Temperature fluctuations can also cause hardwood floors to buckle. When the temperature rises and falls over a short period of time, it causes the wood to expand and contract, leading to warping.
This is why it’s important to keep interior temperatures consistent and avoid large changes in humidity levels.
Preparation
Material and tool checklist
- Hardwood floor repair kit
- Hammer
- Safety goggles
- Drill and drill bits
- Wood glue
- Putty knife
- Sandpaper
Safety precautions
Before attempting to repair a buckled hardwood floor, it’s important to take certain safety precautions. This includes wearing safety goggles when using power tools or hammering nails into the wood.
Additionally, you should wear a dust mask when sanding the floor and make sure that there is adequate ventilation in the room.
Step-by-Step Process
1. Removing the Affected Planks

The first step in the repair process is to remove the buckled planks. Begin by using a circular saw or a pry bar to carefully cut or pry the damaged planks away from the rest of the floor.
When using power tools, ensure you’re wearing safety goggles to protect your eyes. Apply gentle, even pressure while doing this to avoid causing further damage to the surrounding planks.
Once the damaged planks are removed, clean the subfloor beneath them. Remove any remaining adhesive, nails, or debris, as these could interfere with the new planks adhering correctly. If the subfloor is damp, allow it to dry before proceeding to ensure the new planks do not buckle.
Remember to handle the removed planks with care, especially if they are to be reused. If the planks are too damaged or warped, they will need to be replaced. Measure and cut new planks to match the size of the ones you removed.
2. Dealing with the Underlying Cause
After removing the buckled planks and prepping the subfloor, it’s crucial to address the underlying cause of the buckling before proceeding with the repairs. Often, buckling is caused by moisture problems.
These can occur due to changes in humidity, leaks, or inadequate waterproofing. If excess moisture is the issue, using a dehumidifier can help to bring down the humidity levels in the room.
Leaks should be located and repaired promptly, and any damaged waterproofing should be replaced. If the issue was caused by inadequate expansion gaps, these should be corrected when the new planks are installed.
Ignoring the underlying cause and simply replacing the planks can lead to the same issue recurring in the future.
Once the issue has been resolved, you can proceed with installing the new planks. Remember to acclimate the new flooring planks in the room where they’ll be installed for at least 48 hours before installation to minimize future shrinkage or expansion.
3. Reinstalling Hardwood Planks
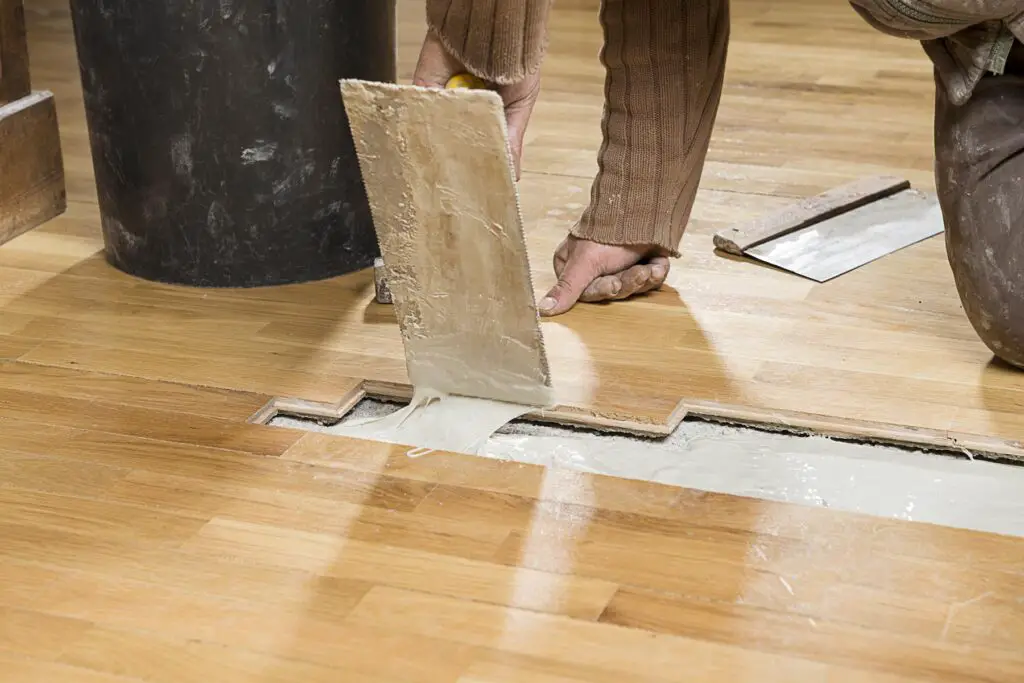
Reinstalling hardwood planks begins with careful alignment. Ensure the replacement plank fits perfectly in the open space. If you’re reusing the original plank, ensure it’s flat and free of damage.
Apply a suitable adhesive to the bottom of the plank and gently place it into position, making sure to follow the original direction of the wood grain.
Remember to leave the appropriate expansion gaps around the perimeter of the room, as these are critical in preventing future buckling. Once placed, use a hardwood flooring nailer to secure the plank to the subfloor.
Be careful to avoid any pipes or cables that might be present under the subfloor.
After installation, clean the surface of any excess adhesive before it dries. Then, apply a matching wood filler to any visible nail holes for a seamless finish.
Allow the newly installed floor to rest and settle for at least 24 hours before walking on it or placing furniture. This rest period allows the adhesive to dry properly and the planks to acclimate, ensuring a long-lasting, beautiful hardwood floor.
4. Sanding and Finishing

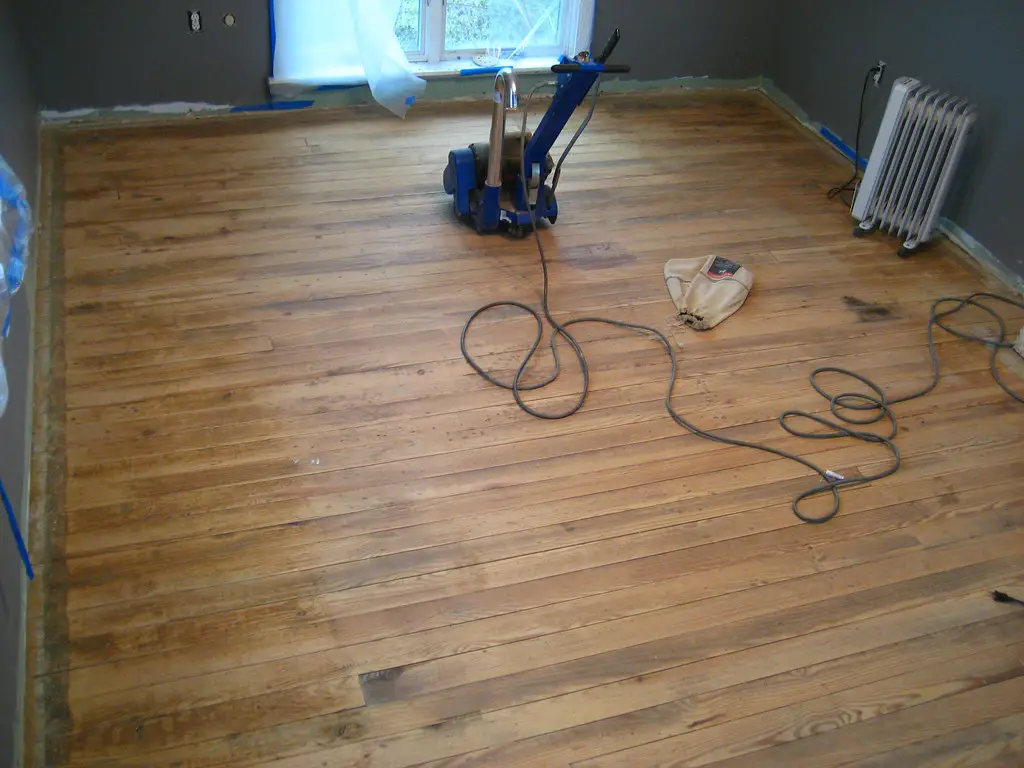
After allowing your newly installed hardwood floor to rest and settle, the next step is sanding and finishing. Start by using a drum or belt sander with coarse-grit sandpaper (about 40 grit) to remove any high spots and level out the new planks with the existing floor.
Remember to always sand along the grain, not against it, to avoid scratching the wood.
Once the floor is level, switch to a finer-grit sandpaper (80 to 100-grit) for the second pass. This will smoothen the wood and prepare it for finishing. Be sure to vacuum or sweep up all the dust after each sanding pass; dust left on the floor can cause problems with your finish.
When the floor is smooth and clean, you’re ready to apply the finish. Use a high-quality polyurethane for a durable, long-lasting finish. Apply the finish with a brush or a lamb’s wool roller in smooth, even strokes along the direction of the grain.
Allow the first coat to dry for 24 hours, then lightly sand it with fine-grit sandpaper (220-grit) to prepare for the second coat.
Apply a second coat of finish, and let it dry for another 24 hours. Remember, patience is key during this process. Rushing the drying process may lead to an uneven finish or other problems down the road.
Once the finish is dry, your hardwood floor should look new and be ready for use.
Always remember to check the manufacturer’s instructions on your finished product for the best results, including recommended drying times and the ideal number of coats.
Related Topics:
Prevention Tips
Proper acclimation of wood
It is important to properly acclimate hardwood planks before installation. The planks should be left in the room where they will be installed for a period of time, usually two weeks, so that they can adjust and become familiar with the air humidity level of their new environment.
This will help to avoid issues like buckling later on.
Maintaining suitable temperature and humidity
Humidity and temperature play a big role in preventing hardwood floor buckling. Make sure to keep the humidity level in the home between 45% and 65%, as anything outside of this range can cause problems with your floors.
Additionally, try to keep the temperature in the home stable; sudden fluctuations can lead to expansion and contraction of the wood that ultimately results in buckling.
Regular maintenance and inspections
Regular inspection and maintenance of your hardwood floors will help to ensure that any issues like buckling are identified and addressed before they become bigger problems. Look for signs of wear and tear, as well as changes in the flooring’s shape or color.
Checking for these early warning signs can save you a lot of time and money down the line.
Conclusion
Taking the proper steps to prevent hardwood floor buckling is essential for ensuring that your home remains safe and comfortable. Proper acclimation of wood, maintenance of suitable temperature and humidity levels, and regular inspections are all important factors in maintaining a healthy hardwood floor.
By following these guidelines, you can help protect your investment and enjoy your beautiful floors for years to come.
Encouragement for professional help if necessary
While the aforementioned steps can greatly aid in the prevention and initial detection of hardwood floor buckling, it is also crucial to recognize when professional help may be necessary.
If you notice persistent issues, or significant changes in your floor’s appearance, or if the buckling is widespread, it’s time to consult with a professional. Flooring experts have the skills, experience, and tools necessary to effectively diagnose and rectify such issues.
There’s no shame in seeking professional assistance; after all, your hardwood floor is a substantial investment deserving optimal care.
Remember, addressing the problem promptly with professional intervention can prevent further damage, thus saving you time, and money, and preserving the longevity and beauty of your floors.
FAQs
What causes hardwood floor buckling?
Hardwood floor buckling occurs when the wood expands and contracts due to changes in temperature or humidity levels. It can also be caused by improper installation, inadequate acclimation of the wood, or a lack of maintenance.
How do I prevent hardwood floor buckling?
To prevent hardwood floor buckling, you should maintain suitable humidity levels in your home, properly acclimate the wood prior to installation, and regularly inspect the floors for signs of wear or damage.


2 thoughts on “How To Fix A Hardwood Floor That Is Buckling | Expert Advice”