
When installing peel-and-stick floor tiles, sometimes you may find that the adhesive backing has left behind a sticky residue. This can make it difficult to remove the tile without damaging the surface underneath. Fortunately, there are several steps you can take to safely remove glue from peel-and-stick floor tiles.
Brief Overview Of The Process
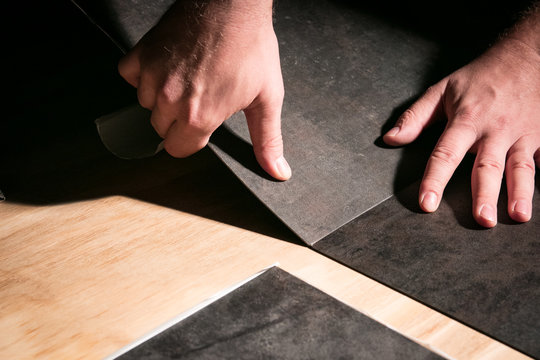
To remove glue from peel-and-stick floor tiles, you will need to take several steps. First, use a putty knife or razor blade to gently scrape off as much of the glue as possible.
Then, use a commercial adhesive remover or rubbing alcohol to loosen the remaining glue and make it easier to scrape away. Finally, clean the surface with soap and water to remove any residue that may remain.
List Of Materials Needed
In order to remove glue from peel-and-stick floor tiles, you will need the following materials:
- Putty knife or razor blade
- Commercial adhesive remover or rubbing alcohol
- Soft cloths
- Soap and water
- Vacuum cleaner (optional)
Inspect the Area
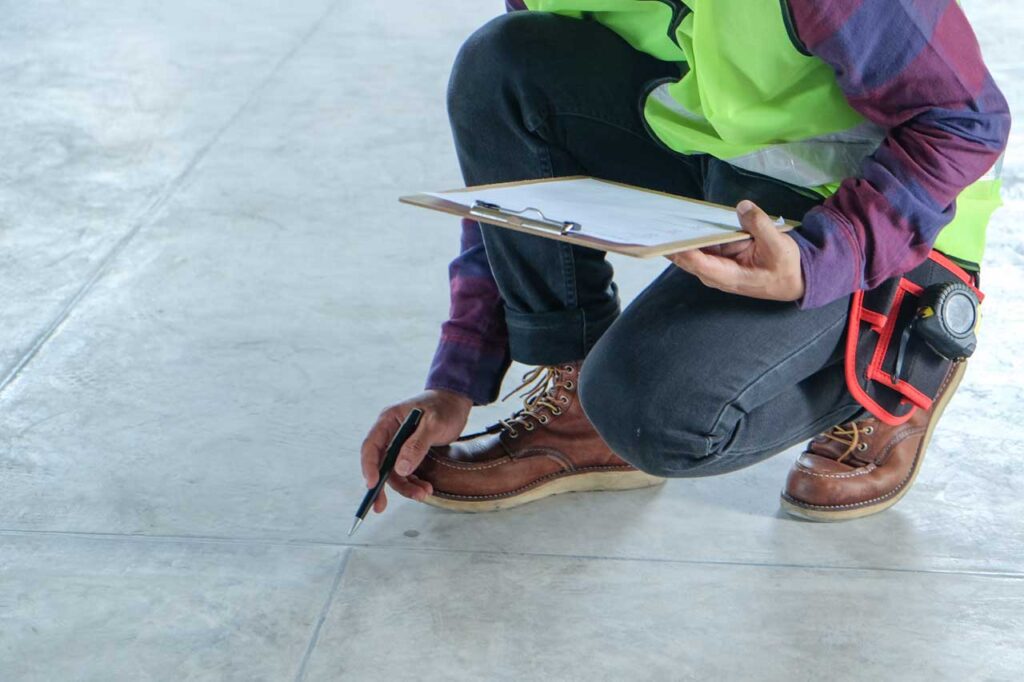
1. How to identify the extent of the glue spots
Before you begin, it’s important to inspect the area and determine how much glue needs to be removed. First, look for any large clumps of dried glue. These can often be scraped off with a putty knife or razor blade without too much difficulty.
If there are smaller spots of glue left behind, use your finger to determine if they are still tacky. If so, they will need to be treated with an adhesive remover or rubbing alcohol before they can be scraped away.
2. Safety measures to consider
When working with chemical products and sharp tools, it’s important to take some safety precautions. Wear gloves and goggles to protect your skin and eyes from the adhesive remover or rubbing alcohol. Also, make sure the area is well-ventilated before you begin working.
If there is little ventilation in the room, open a window or door for fresh air. Finally, it’s a good idea to cover furniture and other items in the room with a drop cloth to protect them from any stray glue or chemicals.
Softening the Glue
1. Process of applying a suitable adhesive remover
Once you’ve identified and inspected the area, you’re ready to begin removing the glue. Start by applying an adhesive remover or rubbing alcohol directly on the spot.
Let it sit for a few minutes before gently scrubbing it with a soft cloth. As you work, you may need to reapply more of the solution in order to fully dissolve the glue.
For dry spots, use a damp cloth to soften them before applying the adhesive remover or rubbing alcohol.
2. Explanation of the waiting period for the glue to soften
After you’ve applied the adhesive remover or rubbing alcohol, it’s important to wait for a few minutes. This allows the solution time to soften and dissolve the glue so that it can be scraped off more easily.
You should also avoid applying too much of the solution as this could damage any nearby surfaces.
Scrapping the Glue
1. Techniques for scraping away the softened glue
Once the glue has softened, it’s time to gently scrape it away with a plastic scraper or putty knife. Start at one corner and work your way across the surface. If you’re having difficulty removing all of the glue, use a damp cloth to help loosen any stubborn pieces.
Keep in mind that too much force may damage the surface, so use a light touch and be sure to take your time.
2. Proper use of a plastic scraper to avoid damaging the tiles
It’s important to use a plastic scraper when removing glue from tiles. Metal putty knives may be too sharp and could easily chip or scratch the tile surface. If you don’t have a plastic scraper, try using an old credit card as this can also work well.
When using any of these tools, make sure that you’re not applying too much pressure as this could cause damage.
Cleaning the Surface
1. Procedure for cleaning the area with mild soap and water
Once all of the glue has been removed, it’s time to clean the surface with mild soap and water. Start by wiping down the area with a damp cloth and then use a sponge or soft brush to scrub away any remaining residue.
Once the surface is clean, rinse it off with clean water and allow it to dry completely before applying a new adhesive.
2. Instructions for drying the surface
In order to ensure that the surface is dry before applying any new adhesive, use a soft cloth or paper towel to pat down any remaining moisture. If necessary, you can use a hair dryer on a low setting to blow away any excess water.
Be sure not to apply too much heat as this could damage the tile surface. Finally, allow the area to air dry for at least an hour before proceeding.
Related Topics:
Post-Cleaning Inspection
1. Importance of inspecting the tiles for any remaining glue
After cleaning and drying the area, it’s important to inspect the tiles for any remaining glue residue. If you find any spots that haven’t been removed, use a plastic scraper to gently scrape away any stubborn bits of glue.
Be sure to check the grout lines as well, since small pieces of adhesive can settle into these areas. Once everything is clear, you can begin applying your new adhesive and completing your project.
2. Steps to repeat the process if necessary
In the event that glue residue remains after multiple attempts, it may be necessary to repeat the process of cleaning and drying. This time, however, use a stronger cleaner such as isopropyl alcohol or mineral spirits to get rid of any stubborn bits of adhesive.
Again, remember to check the grout lines in order to make sure that everything has been removed properly. Once everything is in order, you can begin applying the new adhesive and completing your project.
Conclusion
Recap of the process
In conclusion, removing glue residue from tile surfaces prior to the application of a new adhesive is essential. The process starts by spraying down the area with warm water and using a soft cloth or brush to scrub away any remaining debris.
Once everything has been cleared away, use a soft cloth or paper towel to pat dry the surface, and then allow it to air-dry for at least an hour. After drying, it’s important to inspect the tiles for any remaining glue residue and use a plastic scraper to remove any stubborn bits of adhesive if necessary.
If all else fails, repeat the process with a stronger cleaner such as isopropyl alcohol or mineral spirits. Following these steps will ensure that you have removed anything that may keep your new adhesive from adhering properly.
Additional tips and warnings for maintaining peel-and-stick floor tiles
When it comes to maintaining peel-and-stick floor tiles, there are a few additional tips and warnings to keep in mind. Be sure to wash the tiles regularly with warm water and mild soap. For tough stains, you can use a stronger cleaner such as diluted vinegar or isopropyl alcohol.
Additionally, avoid using abrasive cleaners, scrubbing pads, or other harsh chemicals, as these can damage the surface of the tile. Above all else, be sure to clean up any spills or messes quickly before they have a chance to set into the tiles.
Doing so will help ensure that your floor looks great for years to come!
FAQs
What is the best way to seal peel-and-stick tiles?
The best way to seal peel-and-stick tiles is to use a high-quality, water-based flooring sealer. After prepping the surface of the tile with warm water and mild soap, apply two thin coats of sealer using a soft cloth or brush.
Allow the sealer to dry completely between coats, and then inspect the surface of the tiles for any remaining streaks or smears that may have been missed. Once everything has been sealed properly, let it sit for at least 24 hours before walking on it or putting furniture back in place.
Following these steps will ensure your peel-and-stick tile is properly protected against damage for years to come.
What are the advantages of using peel-and-stick tiles?
Peel-and-stick tiles offer numerous advantages over traditional tile flooring, including easier installation, less mess, and lower cost. Because they come with adhesive already applied to the back of each piece, all you have to do is simply peel off the paper backing and press them in place.
This makes for a much shorter installation time than other types of tile, with no need to mix or apply grout or adhesive. Peel-and-stick tiles are also easy to reposition during installation, making them great for DIYers who may not be confident in their tiling skills.
2 thoughts on “How To Remove Glue From Peel And Stick Floor Tiles | A Comprehensive Guide”