
Are you looking to combine tile and wood flooring in your home? It is an increasingly popular design trend that can add both style and function to your interior space. Combining hardwood floors with ceramic, porcelain, or other types of tile is a great way to create a unique look that adds personality and texture to any room.
In this article, we will discuss the basics of combining tile and wood flooring, from what types of materials work best, to installation techniques, and tips for maintenance and upkeep.
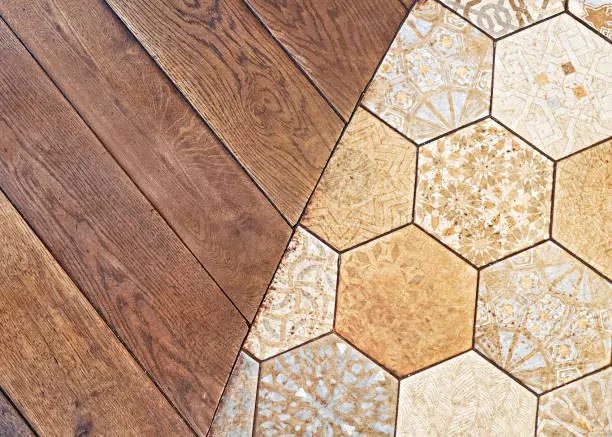
Why combine tile and wood flooring?
When done right, combining tile and wood flooring can be a great way to add texture and character to your home. Tile is a timeless material that adds durability and style, while hardwood floors provide warmth and a timeless look.
By combining the two materials, you can create a unique visual effect that stands out from traditional flooring options. Additionally, combining tile with wood can also be a great way to keep the cost of flooring down, as you’ll need less of each material.
Benefits of combining tile and wood flooring
Combining tile and wood flooring has a range of benefits, including:
Increased Durability: The tile is extremely hard to wear, which means it can withstand high foot traffic and last for many years with proper care. Hardwood floors are also durable, so combining the two materials adds an extra layer of strength to your floors.
Cost Savings: As mentioned above, combining tile and wood flooring can help keep your budget in check. Since you’ll need less of each material, it can help reduce overall costs.
Aesthetic Appeal: Tile and hardwood floors create a stunning visual effect that is both classic and modern at the same time. Plus, this combination will make your home stand out from the rest.
Easy Maintenance: Tile is a low-maintenance material, and hardwood floors are relatively easy to clean and maintain as well. By combining the two materials, you won’t have to worry about too much upkeep or cleaning.
Selection of Materials
Choosing the Right Wood Flooring
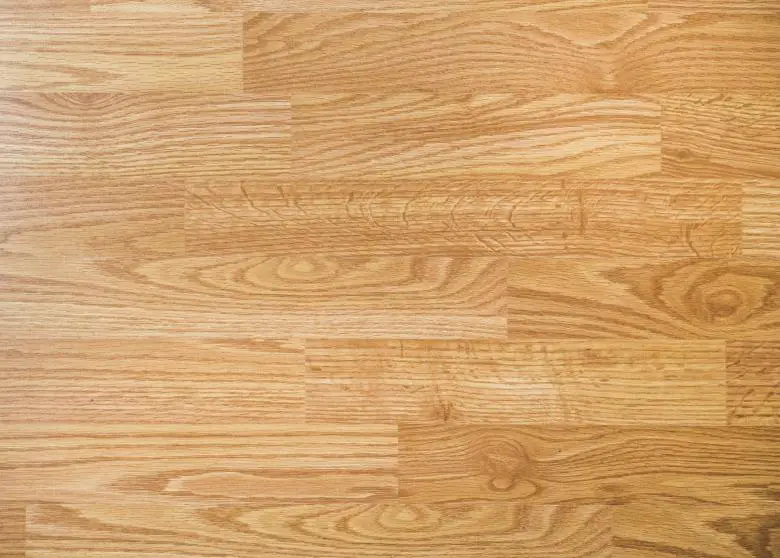
Selecting the correct wood flooring is a crucial step in the process of combining tile and wood flooring. Wood flooring comes in a variety of types, including solid hardwood, engineered hardwood, and laminate.
Solid hardwood is sturdy and long-lasting, but it’s also the most expensive option. Engineered hardwood is more affordable, and it’s designed to withstand fluctuations in humidity and temperature, making it a great choice for kitchens and bathrooms.
Laminate flooring, on the other hand, is the most budget-friendly option. It’s also durable and easy to install, but it doesn’t offer the same aesthetic appeal as real wood.
When selecting your wood flooring, consider the overall design of your home and the room where the flooring will be installed.
Lighter woods like maple and ash can make a small space appear larger and more open, while darker woods like cherry and oak create a cozy, elegant atmosphere.
Also, consider the wood’s grain pattern and finish, as these factors can greatly impact the overall look of your floors. Always remember to factor in the durability and maintenance needs of the wood, as well as your budget, when making your final decision.
Choosing the right tile flooring
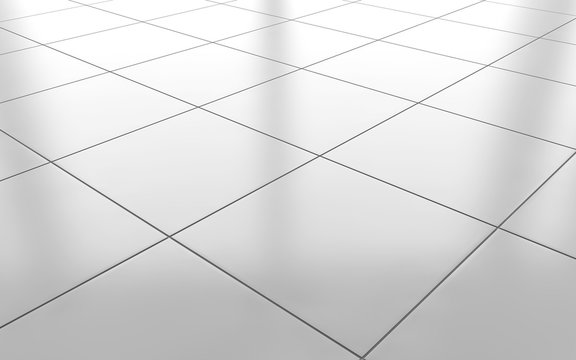
Tile flooring comes in a variety of materials, colors, and sizes, so it’s important to consider all your options before making a final selection.
Ceramic tile is one of the most common types of flooring and it’s available in a wide range of styles, from traditional to modern. It’s also affordably priced and easy to clean and maintain.
Porcelain tile is another popular option and it’s more durable than ceramic tile, but it is more expensive. Natural stone tiles such as marble, granite, and travertine offer a luxurious look and feel, though they can be quite pricey.
When selecting your tile flooring, keep in mind the overall design of your home and the room where the flooring will be installed.
Consider the texture, color, and size of your tiles to create a cohesive look throughout your home. Again, remember to factor in the durability and maintenance needs of the tile as well as your budget when making your choice.
Design Considerations
Designing the transition between wood and tile
Once you have selected your wood and tile floors, it’s time to design the transition between them. This can be done in a variety of ways, from using edging or border tiles to creating a smooth transition between the two floorings.
A popular option is to install hardwood strips at the edge of each room that connects with tile. The strips are available in a variety of sizes and finishes, so you can choose one that matches the color of your wood flooring. You can also use border tiles along the edge to create a decorative element and draw attention away from the transition point.
No matter what option you choose, it’s important to ensure that there is no gap between the two surfaces. This will help prevent dirt and grime from getting trapped between the two materials, which can cause discoloration and staining.
The use of border strips
If you’re looking to create a more traditional look, consider using border strips. These thin pieces of wood are available in a variety of finishes and shapes, so you can find one that complements your wood flooring.
Border strips are installed along the edge of the two floors to provide a clean line between them.
If you opt for a tile with an uneven surface, like slate or terracotta, you should consider using a grout-filled border strip. This will create a smoother transition between the two surfaces while also preventing any dirt or grime from getting stuck in the gap.
Incorporating patterns
Another great way to add visual interest to your transition is by using patterns. For example, you could install a herringbone pattern across the edges of each flooring, or create a chevron design along one side of the room.
Patterns are a simple and cost-effective way to make the two floors look like one cohesive space.
No matter which combination of wood and tile flooring you choose, you’ll be able to create a unique and stylish space that reflects your personal style. With the right design elements, you can create a space where both types of flooring come together in harmony.
Whether you opt for traditional border strips or creative patterns, incorporating tile and wood flooring is a great way to elevate any room.
Installation Process
1. Preparing the Floor Surface
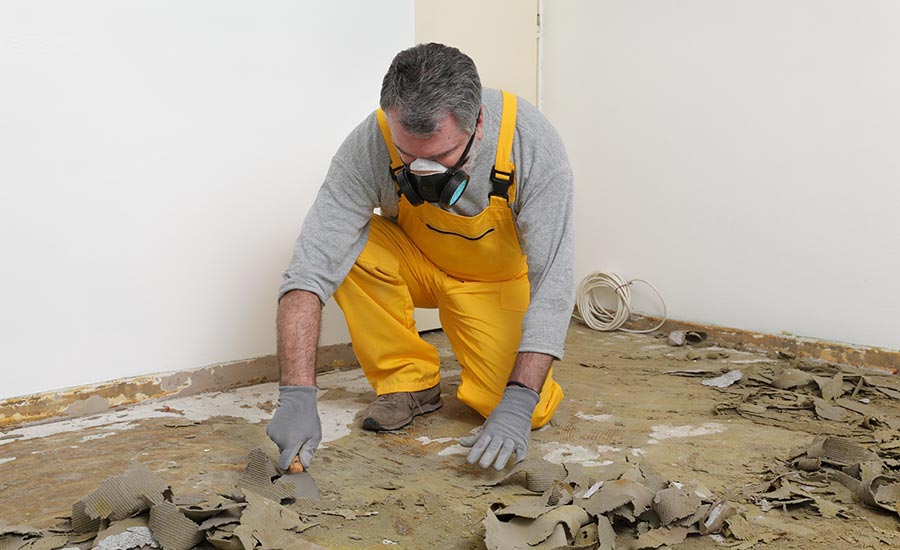
Before commencing the installation, it’s crucial to properly prepare the floor surface. Start by ensuring the subfloor is clean, dry, and level. Any high spots should be sanded down, and any low spots filled with a leveling compound.
Also, remove any existing adhesive residues, nails, or other obstructions that might interfere with the installation.
For wood flooring, it’s crucial to acclimate the material to your home’s environment for at least 48 hours before installation. This allows the wood to adjust to the room’s humidity and temperature, minimizing the possibility of warping or swelling post-installation.
For tile installation, applying a waterproofing membrane can be beneficial, especially in damp areas like bathrooms and kitchens. This will prevent moisture from seeping into the subfloor, prolonging the life of your tile.
Adhering to these preparatory steps will enhance the durability of your flooring and ensure a smoother installation process. Remember, the longevity of your combined tile and wood flooring is as much about the preparation and process as about the materials themselves.
2. Laying the Wood Floor
After preparing the floor surface, you can commence laying the wood flooring. Start by establishing your starting point, which is typically the longest, straightest wall in the room. It’s ideal to lay the boards parallel to this wall.
Use a chalk line to mark your starting point ensuring the first row is straight.
Choose the planks carefully, mixing boards from different packages to achieve a balanced pattern and color distribution.
Remember, it’s crucial to leave a small expansion gap between the wall and the first row of boards to account for natural wood expansion due to changes in humidity and temperature.
Begin laying the floor boards, applying an approved wood adhesive to the bottom of each board as you go. The adhesive should be spread evenly across the entire width and length of the board. Don’t forget to regularly check that the boards are level and straight as you proceed.
Once the first row is laid, continue with the subsequent rows. Always stagger the end joints of adjacent rows by at least 6 inches to enhance the visual appeal and structural stability of the flooring.
Keep checking your work as you progress, ensuring that the floor stays level and the rows remain straight.
Upon reaching the far side of the room, you may need to cut the final row of boards to fit the remaining space. After the installation, give sufficient time for the adhesive to cure before you walk on the floor.
By following these steps, you can ensure a flawless installation of your wood flooring, setting the stage for the subsequent tile installation. Remember, patience and attention to detail are the keys to achieving a perfect finish.
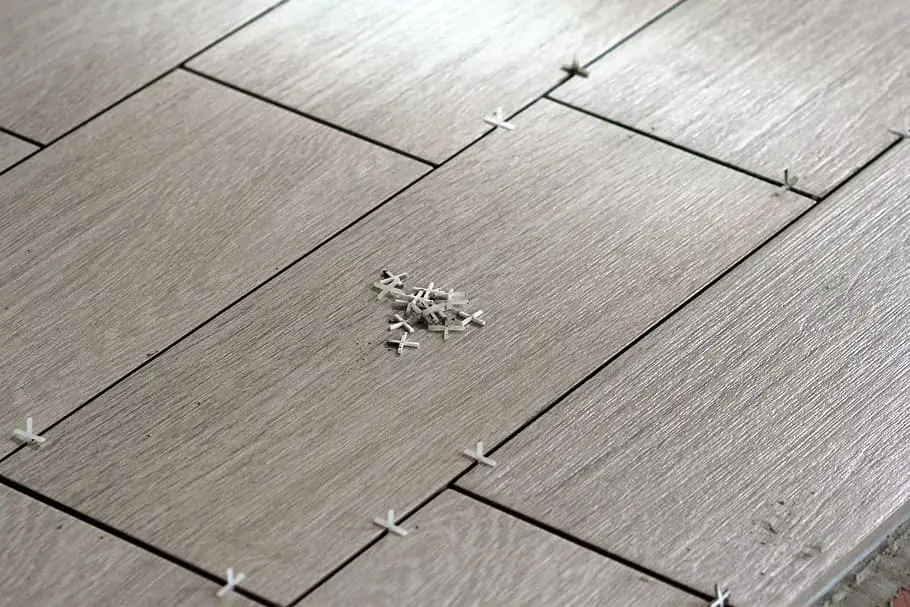
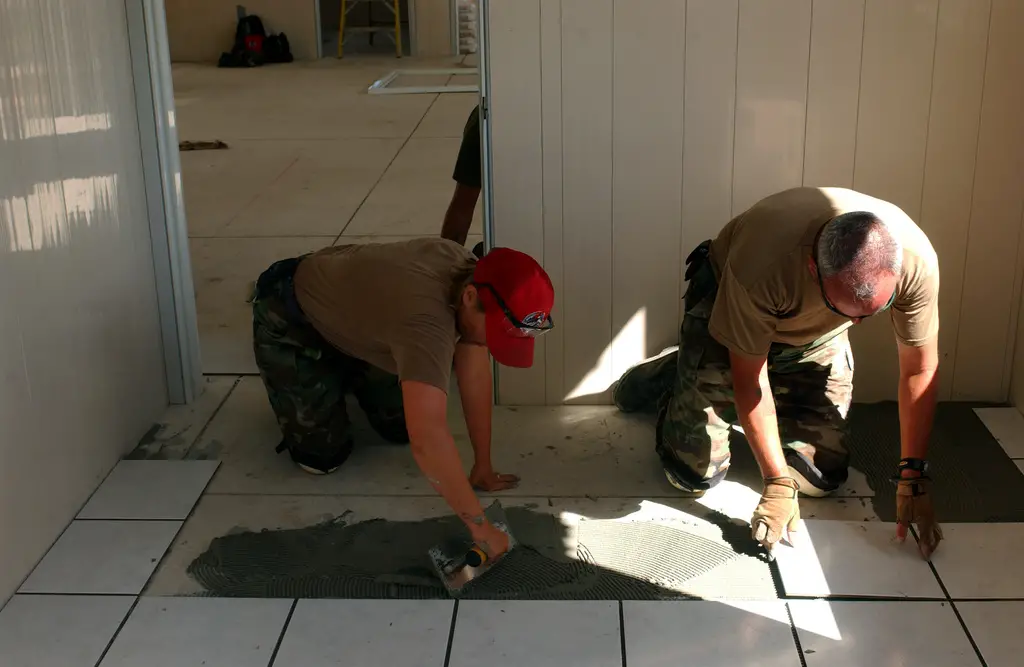
3. Laying the tile floor
With the wood flooring successfully installed, the next step in the process is to lay the tile flooring.
Begin by identifying the midpoint of the room. Use a chalk line to mark a line from the midpoint of each wall, creating a cross in the center of the room. This will serve as your guide for tile placement.
Before applying adhesive, dry fit the first few tiles to ensure proper alignment. Start placing the tiles from the center of the room, and work your way towards the walls. This strategy allows any cut tiles to be located at the edge of the room, where they are less noticeable.
Prepare the tile adhesive as per the manufacturer’s instructions, and apply a thin, even layer using a notched trowel. Press each tile firmly into the adhesive, wiggling it slightly to secure a strong bond. Be sure to leave adequate space between the tiles for grout.
Use a level to regularly check that the tiles are even. Also, remember to periodically clean off any excess adhesive from the tile surface before it hardens.
Continue laying the tiles until the entire floor is covered. Once all the tiles are laid, you need to leave them undisturbed for the duration recommended by the adhesive manufacturer to allow the adhesive to set.
Next comes the grouting process. Mix the grout according to the manufacturer’s instructions and apply it with a rubber float, pressing it firmly into the spaces between the tiles. Wipe away excess grout with a damp sponge, rinsing it frequently.
Once the grout has had sufficient time to cure, apply a grout sealer to protect it from staining and moisture penetration. This step, though often overlooked, is crucial to prolonging the life and look of your tiled floor.
4. Combining the two areas
Once your tile and wood flooring are complete, you can create an interesting transition between the two by installing a thin strip of wood around the perimeter of the tiled area. To do this, start at one corner and place a piece of wood trim underneath the tiles.
Secure it with a small amount of adhesive and continue to lay strips until you reach the other end of the tiled area.
You can also opt for a more dramatic transition by installing a border tile. Select a tile that complements both the wood and tiles to create an aesthetically pleasing effect.
Use a tile-cutting tool to cut out pieces of the border in order to fit them around any obstacles in your way, such as door frames or other fixtures. Secure the border tiles with adhesive and grout as you would with regular tiles.
Finally, add an area rug to complete the look. Select a pattern or color that ties in with the tile and wood flooring to create a cohesive design aesthetic. A throw rug can also be used to define certain areas of your room, such as seating or eating zones.
Combining tile and wood flooring is a great way to add visual interest to your space. With careful planning, creative design elements, and attention to detail, you can create an eye-catching, one-of-a-kind look that’s sure to stand the test of time.
Related Topics:
Maintenance Tips
Cleaning and maintaining your wood and tile flooring
Cleaning your tile and wood flooring will help keep it looking its best for years to come. For tiles, use a damp mop or sponge and mild detergent to prevent dirt buildup.
Avoid using harsh chemicals as these can cause discoloration. For wood flooring, vacuum on a weekly basis, and mop with a damp cloth at least every other week. Avoid soaking the wood with water, as this can cause warping and damage.
It’s also important to use furniture protectors or rugs on high-traffic areas of your tile-wood fusion flooring. This ensures that furniture legs don’t scratch or dent the flooring, and it helps maintain its overall appearance.
For extra protection, you can also apply a sealant to your tiles and wood floors. Doing so will help protect against dirt and moisture buildup, as well as wear and tear from daily use.
Protecting the transition area
When combining tile and wood flooring, it’s important to pay special attention to the area where the two floors meet. To protect this transition area, use a flexible sealant or caulk as well as a metal threshold strip at the base of the door frames.
This will help prevent any dirt, moisture, or debris from entering the space between your floors, which can cause damage over time.
Conclusion
Combining tile and wood flooring is a great way to create an eye-catching, unique look in your home. With careful planning and maintenance, you can ensure that your tile-wood fusion stays beautiful for years to come.
Don’t be afraid to experiment with different design elements or color combinations to make it truly one of a kind! Remember to always use furniture protectors and sealant to further protect your floors from damage.
With the right care, you can enjoy your tile-wood fusion flooring for many years.
Very good article.Really looking forward to read more. Will read on…