
Installing tile flooring is a great way to spruce up your home and add value. But if you’ve ever considered installing tile flooring yourself, you may have been discouraged by the perceived difficulty.
Luckily, with the right tools and planning, DIY tile flooring installation is within reach for any homeowner. Let’s explore some of the benefits of taking on a DIY tile flooring project.
1. Cost-Effective Option
One of the biggest advantages of doing it yourself is that it can be much more cost-effective than hiring an installation professional.
Not only will you save money on labor costs, but you’ll also have access to wholesale prices on materials when shopping at a local hardware store or online retailer.
Plus, with a bit of research into different materials and processes, you may find that there are better deals out there than what your local contractor can offer.
2. Customization
When tackling a DIY tile flooring project, you can customize your design in countless ways. Whether you want to mix and match colors or create intricate patterns with multiple types of tile, doing it yourself allows you to experiment until you get the look that fits your style best.
This kind of customization won’t be available if you hire someone else to do the job for you unless they are willing to work with your specific design ideas.
3. Personal Satisfaction
There’s something incredibly satisfying about being able to stand back and admire your own handiwork.
When you take on a DIY tile flooring project, not only will you be rewarded with beautiful results that match your style preferences but also the immense gratification that comes from having completed it all by yourself!
Plus, this newfound skill may come in handy in other areas of home improvement down the road!
Related Topic: How To Remove Glue From Floor Tiles?
Installing A Tile Floor
Installing tile yourself is a great way to save money and have pride in a job well done. However, it’s not an easy task; it requires careful planning and preparation. To help you get started on the right foot, here’s a step-by-step guide to DIY floor tile installation.
1. Plan the Layout
Before you start laying down new tiles, figure out the best layout for your space. Measure the room and create a plan of how you want the finished product to look.
It’s important to measure twice and cut once taking extra time during this step will save you from making costly mistakes later on.
2. Prepare the Subfloor
Once you have a plan, it’s time to prepare the subfloor for installation. This is one of the most important steps in installing floor tile, as any imperfections in your subfloor can cause problems with your tiling job later on.
Inspect the subfloor and make any necessary repairs before moving on to laying down tiles.
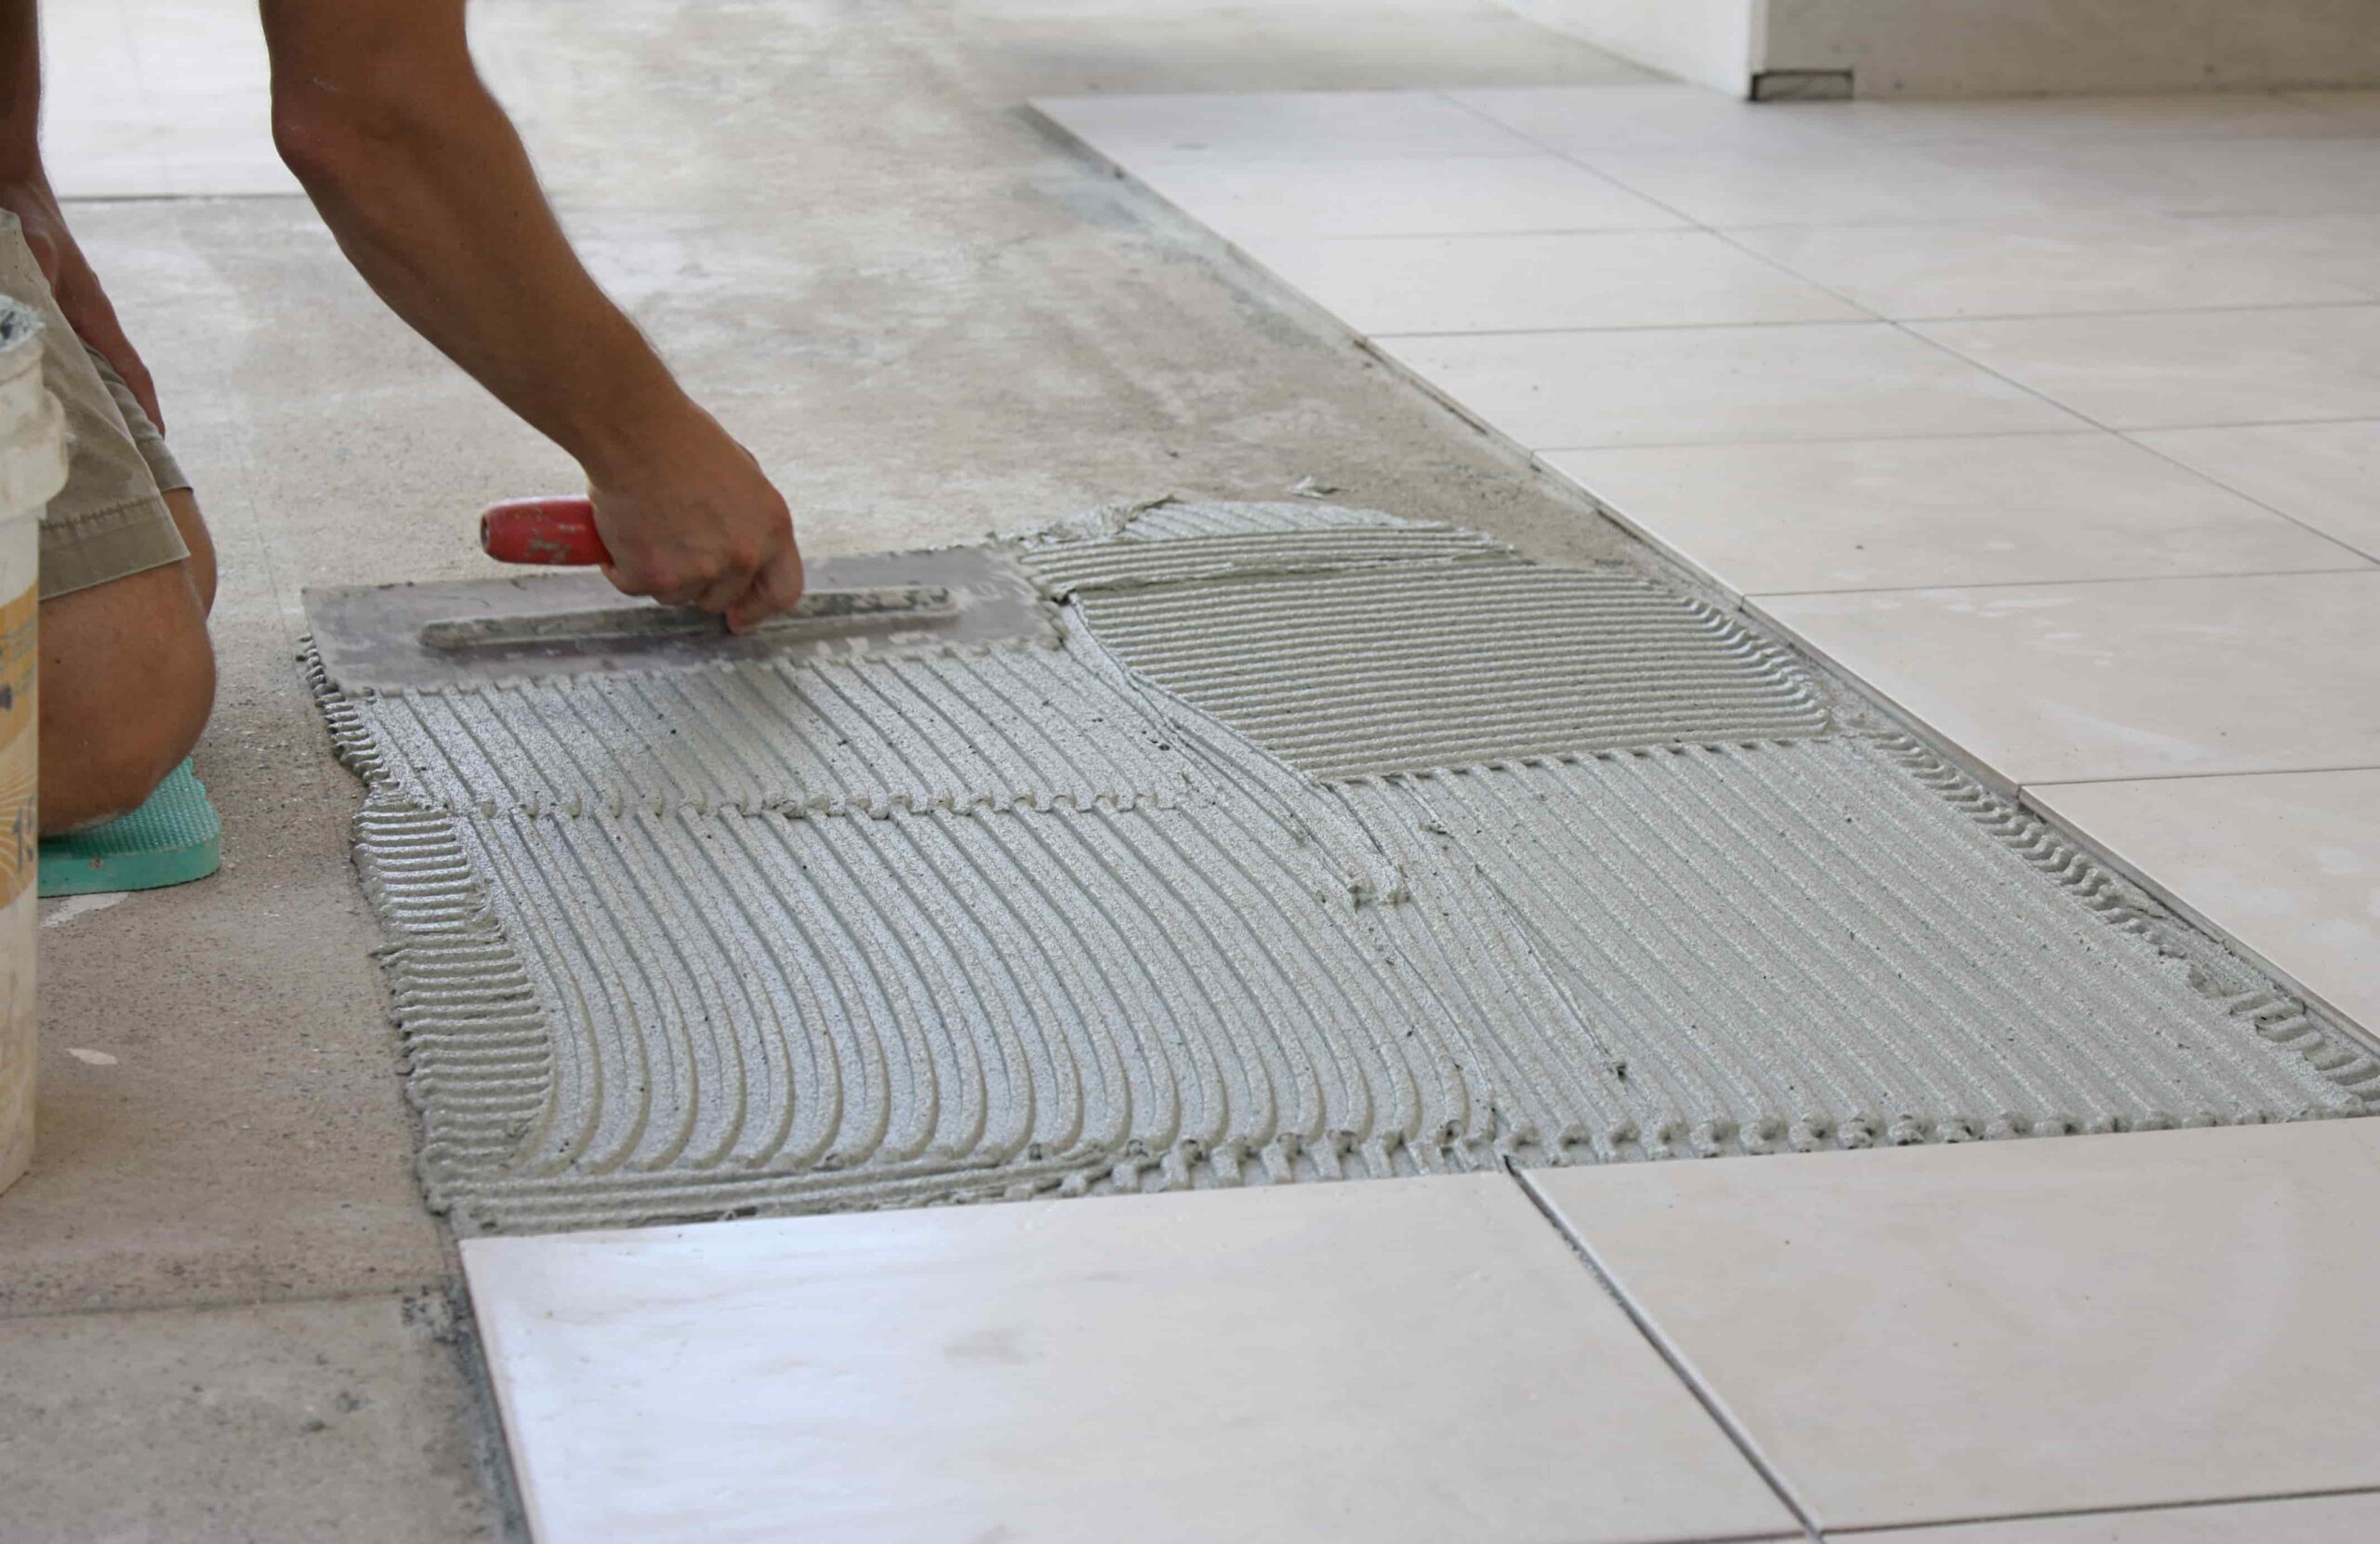
3. Install Tiles
Now comes the fun part – time to lay down those beautiful tiles! Start by spreading adhesive onto your subfloor and then place each individual tile into position one at a time, ensuring that they are all even and level as you go along.
Once all of your tiles are laid down, allow them to set for 24 hours before continuing on with your project.
4. Grout & Seal

Lastly, once all of your tiles are firmly in place, it’s time to grout and seal them so that they stay secure over time.
Spread grout evenly over each row of the tile using a rubber float or putty knife, pressing it into all of the cracks between tiles so that it forms an impenetrable barrier against moisture entering underneath them.
Finally, apply a sealant over the top of all of the grout lines for added protection against water damage and staining in high-traffic areas such as kitchens or bathrooms.”
Related Topic: What Color Tile Goes With Dark Wood Floors?
Safety Measures To Install A Tile Floor
1. Choose the right tile
There are many different types of tile, each with its own advantages and disadvantages. Some tiles are more durable than others, while some are more slip-resistant. It’s important to choose a tile that is appropriate for the room in which it will be installed.
2. Prepare the surface
Before installing a tile floor, it’s important to make sure the surface is level and free of debris. If the surface is not level, the tile may not adhere properly and could crack or break.
3. Use the proper adhesive
Tile floors must be installed with the proper adhesive in order for them to be secure. Be sure to follow the manufacturer’s instructions when choosing an adhesive and applying it to the surface.
4. Install the tile correctly
It’s important to install tile correctly in order to avoid problems later on. Be sure to start in the center of the room and work your way outwards so that the tiles are evenly spaced.
Also, be sure to use spacers between each tile so that they are all level with one another.
5. Grout the tile properly
After the tile has been installed, it’s important to grout it properly in order to fill in any gaps and ensure that the tiles are secured in place. Be sure to follow the manufacturer’s instructions when mixing and applying grout to your floor.
Related Topic: How to Grout Uneven Tiles: 4 Flawless Steps
6. Seal the tile floor
Once the grout has dried, it’s important to seal the tile floor in order to protect it from dirt, stains, and water damage. Be sure to follow the manufacturer’s instructions when choosing a sealant and applying it to your floor.
Conclusion
Installing new tile flooring can be an overwhelming task for anyone – even more so if it’s something that has never been done before! But with careful planning and research, tackling this job on your own doesn’t have to be daunting.
In fact, there are plenty of benefits when homeowners take on this project themselves! From cost savings to customization options and personal satisfaction – DIY tile flooring installation provides homeowners with many advantages over hiring an installer or contractor!
So why wait? Get started today and experience firsthand how rewarding it can be!
FAQs
Is it worth it to tile yourself?
Tiling can be a daunting task, but it can save you money in the long run if you DIY. Without having to pay for labor, materials will make up the majority of your costs.
Consider the space that is being tiled, your budget, tools available, and time before taking on a tiling job yourself it may be worth it!
Should tile be drilled fast or slow?
When drilling tile, it’s important to go slow and steady. Drilling too fast can cause the bit to generate too much heat which can weaken or crack the tile. The slower speed helps distribute heat more evenly, resulting in a cleaner and more professional look.
As a general rule of thumb, never drill faster than 300 rpm with a pilot hole for ceramic tiles, and 1200 rpm for porcelain tiles. This will prevent any damage and easy installation of whatever you are trying to install onto your tile!
Does a floor need to be perfectly flat to tile?
When tiling a floor, it is important to pay attention to the flatness of the surface. A perfectly even surface will ensure the best results, but some minor imperfections can be accounted for during installation.
For larger irregularities, a floor leveling compound should be used before applying tiles in order to create an even plane that will prevent your tiles from becoming loose or uneven over time.
Should I stack or stagger the tile?
When deciding whether to stack or stagger your tile, it’s important to consider the size of the tile and the area you are covering. Stacking may make a room look more spacious, while staggered designs create a more traditional style.
However, depending on the overall look you are trying to achieve, you should always assess your individual situation before making a decision. Ultimately, choosing which pattern best fits your needs will ensure you get the most out of your tile installation.
I think this is a real great blog post. Keep writing.