
Regrouting porcelain tile floors can significantly improve the appearance of your room while also maintaining the floor’s durability and longevity. Over time, grout can become stained, cracked, or crumbled, leading to loose tiles and potential water damage.
The following guide provides a step-by-step process to effectively regrout your porcelain tile floor. This DIY project can save you the cost of professional services and leave your floor looking as good as new.
Regrouting is a crucial maintenance aspect of your porcelain tile floor, primarily serving two essential purposes – aesthetics and preservation. The visual appeal of your floor can be compromised over time as grout ages and discolors.
Regrouting can refresh the look of your tiles, making them appear clean and new. In terms of preservation, grout acts as a barrier, preventing water and debris from seeping into the gaps between tiles, which could cause structural damage over time.
Cracked or crumbling grout weakens this barrier, increasing the risk of water damage and loose tiles. Therefore, timely and proper regrouting helps maintain the structural integrity of your tile floor while enhancing its visual appeal.
Materials and Tools Required
Here’s a list of the essential materials and tools you’ll need for the regrouting process:
Grout: Choose a grout that matches the color of your existing grout or go for a new color that complements your tiles.
Grout Sealer: This is applied post-grouting to protect the grout from moisture and staining.
Grout Removal Tool: A grout saw or a grout removal bit for a rotary tool.
Grout Float: This tool is used to apply and spread the grout.
Sponge and Bucket: Essential for cleaning excess grout off the tiles after application.
Gloves: To protect your hands during the process.
Safety Goggles: To protect your eyes from dust and debris while removing the old grout.
List of necessary tools
- Grout Saw: A grout saw is essentially a small electric or manual saw designed to cut through the existing grout and make it easier to remove.
- Grout Float: The purpose of a grout float is to apply and spread the new grout evenly between tiles.
- Sponge: After applying your new grout, you’ll need a damp sponge to clean away any excess grout that may have been left behind.
Safety Precautions
Safety equipment is essential when working on a regrout project to protect yourself from harmful substances and injuries.
- Safety Glasses: Dust and debris can easily fly into your eyes when removing old grout. Wearing safety glasses will guard your eyes against potential harm. Choose glasses with a secure fit to ensure they stay in place throughout the task.
- Gloves: Wearing gloves is highly advised to protect your skin. Grout can be harsh on the skin and cause irritation. Gloves also prevent cuts or scratches that might occur when handling tools or tiles.
Tips for Ensuring a Safe Working Environment
When regrouting your porcelain tile floor, you can ensure a safe working environment by following these simple tips:
Maintain a Clean Workspace: Clear the area around where you’ll be working. This will reduce the chances of tripping or stepping on sharp objects.
Proper Ventilation: Grout can sometimes give off strong odors that can be harmful if inhaled in a confined space. Make sure the room is well-ventilated, opening windows where possible.
Use of Proper Tools: Always use the correct tools for the job. This not only ensures efficiency but also reduces the risk of accidents.
Take Breaks: Regrouting can be labor-intensive, so taking regular breaks can prevent strain and fatigue.
Stay Hydrated: Keep a bottle of water nearby and remember to stay hydrated, especially when working in high temperatures.
Follow Manufacturer’s Instructions: Always read and adhere to the manufacturer’s guidelines when using grout or other chemical products. They often provide important safety advice.
Preparing the Area
Before initiating the regrouting process, you’ll need to thoroughly clean the tiles and grout lines. Here’s a step-by-step guide to help you:
Initial Sweep: Use a broom or vacuum cleaner to remove loose dirt and debris from the tile surface.
Tile Cleaning: Mix a solution of warm water and a mild detergent. Apply this with a sponge or cloth, gently scrubbing the tiles. Then, rinse the area with clean water and let it dry.
Grout Line Cleaning: For tougher stains and dirt within the grout lines, you may need a specialized grout cleaner. Apply the cleaner as per the manufacturer’s instructions and use a small grout brush or old toothbrush to scrub along the grout lines. After scrubbing, rinse with warm water.
Dry the Tiles: It’s essential to dry the area thoroughly before starting the regrouting process. You can use a dry cloth or a fan to speed up the drying process.
Removing Old Grout

Once the area is clean and dry, you can proceed to remove the old grout. Here are the steps to follow:
Choose the Right Tool: You can use a grout saw or a grout removal tool for this task. Ensure you’re comfortable with the tool you select, as precision is essential.
Remove the Grout: Carefully move the tool along the grout lines, applying gentle pressure to dislodge the old grout. Be careful not to damage the tiles. Aim to remove the grout to a depth of about 1/8 inch.
Clean Grout Lines: Once the old grout is removed, clean the grout lines using a brush or vacuum to remove any residual dust or grout particles.
Wipe Down the Tiles: Wipe the tiles with a damp cloth to remove any remaining dust. Ensure the area is completely dry before moving to the regrouting process.
Safety Precautions: Always remember to wear safety goggles and gloves when removing grout to protect your eyes and hands from grout dust and sharp tools.
Applying New Grout
Mixing the New Grout
Choose the Right Grout: There are different types of grout available, each suitable for different applications. For porcelain tiles, unsanded grout is typically recommended. It’s important to choose a grout color that complements your tiles.
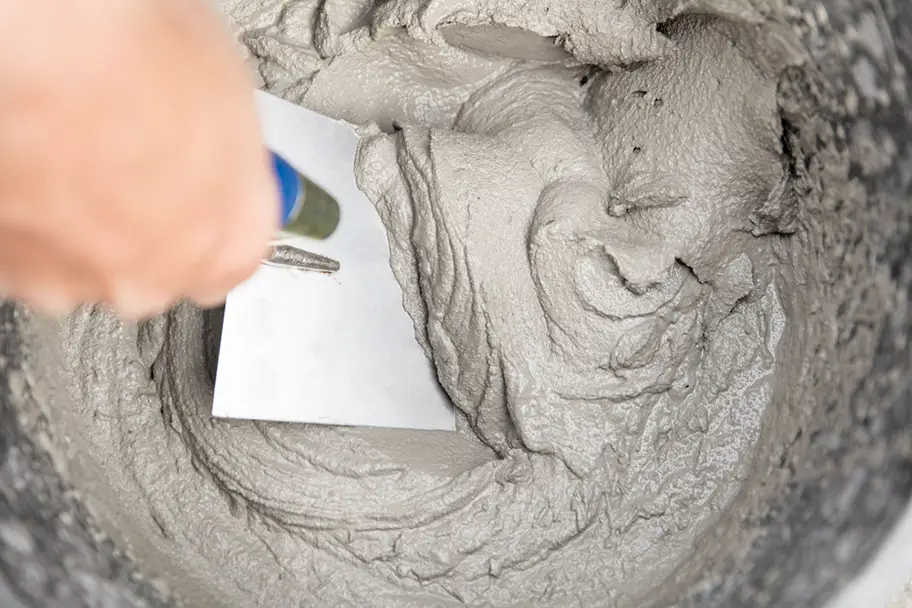
Prepare the Grout: Follow the manufacturer’s instructions to mix the grout. Generally, you’ll need to pour the grout powder into a clean bucket and slowly add water while stirring until you achieve a paste-like consistency. Avoid making the mixture too watery or too thick.
Let the Grout Slake: Allow the mixture to sit for about 10 minutes. This process, known as slaking, allows the chemicals in the grout to fully activate. After the slaking period, stir the grout again.
Applying the New Grout
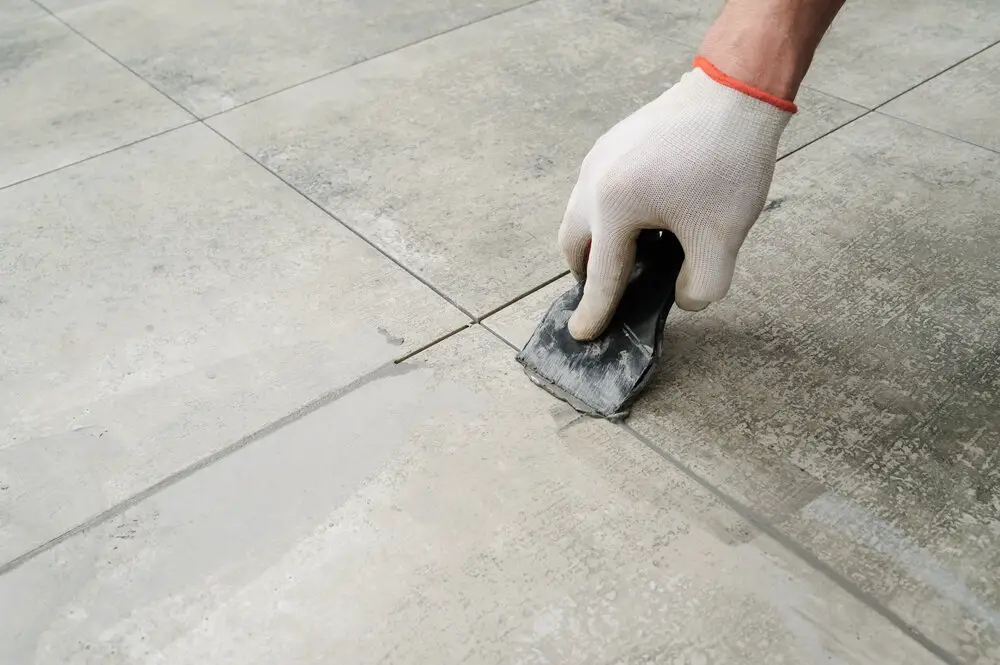
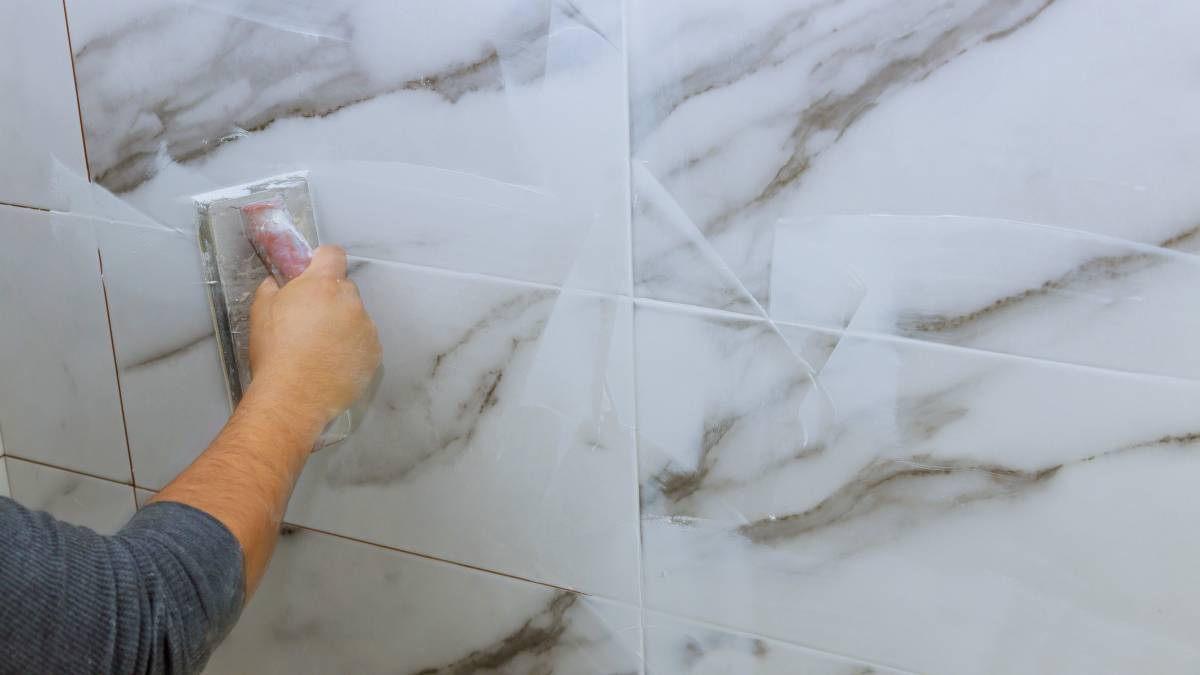
Load the Float: Scoop some grout onto a grout float. This tool helps you spread the grout evenly across the tiles and into the grout lines.
Apply the Grout: Hold the float at a 45-degree angle to the tiles and spread the grout across the surface, making sure it fills all the grout lines. Work in small sections to prevent the grout from drying too quickly.
Remove Excess Grout: Once all the lines are filled, hold the float at a 90-degree angle to the tiles and scrape off the excess grout.
Let the Grout Dry: Allow the grout to dry for the time recommended by the manufacturer. As it dries, you’ll see a haze form on the tiles.
Clean the Tiles: After the grout has dried, clean the tiles with a damp sponge to remove the haze. Rinse the sponge frequently and change the water as necessary. Avoid scrubbing or applying too much water, as it can damage the fresh grout.
Final Cleanup: Once the grout is fully dry (which may take up to 72 hours), polish the tiles with a clean, dry cloth to remove any remaining haze.
Tips for ensuring a smooth and even application
Prepare the Area: Before you start, clean the area thoroughly and make sure all dust and debris are removed from the grout lines.
Choose the Right Grout: Make sure to choose a grout color that matches your tiles. If you’re not sure which one to pick, bring a sample of your tile to the store for comparison.
Be Precise: Use a ruler or other straightedge to ensure the grout lines are even and symmetrical.
Mix the Grout Thoroughly: Before applying the grout, make sure it’s thoroughly mixed. It should have a thick, peanut butter-like consistency when you apply it to the tiles.
Work in Small Sections: To ensure an even coverage, work in small sections and use a piece of scrap wood or an old credit card to spread the grout across the surface. Make sure all the lines are filled before moving on to the next section.
Check for Air Pockets: As you apply the grout, look for any air pockets that may have formed. If you find any, fill them in with additional grout before letting it dry.
Clean Up Spills: Wipe away any excess grout from tile surfaces as soon as possible to avoid staining or discoloration. Use a damp cloth and some mild detergent if necessary.
Wet the Surface: Before letting the grout dry, give it a light misting with clean water to help the curing process and also help minimize any potential cracking or chipping. Be sure to only use enough
Let It Dry: After you’ve finished applying the grout, let it dry for 24 hours. Once the grout has been set, use a damp cloth to clean off any excess that may have remained on the tile surfaces.
Seal the Grout: To protect your new regrouted tiles, apply a sealer with a brush or sponge and let it dry for another 24 hours before using the area again. Make sure to follow the instructions on your sealer’s packaging for best results.
Related Topics:
Finishing Up
Dampen a sponge in warm water and gently scrub the excess grout from the tiles.
Rinse the sponge frequently to ensure that it doesn’t become too dirty or carry over bits of dirt and dust onto other areas of your tile flooring.
Wipe down the walls, door frames, and baseboards neighboring your floor to remove any grout that may have gotten on them.
Once you’ve finished cleaning the tiles, mop the entire area with a damp mop and some mild detergent to remove any remaining dirt or debris.
Allow the tile floor to dry completely before use for best results.
Related Topic: Smartcore Tile Installation: A Step-By-Step Guide
Conclusion
By completing the steps outlined above, you can successfully regrout your porcelain tile floor and improve its overall appearance. With proper care and maintenance, the grout should last for many years to come. If done correctly, you should have a beautiful new tile floor that looks just as good as the day it was installed!
Remember that while regrouting your floor is relatively simple, it’s important to take the necessary safety precautions and use the proper tools to ensure a successful outcome. Have fun with your project and enjoy the results! Best of luck in transforming your old tile into something new and beautiful!
2 thoughts on “How To Regrout Porcelain Tile Floor? Safely!”