
Engineered hardwood click flooring is an amazing way to bring a natural wood look into your home. The installation process for this type of flooring can seem daunting at first, but it doesn’t have to be that way. With the right knowledge and tools, you can install engineered hardwood click flooring in just a few steps.
Read on for a step-by-step guide on how to install engineered hardwood click flooring.
Engineered hardwood click flooring
Before getting into the installation process, it’s important to understand what engineered hardwood click flooring is. This type of flooring is made up of three layers: a top layer that contains the wooden finish, a mid-layer with wood products, and a base layer that helps provide stability to the entire structure.
The pieces of flooring come in interlocking planks that click together and don’t require any glue or nails.
Benefits of choosing engineered hardwood click flooring
Engineered hardwood click flooring can bring a range of benefits to your home. This type of flooring is easy to install and maintain, meaning that it’s perfect for DIYers who don’t want to spend too much time on installation or maintenance.
It also offers more stability than solid wood because of the layers within the boards. Additionally, engineered hardwood click flooring is more cost-effective than other types of wood flooring.
Materials Needed
Before you get started, it’s important to make sure you have all the necessary materials. Here is a list of what you will need for installing your engineered hardwood click flooring:
- Flooring planks
- Underlayment
- Tapping block or rubber mallet
- Spacers
- Tape measure
- Chalk line
- Circular saw or jigsaw
- Utility knife
- Safety glasses
Preparation Steps
Preparing the Subfloor
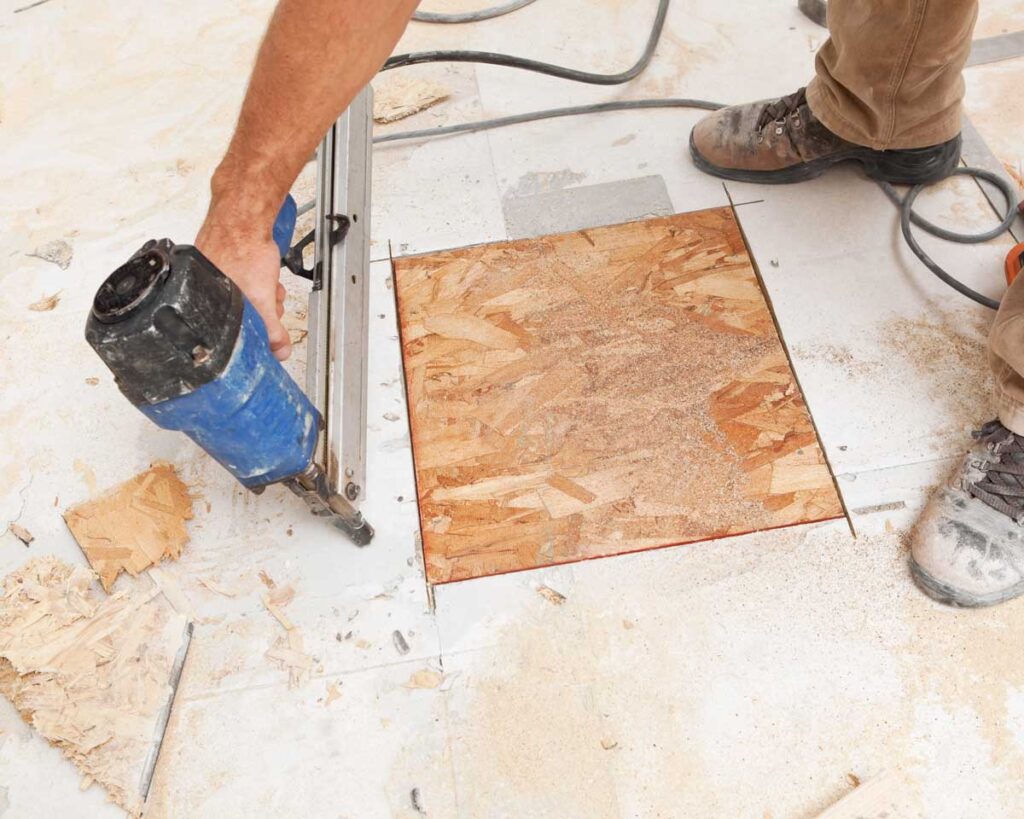
The first step in installing your engineered hardwood click flooring is to prepare the subfloor. Start by ensuring your subfloor is clean, dry, and level.
Sweep or vacuum the surface thoroughly to remove any dust or debris. Next, check for any unevenness. If any high spots are found, they should be sanded down, and low spots should be filled with a leveling compound.
A flat and even surface is crucial for the proper installation of your flooring. After leveling the floor, lay down the underlayment. This acts as a moisture barrier and provides cushioning, reducing noise when walking on the floor.
Unroll the underlayment and cut it to fit your space, making sure to overlap the edges by about 8 inches. Secure it in place using the tape. Now, your subfloor is ready for the engineered hardwood click flooring installation.
Room measurement and flooring calculation
Using a tape measure, measure the width and length of the space you are installing the flooring. Multiply the two measurements together to determine your total square footage. To ensure an accurate calculation, round up to the nearest full foot.
With this measurement, you can accurately order enough floor planks for your project. You will also need to calculate how many flooring planks you will need; this is done by dividing the total square footage of your room by the coverage area provided by each floor plank.
Acclimating the flooring
Before beginning the installation process, the planks must be acclimated to your room. Place the unopened flooring cartons in the room where they will be installed and allow them to sit for 48 hours. This helps ensure the planks lay flat when installed and reduces any unevenness due to humidity or temperature changes.
Installation Process
1. Laying the Underlayment
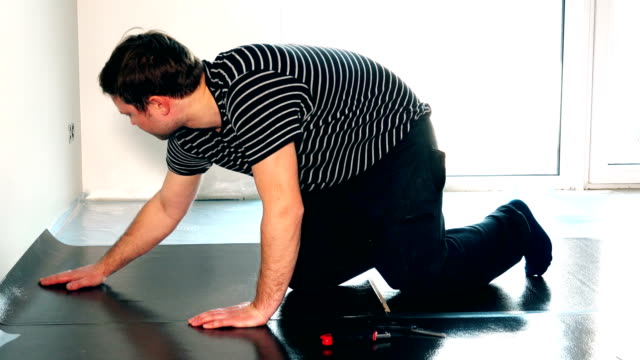
The underlayment is an essential element that provides a moisture barrier and a cushion for reducing noise when walking on the floor. Start by unrolling the underlayment across the length of the room, ensuring it extends up the wall by a few inches.
Cut it to fit your space using a utility knife. Overlap the edges of each successive underlayment row by approximately 8 inches, ensuring full coverage and moisture protection.
Secure the underlayment to the subfloor using a staple gun or a special underlayment tape. Smooth out any bubbles or wrinkles to ensure a perfectly flat surface.
Once the underlayment is fully laid out and secured, you’re ready to start installing your engineered hardwood click flooring.
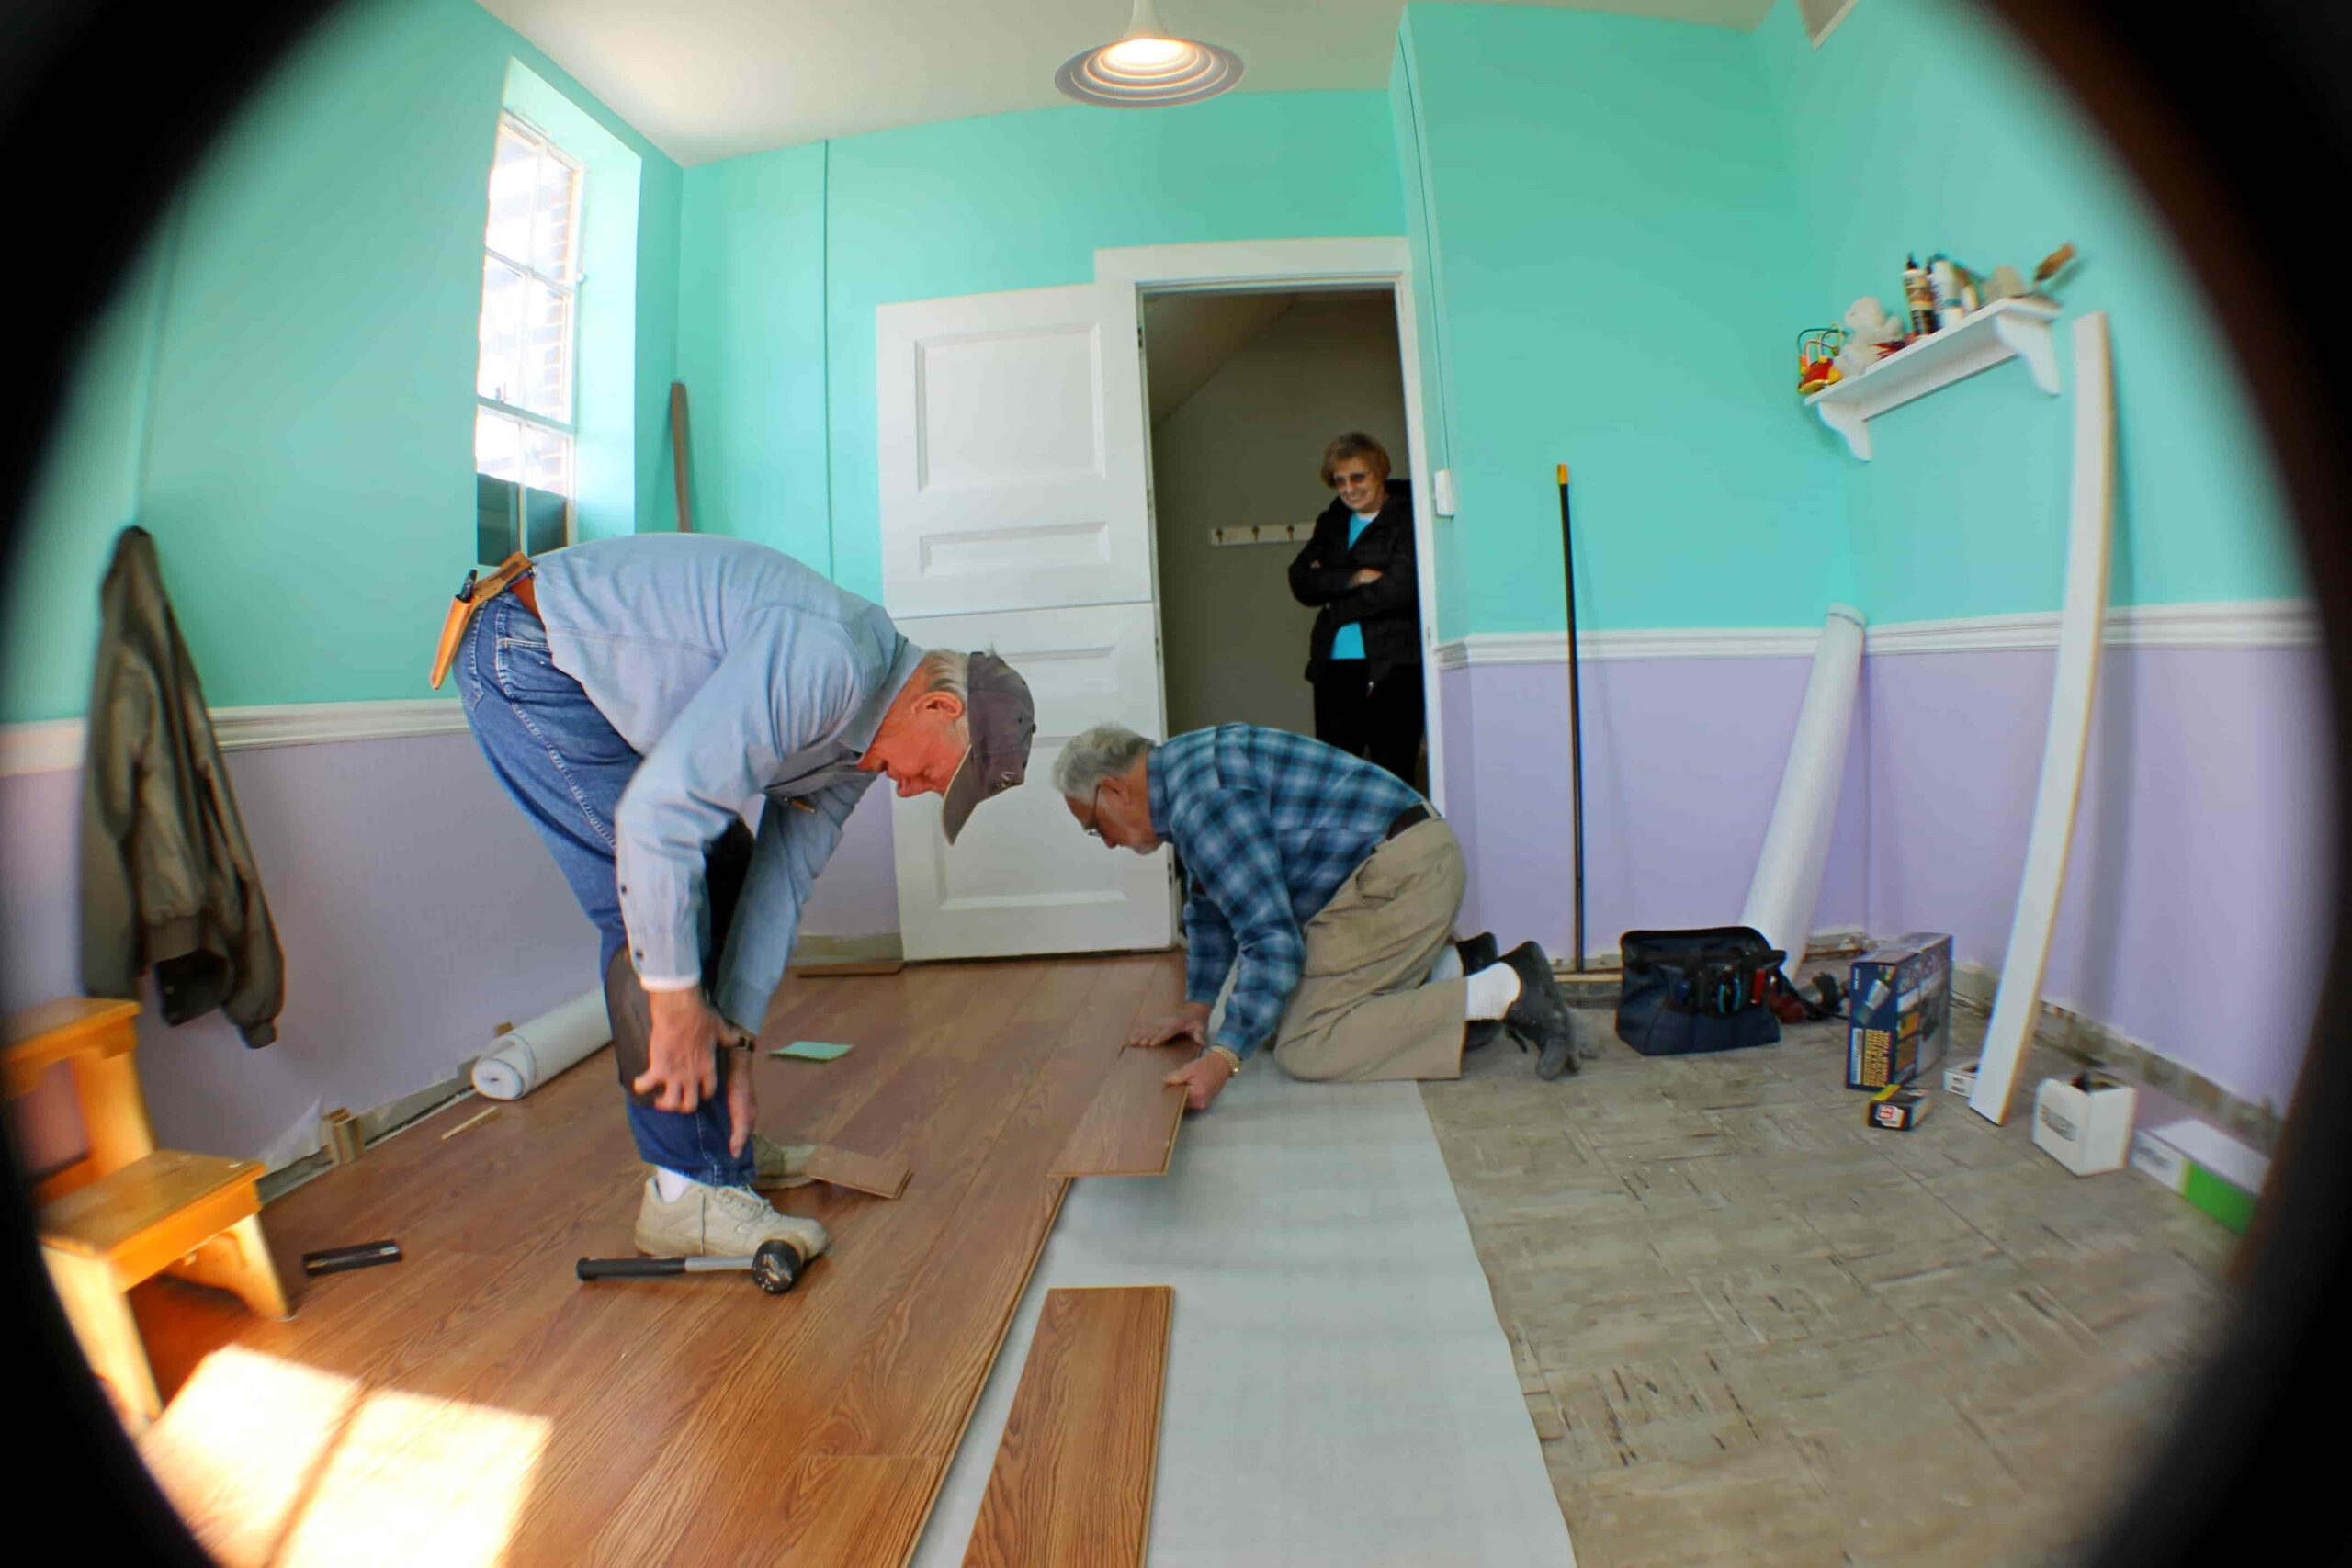
2. Installing The First Row

To install the first row, start in one corner of the room. Place the first plank with the tongue side facing the wall, leaving an expansion gap of about 1/2 inch between the wall and the plank.
This gap allows for natural expansion and contraction of the wood and is usually covered by the baseboards after the installation. Using a rubber mallet and a tapping block, gently tap the plank to ensure it is firmly and flatly in place against the underlayment.
Remember to maintain the expansion gap as you add the subsequent planks.
To connect the next plank, align it with the end of the first plank at an angle, then lower and click it into place. Ensure there are no gaps between the planks. If necessary, use the mallet and tapping block to snugly seat the planks together.
Cut the last plank in the row to fit if needed, ensuring the cut end faces the wall. Remember, the cut end should also maintain the 1/2-inch expansion gap. Repeat this process until the first row is completely installed.
3. Continuing With Subsequent Rows
For subsequent rows, you’ll follow a similar process, with a few additional steps. Begin each row with the piece cut off from the last plank of the previous row.
This will ensure a staggered pattern, which is both structurally sound and aesthetically pleasing. Note that this piece should be no less than 6 inches; if it is, start with a new plank and save the shorter piece for a different row.
Align the first plank of the new row so its grooved side is against the tongue side of the plank in the previous row. Again, maintain the 1/2-inch expansion gap between the plank and the wall.
Connect the planks end to end in the same way you did for the first row, remembering to maintain the expansion gap at all times.
To attach the new row to the previous one, lift the new plank at an angle and insert its tongue into the groove of the installed plank. Lower it and click it into place, making sure the joints between planks are tight and there are no gaps.
You may need to use your rubber mallet and tapping block to ensure a snug fit.
Continue to install the following rows in the same manner until you’ve covered the entire floor. Remember to maintain the staggered pattern by using the cut-off end of the previous row to start the next one.
Always ensure the expansion gap is maintained around the entire perimeter of the room. This methodical process ensures a flawless and professional finish to your engineered hardwood click flooring installation.
4. Staggering the Boards
Staggering the boards is a critical aspect of installing engineered hardwood click flooring. When you stagger your boards, you’re creating a pattern that breaks up the alignment of end joints from row to row.
This not only adds strength to your flooring but also enhances its visual appeal by adding an element of randomness to the layout.
The key to achieving an ideal staggered pattern lies in maintaining at least 6 6-inch difference in the length of adjacent end joints. By starting each row with the cut-off piece from the end of the preceding row, you automatically create this staggered pattern.
However, ensure that this piece is not less than 6 inches. If it is, begin the row with a new plank and save the smaller piece for a place where it fits.
The staggered pattern will mimic the look of traditional hardwood floors and give your installation a professional feel.
Be mindful of this as you continue with your installation, always ensuring that the expansion gap is maintained around the entire perimeter of the room.
Finishing Touches
1. Installing the Final Row

The last row might require a fitting different from the rest. Due to the wall, the entire width of a plank may not fit. To install these pieces, you first need to measure the gap between the installed plank and the wall, keeping the expansion gap in mind.
Mark this measurement on a new plank and cut it lengthwise using a circular saw or a jigsaw.
Position the cut plank with the cut edge facing the wall. Since it won’t be possible to click it into place in the typical way, you’ll need to use a pull bar to edge it in.
Place the pull bar on the end of the plank and gently tap it with a hammer until the tongue of the last row plank fits into the groove of the cut plank. Use a rubber mallet to secure the connection if necessary. Ensure that the expansion gap is maintained.
2. Installing Thresholds and Base Molding
After laying down your engineered hardwood click flooring, the last step is to install the thresholds and base molding. These elements will cover the expansion gaps and give your floor a clean, finished look.
Installing Thresholds
Thresholds, also known as transition strips, are used in doorways or areas where the flooring changes to a different type. To install thresholds, measure the width of the doorframe and cut your strip to size.
Apply a bead of construction adhesive to the bottom of the strip and place it in the doorway, ensuring it’s straight and level.
Installing Base Molding
Base molding, or baseboard, is the trim that sits along the bottom of your walls, covering the expansion gap at the edge of your flooring. Measure the perimeter of your room and cut your base molding to fit.
Use a miter saw to cut the corners at a 45-degree angle so they fit together smoothly. Then, use a nail gun or a hammer and nails to secure the base molding to the wall, not the floor.
Related Topics:
Maintenance Tips
Maintaining the beauty and longevity of your new engineered hardwood click flooring involves regular cleaning and preventive measures. Start by sweeping or vacuuming the floor regularly to remove dirt and dust that may cause scratches.
When cleaning, avoid using harsh chemicals or excessive water as they may damage the finish or cause warping.
Use a damp mop with a gentle, pH-neutral cleaner specifically designed for engineered hardwood flooring. Wipe up spills immediately to prevent water from seeping into the seams.
Also, consider using rugs or mats in high-traffic areas and under furniture legs to protect your floor from scratches and dents.
Regularly monitor the humidity levels in your home. Engineered hardwood flooring performs best in environments with 35-55% relative humidity. Extreme humidity levels can cause the floor to dry and shrink or absorb moisture and swell, both can lead to damage.
Lastly, reapply a top coat or refinish the floor when it begins to look worn. This will rejuvenate the appearance of your floor and provide additional protection.
Remember, every floor is unique and may have specific needs, so always refer to your manufacturer’s instructions for specific maintenance tips.
Related Topic: 5 Best Dewalt Flooring Saw Corded/Cordless – Reviews
Conclusion
Installing engineered hardwood click flooring is a great way to bring warmth and beauty to your home. Taking the time to do it correctly will ensure you have a stunning, functional floor for years to come.
For more information on installation and maintenance tips, refer to the manufacturer’s instructions or contact an experienced professional for help. With the right tools and techniques, you can create a beautiful space that will look great for years to come.
When looking for engineered hardwood flooring options, you should consider the type of wood and finish best suited for your needs.
Different woods have varying levels of durability and stain resistance so it’s important to look into this before making your purchase. If possible, try to get a few samples of the wood you are considering to make sure it will fit your needs and aesthetic.
Also, be sure to consider the installation method that best suits your space.