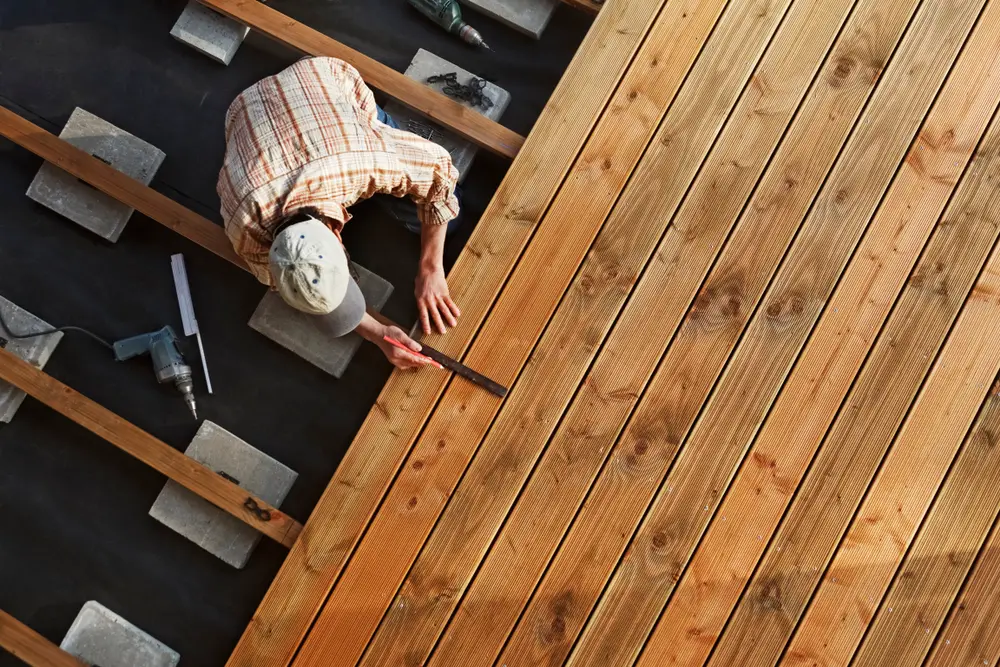
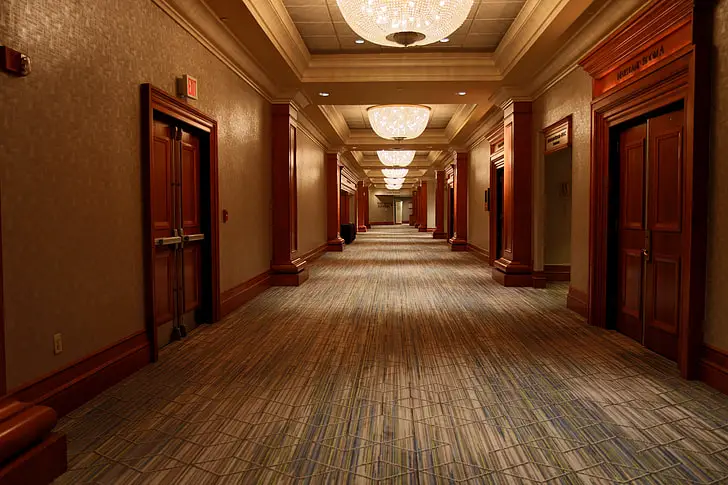
Whether it’s for a residential or commercial building, laying wood flooring in a hallway requires some careful planning and consideration. Hallways are usually long, narrow spaces that often require special attention when it comes to installation due to their unique layout and size.
With that said, the direction of the hardwood planks is an important factor to consider before starting the job.
Choosing the correct direction to lay wood flooring in a hallway is essential for achieving the desired look and feel. It can also have an impact on how easy it is to install, as well as how durable the flooring will be over time.
In order to ensure success with your project, it’s important to consider all of these factors before starting.
Understanding the Basics
The concept of ‘running direction’ in flooring

When it comes to laying wood flooring in a hallway, the concept of ‘running direction’ is key. The running direction refers to what direction the planks are laid and is an important factor when considering which layout will work best for your space.
Generally speaking, the running direction should be perpendicular to the longest wall in order to make good use of the space and achieve the desired look.
It’s also important to consider how traffic will be entering and exiting the hallway. The planks should be laid in such a way that they transition nicely from one room to another, or from an outside entry into an interior hall, if applicable.
This can help create a more aesthetically pleasing look and reduce wear over time.
The role of aesthetic and structural factors in choosing floor direction
Aesthetics and structure play a key role in the direction of your flooring. When choosing which direction to lay wood flooring, you need to consider both these factors.
For example, running the planks perpendicular to a long wall will help enhance the overall look of the space while also providing additional structural support for your flooring.
This is due to the increased stability of the floorboards when laid in this way, which can help reduce wear and tear over time.
On the other hand, laying the planks parallel to a long wall will create a less uniform look while also not providing as much support to your flooring. This may be ideal for certain spaces or types of wood, but should still be considered carefully before making a final decision.
Overall, choosing which direction to lay wood flooring in your hallway is an important factor when it comes to the look and feel of your space.
With the right layout, you can create a beautiful aesthetic while also ensuring that your floorboards will be able to withstand increased wear and tear over time. Consider both aesthetic and structural factors when choosing how to lay your flooring in order to get the best results.
Factors Determining the Direction of the Wood Flooring
1. Length and width of the hallway

The length and width of your hallway will influence the direction in which you should lay your wood flooring. Generally, you’ll want to run the planks parallel to a long wall if the hallway is narrower in width.
This can help maximize the space while also providing more stability for your flooring. On the other hand, wider hallways may require running the planks in the opposite direction.
2. Orientation of the hallway in relation to the rest of the house
The orientation of your hallway in relation to the rest of the house will also help determine which direction is best for laying your wood flooring.
For example, if you have a long hallway that runs parallel to the front door or main living space, running the planks parallel to this wall can provide a more uniform look.
On the other hand, if you have a hallway that runs perpendicular to the main living space, running the planks in the opposite direction can create more visual interest.
3. Location and direction of the main light source
The direction of the main light source in your hallway will also help influence the best direction to lay your flooring. If the light comes from one side, running the planks parallel to this wall can create more visual depth and can help showcase the grain pattern of your wood.
On the other hand, if you have multiple sources of light coming from both sides, you may want to run the planks in the opposite direction so that the light can evenly reflect off of it.
4. Your personal preference
At the end of the day, it is important to remember that the direction you lay your wood flooring in a hallway is ultimately up to your personal taste and style.
Consider all of the factors outlined above and then pick whichever direction you feel best fits the overall look and feel of your home. With the right care, your hallway flooring can last you a lifetime!
Pros and Cons of Laying Wood Flooring Lengthwise
How laying flooring lengthwise can create an illusion of space and continuity
Laying wood flooring lengthwise, or along the length of the hallway, can create a strong visual illusion of extended space and continuity. This is particularly beneficial in narrower hallways or smaller homes where space is at a premium.
The longitudinal arrangement of the planks naturally draws the eye along the length of the corridor, making it appear longer and more spacious than it actually is.
Moreover, this direction also provides a sense of flow and direction, seamlessly connecting one end of the hallway to the other.
This continuity can be especially effective in unifying the overall aesthetic of your home, creating a smooth transition between rooms and establishing a coherent visual narrative throughout the property.
Possible Drawbacks
While laying wood flooring lengthwise can enhance the sense of space, it does come with certain potential drawbacks. One of the main concerns is the potential for visual monotony. Long, uninterrupted lines of planks might make a space feel repetitive or even boring over time.
This effect might be highlighted even more if the hallway is particularly long or if the wood grain is very uniform. Additionally, laying wood flooring lengthwise requires more careful cutting and fitting at the ends of the hall, potentially leading to more waste.
It might also be more challenging to replace a damaged plank in the middle of the hallway without disrupting the continuous pattern.
Furthermore, flooring laid lengthwise can exaggerate any asymmetrical features or irregularities in the hallway, making them more noticeable. Therefore, it’s important to balance the aesthetic advantages with these considerations before deciding on the laying direction.
Pros and Cons of Laying Wood Flooring Widthwise
How laying flooring widthwise can add a unique aesthetic touch
Laying wood flooring widthwise in a hallway can create a unique aesthetic appeal, breaking up the traditional flow and introducing an eye-catching design element.
This method plays with the visual perspective, making a narrow hallway appear wider than it is. The cross-grain pattern adds a striking feature to the area, holding the viewer’s attention and reducing any sense of monotony.
The alternating end joints create a rhythm of their own, delivering a sense of dynamism and a distinct character to the space.
Especially when using wood planks with a variety of hues and grains, this approach can result in a mosaic-like effect, adding a touch of artistic flair to the hallway.
Possible drawbacks
However, there are potential drawbacks to consider with a widthwise layout. The primary concern is the more complex installation process, which may require more time and precision to achieve a visually pleasing and sturdy result.
Laying flooring widthwise means more cuts and hence more waste, making this option potentially less cost-effective. Moreover, if the hallway turns or has a non-standard shape, fitting the planks can be quite challenging.
Lastly, a widthwise layout might make a short hallway seem even shorter, which could negatively affect the overall aesthetic appeal. Hence, it’s important to weigh these factors before deciding on a widthwise orientation.
Related Topics:
Practical Tips for Laying Wood Flooring in a Hallway
Techniques and Strategies for Laying Wood Flooring
When laying wood flooring in a hallway, several techniques can be employed to ensure a smooth and aesthetically pleasing result.
Stagger the Boards: Staggering the boards creates a more natural look and can help strengthen the floor’s structure. The end joints of adjacent rows should never line up, and typically, the farther apart they are, the better.
A common rule of thumb is to maintain at least a 6-inch distance between end joints in adjacent rows.
Use Transition Strips: For hallways that lead to other rooms, using transition strips can create a neat and professional finish. These pieces neatly cap off the flooring and provide a smooth transition between different types of flooring or different directions of wood.
Consider the Direction of Light: The direction of natural light can play a significant role in how your hallway flooring looks. If possible, lay your flooring perpendicular to the direction of light. This helps to minimize the visibility of seams between the boards.
Allow for Expansion: Wood tends to expand and contract with changes in temperature and humidity. To avoid buckling, leave some space for expansion around the edges of the room. This gap can be concealed with baseboards or quarter-round molding.
Test Fit Before Installation: Before you start the installation process, do a ‘dry run’. Lay out your boards in the desired pattern without any adhesive to ensure they fit well. This step can help you avoid surprises and make necessary adjustments before it’s too late.
How to handle corners, doorways, and other tricky areas
Handling Corners: Corners can be tricky when installing wood flooring. Measure the area carefully and cut your boards accurately to ensure they fit snugly.
If you’re facing an irregular or curved corner, it’s advisable to create a paper template of the corner and use it to cut your board in the exact shape. Always remember to account for the expansion gap.
Addressing Doorways: In doorways, you’ll often need to switch the direction of your flooring. Transition strips are quite useful for this. However, you’ll need to trim the door jambs and casings so that the flooring fits underneath.
Use a piece of flooring as a guide to mark the height and cut the door jamb or casing with a handsaw.
Navigating Tricky Areas: For other tricky areas such as fireplaces, cabinets, or built-in furniture, consider using a jigsaw to cut the boards to the required shape and size. Don’t forget, it’s always better to cut a bit more rather than too little because you can always trim it down if needed.
As always, when dealing with complex areas, taking your time to measure and cut accurately is essential to get a professional finish. Consulting a professional is a good idea if you’re unsure about these steps.
Final Thoughts And Recommendations
Installing wood flooring in a hallway is not as difficult as it may seem, and with the right tools and materials, anyone can do it. Don’t forget to use a quality adhesive such as construction adhesive or glue-down installation, leave an expansion gap around the perimeter of your room, and ensure you make accurate measurements when cutting boards for tricky areas.
With these tips in mind, you’ll be sure to have beautiful hallway flooring that lasts for decades.
Overall, the key to installing wood flooring in a hallway is to plan ahead and measure twice before cutting once. Take your time to ensure that every board is cut accurately and lay them as smoothly as possible without gaps or bumps.
A smooth, well-installed hallway flooring will add character to your space and be a lasting statement for years to come.


1 thought on “Which Direction To Lay Wood Flooring In A Hallway | Tips & Solutions”