
Removing linoleum flooring from wood is a complicated task that needs to be done with care and precision. It’s important to understand the steps necessary for proper removal so that your floors look great after you’re finished.
Here are some easy step-by-step instructions to help guide you through the process of removing linoleum flooring from wood.
Importance of properly removing linoleum flooring from wood
There are a few benefits to properly removing linoleum from wood floors. One of the main advantages is that it reduces the risk of damage to both the floor and linoleum.
If done improperly, you could end up with scuff marks, scratches, and other damage to your flooring underneath. Additionally, if you don’t take the time to properly remove the linoleum, you might end up with a sticky residue that can attract dirt and dust.
Tools and Materials Needed
Before beginning the process of removing linoleum flooring from wood, you will need to gather the necessary tools and materials. These include:
- Plastic sheeting
- Utility knife
- Putty knife or scraper
- Pliers or snips
- Work gloves
- Packing tape
- Adhesive remover
- Vacuum cleaner
- Bucket of warm water
- Sponge mop
- Disposable rags
- Floor cleaning solution
Safety Precautions
Safety equipment required
Before beginning the process of removing linoleum flooring from wood, it is important to protect yourself and your home. Make sure you are wearing safety goggles, protective work gloves, and a dust mask before starting.
It is also recommended to open any windows in the room for proper ventilation while you’re working.
How to use them
Make sure you stay aware of your surroundings and take the necessary safety precautions. Make sure to keep any tools or materials away from children or pets, and make sure that all cords and wires are out of the way.
Additionally, be careful when using sharp tools such as utility knives or putty knives, as these can easily cause injury if handled improperly.
Step-by-Step Guide
Step 1: Preparing the Work Area
First and foremost, prepare your work area. Clear the room of any furniture, rugs, and other obstructions, providing a clean, open space to work in. Afterward, lay down the plastic sheeting. This will protect the surrounding areas from dust and debris.
Secure the sheeting in place using the packing tape. This step is crucial for an efficient and clean removal process. Be sure to leave enough room for you to move around without disturbing the sheeting.
If the room has any vents, ensure they are covered to prevent dust from entering the ventilation system. Once your work area is prepared, you can proceed to the next step.
Step 2: Starting the Removal Process
The removal process begins with cutting the linoleum into manageable sections. Using a utility knife, cut the flooring into strips approximately 6 inches wide.
Ensure the cuts penetrate through the linoleum and into the glue beneath, but be careful not to cut into the wood flooring.
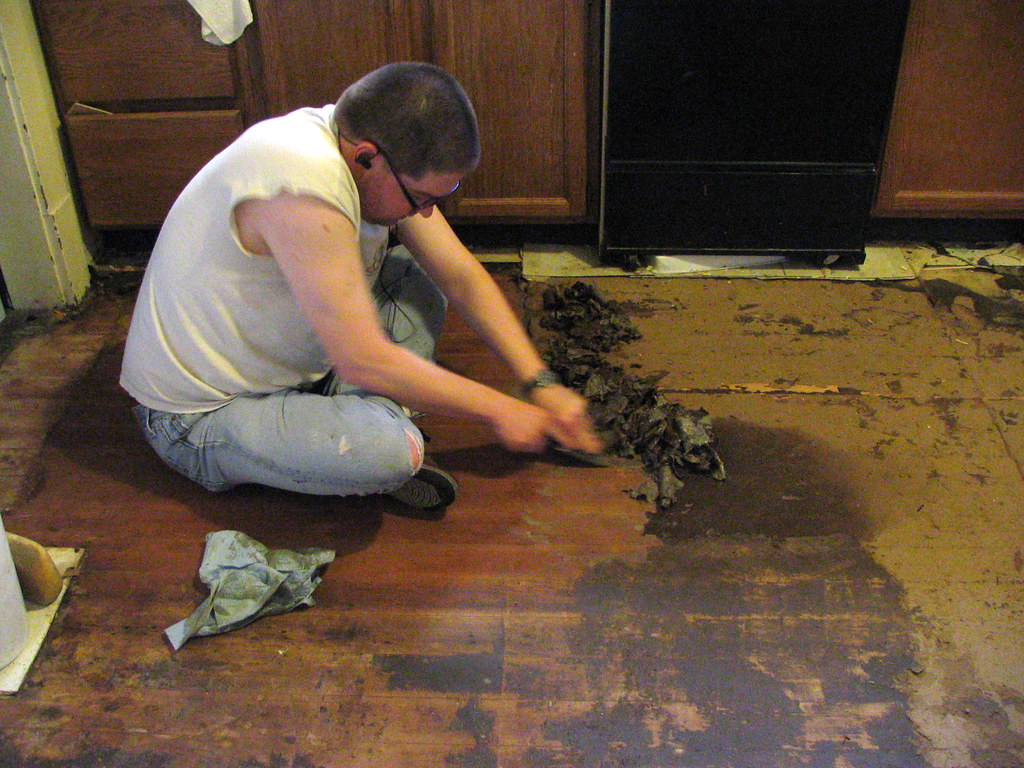
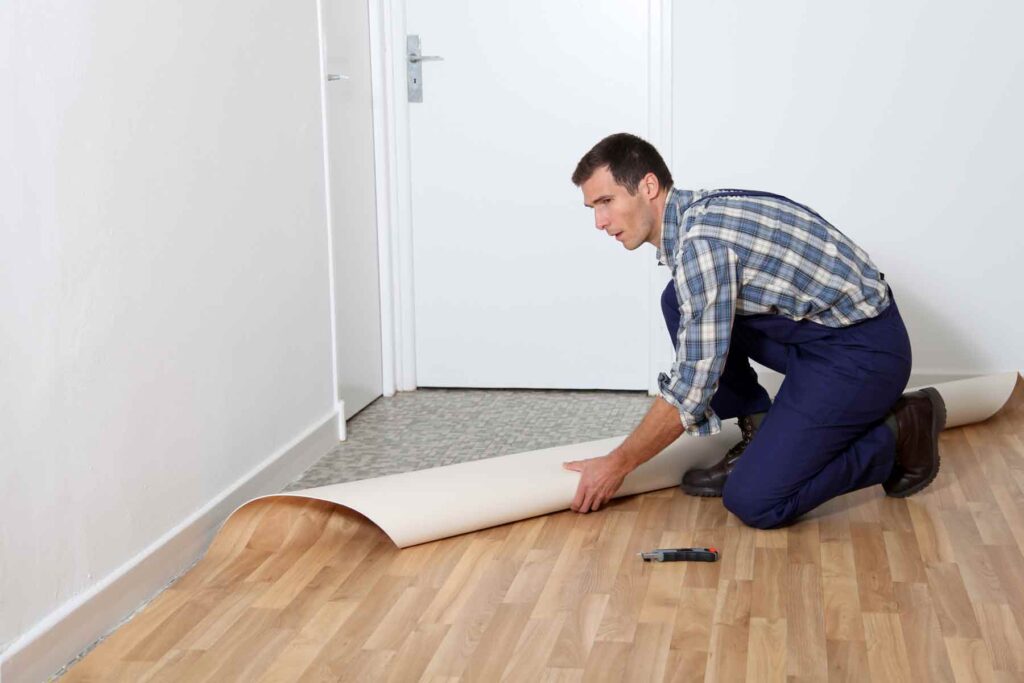
Next, wedge a putty knife or floor scraper under the edge of the first strip. Apply steady pressure to lift the linoleum from the wood. If the flooring is particularly stubborn, you can use a heat gun or hair dryer to soften the adhesive, making it easier to remove.
As you work, be mindful to keep the blade of your tools flat against the wood to avoid causing any damage.
Ensure to carefully remove each strip of linoleum and dispose of it properly, maintaining the cleanliness of your work area. Throughout this process, remember to continually reassess your safety precautions, keeping all tools and materials out of reach of children or pets.
Proceed at a pace that ensures both safety and efficiency. Once all the linoleum strips have been removed, you can move on to the next step.
Step 3: Using the Proper Tools
To complete the linoleum removal process efficiently and safely, having the right tools is of paramount importance. A utility knife, as previously mentioned, is perfect for slicing the linoleum into manageable strips.
A floor scraper or putty knife can aid in prying up the linoleum, while a heat gun or hair dryer can help in warming and loosening the adhesive.
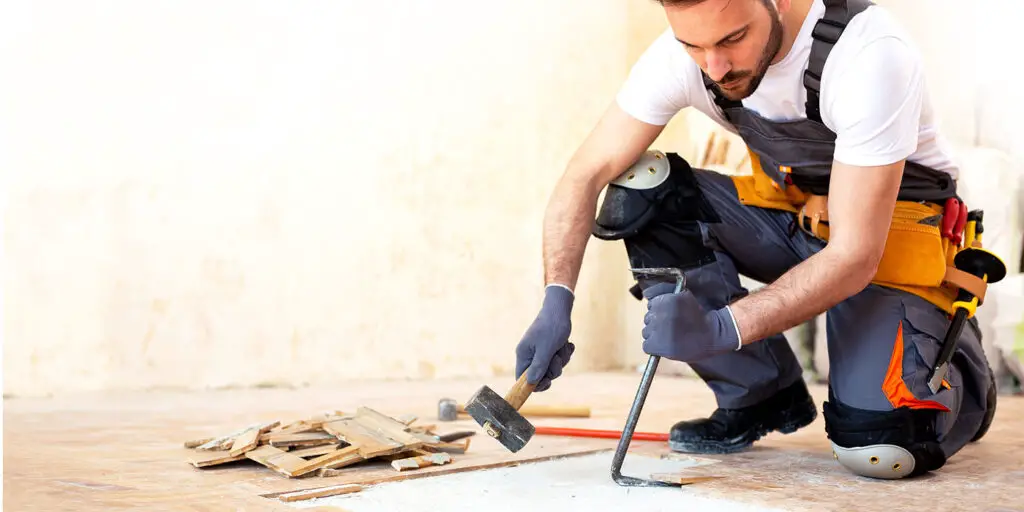
Always remember to use safety gear including gloves to protect your hands from sharp tools and potential splinters, and safety goggles to shield your eyes from flying debris. If you encounter a stubborn section of flooring that refuses to budge, consider using a pry bar or a chisel.
Be cautious when using these tools to avoid damaging the subfloor. Lastly, keep a garbage bag or bin nearby for easy disposal of removed linoleum. These tools, when used correctly, can make the process of linoleum removal more manageable and efficient.
Step 4: Clearing the Adhesive Residue
After the linoleum has been entirely removed, the next step towards achieving a clean, prepped floor is to clear the adhesive residue. This adhesive can be stubborn, but with patience and the right products, it can be removed completely.
Start by scraping away as much of the adhesive as you can using a floor scraper or putty knife. Be careful not to damage the subfloor during this process.
After you’ve removed as much as you can physically, apply a commercial adhesive remover following the instructions on the product label. Allow the adhesive remover to rest on the floor for the recommended time. Then, use a scrub brush to scrub away the loosened adhesive.
Once you’ve removed all of the adhesive, mop the floor with warm water and a mild detergent. This will help to remove any final traces of adhesive remover and provide a clean, adhesive-free surface ready for your new flooring.
Remember, throughout this process, to keep your work area ventilated and to use gloves to protect your skin from the adhesive remover.
Step 5: Cleaning up
The final phase of the linoleum removal process involves thorough cleaning up. Begin by picking up any large pieces of linoleum or adhesive that may have been missed earlier and dispose of them appropriately.
Then, sweep the entire area with a broom to collect any smaller debris or dust.
In case the floor still appears dirty, a second mop with warm water and mild detergent might be necessary. This should remove any residual dust or debris left behind.
Lastly, ensure that all tools used during the process are cleaned and stored correctly. Keep in mind that some tools may have adhesive remnants, which should be cleaned off immediately to avoid hardening and subsequent difficulty in removal.
This rigorous clean-up ensures that your space is ready for the next stage of the flooring process or any other renovation you have in mind. Always remember, a clean workspace is a safe workspace!
Related Topic: How to use a Steam Mop: 7 Experts Tips
Troubleshooting Common Problems
How to handle stubborn adhesive?
In some cases, the adhesive may be more stubborn than expected and not budge to conventional removal practices. In such situations, you may need to apply a stronger adhesive remover or use other tools like a putty knife to scrape away any remaining residue.
Be sure to read the manufacturer’s instructions carefully before using any product and take safety precautions when handling potentially hazardous materials.
Dealing with damaged wood
In some instances, you may find that the subfloor or other parts of the wood have been damaged due to the removal process. This could be in the form of chips, dents, or scratches on the surface. Fortunately, this damage can often be remedied with a sanding process and repainting.
Related Topics:
Conclusion
Linoleum removal can often be a difficult and tedious process. Fortunately, by following the steps outlined in this article, you should be able to reduce the difficulty of the task and ensure that your space is ready for re-flooring or other renovations.
Additionally, it’s important to take safety precautions when handling potentially hazardous materials and tools. With these tips in mind, you should have no problem tackling this project with ease!
Good luck with your linoleum removal project and happy renovating!
FAQs
Is there an easier way to remove linoleum?
Unfortunately, there is no easy way to remove linoleum. However, with the right tools and knowledge of the process, you should be able to make the task much easier. It’s also a good idea to read up on manufacturer instructions for any adhesive removers or other products before use.
What can I do if the wood is damaged after removing linoleum?
If you find that parts of the wood are damaged due to the removal process, you can often remedy this damage with a sanding process and repainting. This should restore the surface back to its original condition.
1 thought on “How To Remove Linoleum Flooring From Wood | Easy Step-By-Step Instructions”