
Some people might think that when you remove hardwood flooring, it’s gone forever. But they would be wrong! In this blog post, we’ll show you how to remove your old hardwood flooring so you can reuse it somewhere else in your home.
It’s easier than you think, and it won’t damage your floors at all. So read on to learn more!
Is it Possible to Reuse Hardwood Flooring?
These days, it seems like everything is disposable. We live in a culture of convenience, where we would rather toss something out and buy a new one than put in the effort to repair it.
This is especially true when it comes to hardwood floors. When a few boards start to show signs of wear, many homeowners assume that the only solution is to rip up the entire floor and start from scratch.
However, this doesn’t have to be the case. With a little time and effort, it is possible to reclaim and reuse hardwood floors. The key is to focus on repair and refinishing rather than replacement.
By fixing damaged boards and giving the floor a new finish, it is possible to restore hardwood floors to their former glory.
Not only is this more environmentally friendly than starting from scratch, but it can also save you a significant amount of money in the long run.
When to Reclaim and Reuse a Hardwood Flooring?
Removing hardwood flooring is a fairly easy process that can be done with a few simple tools. However, there are some times when it’s best to reclaim and reuse the flooring instead of removing it.
If your floors are in good condition and you don’t have any damage or scratches, then it’s probably best to leave the flooring in place and simply refinish it. This will give your home a new look without having to spend too much money on new flooring.
However, if your floors are in bad condition or if they have a lot of scratches, then it’s probably best to remove them and start over with new flooring.
In this case, you can reuse the old hardwood flooring by taking it to a local woodshop. They can cut it down to size and reattach it to new boards.
Related Topic: How To Remove Haze From Engineered Hardwood Floors? (Guide)
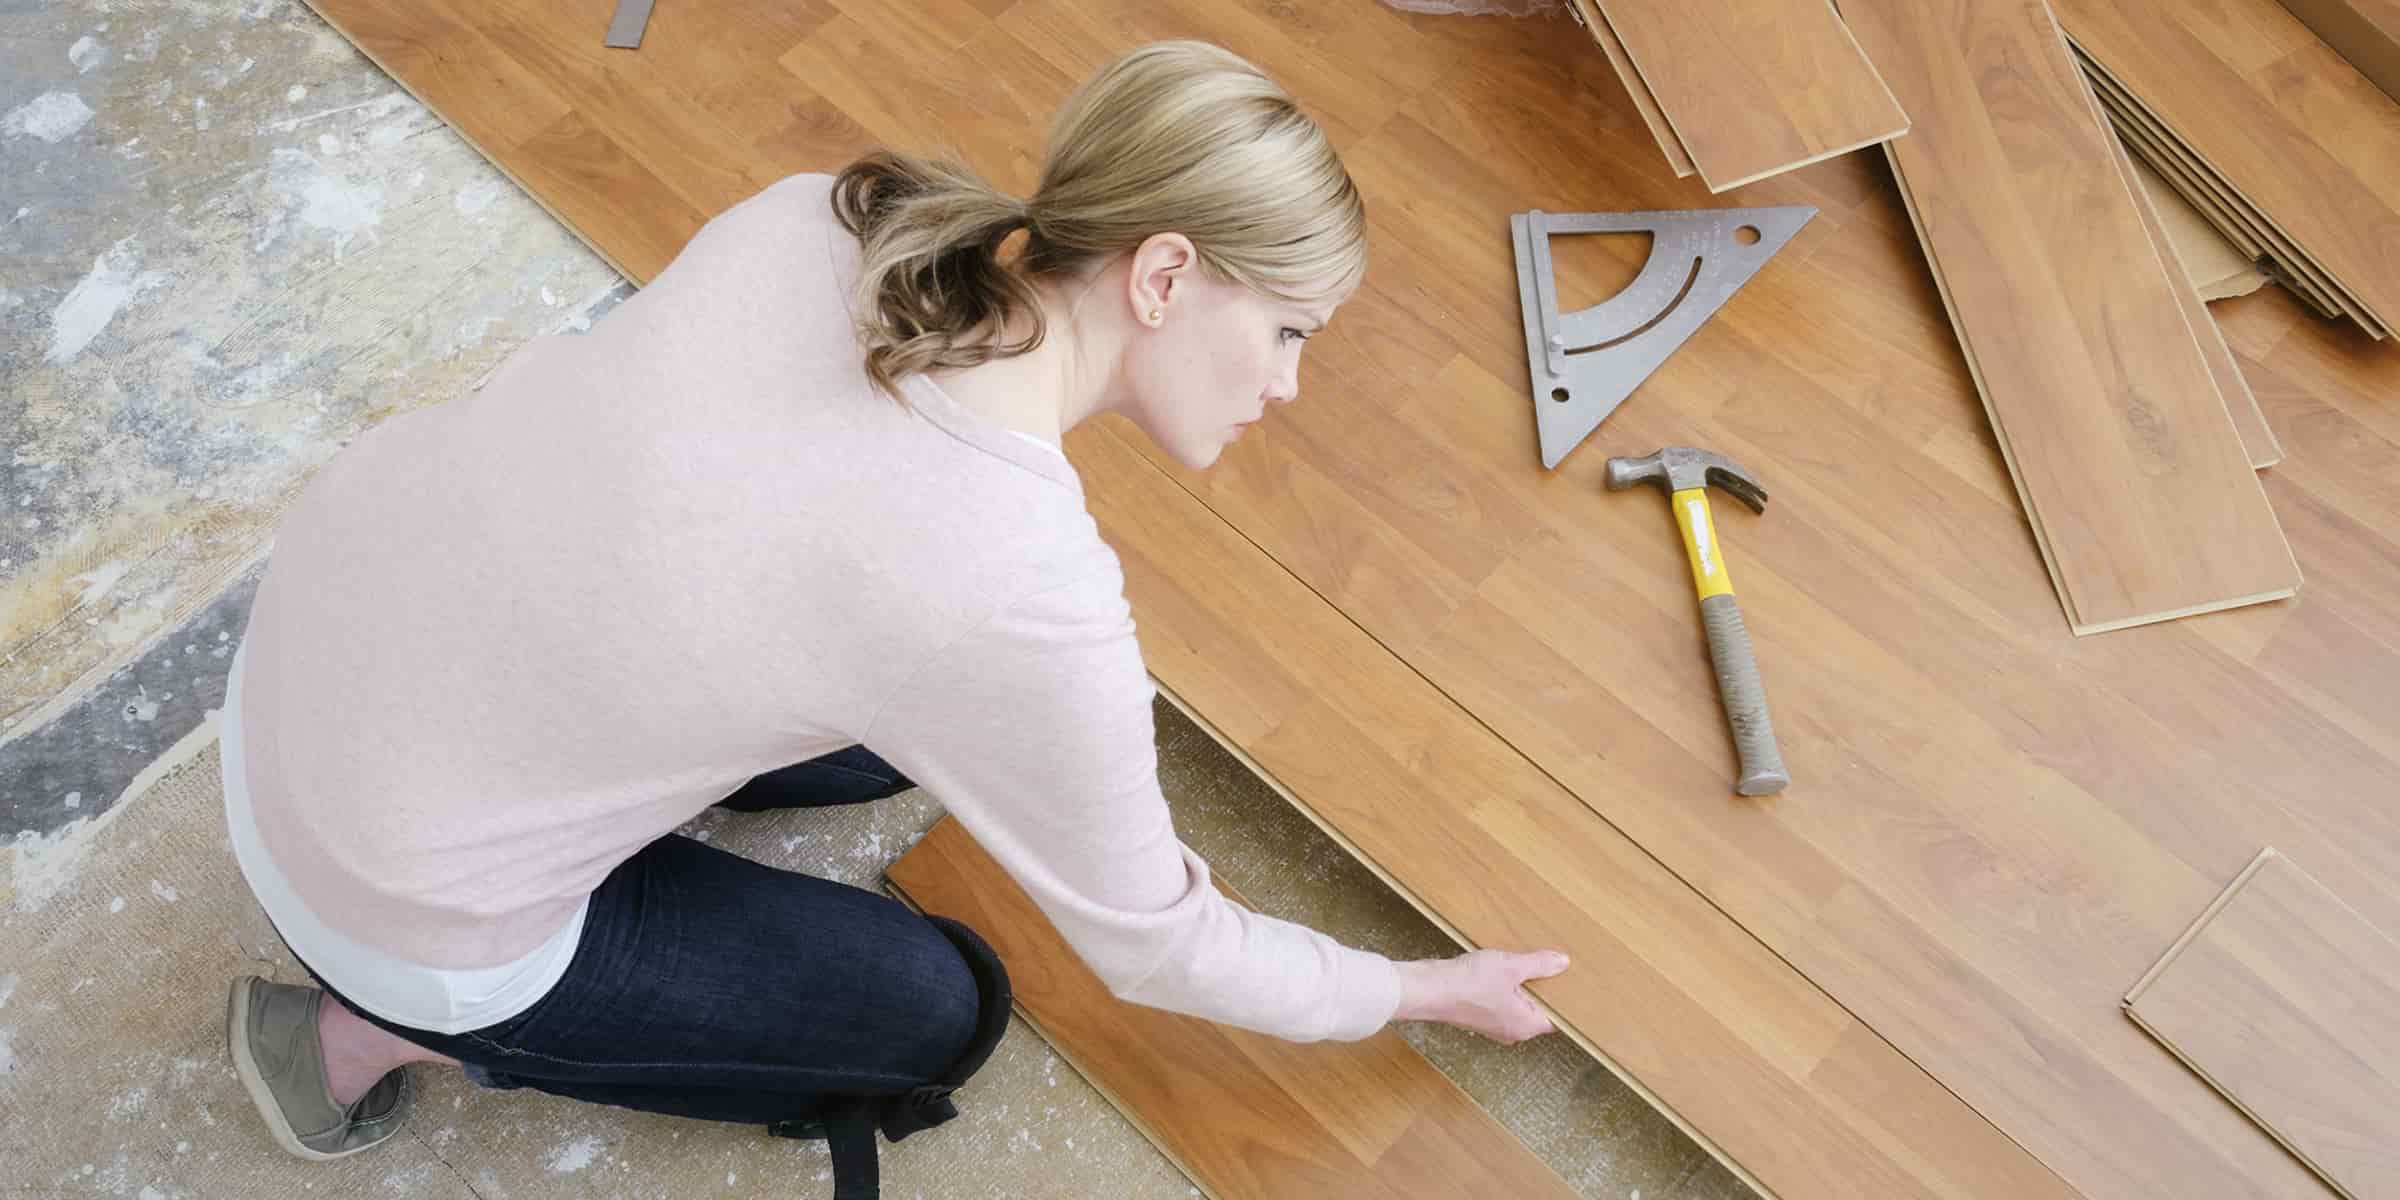
How to Remove Hardwood Flooring For Reuse
Step 1: Preparation
Emerging prepared is key to the successful removal and preservation of your hardwood flooring. Here’s a closer look at why each tool is essential:
Pry Bars: These will help you gently lift the flooring without causing unnecessary damage.
Mallet: This tool helps to apply controlled force when prying the boards.
Vacuum: A vacuum is used to clear away dust and debris, providing you with a clean working space to avoid scratches or other damage.
Safety Goggles and Gloves: These provide protection against possible splinters or flying debris during the removal process.
Step 2: Identify the Direction of Nailing
To identify the direction of nailing, you need to look for the ‘tongue and groove’ of your hardwood planks. This is the interlocking system that holds your flooring together.
The ‘tongue’ is a protruding edge, and the ‘groove’ is an indented edge. Planks are typically nailed through the ‘tongue’ side so that the nails are hidden once the next plank is installed.
If your planks run parallel to a wall, they are likely nailed down from the wall towards the center of the room. If they run perpendicular, the direction of nailing may vary, and careful observation will be required.
Once you’ve identified the direction of nailing, you’ll know which side of the plank to start prying from. Always start from the ‘groove’ side of the plank to avoid damaging the ‘tongue’ of the adjacent plank and to keep the nails intact for easier removal later on.
Step 3: Start at the Wall
Beginning at the wall provides the easiest access to the edge of the flooring. It’s critical to practice patience during this process to avoid damaging the underlying subfloor. Place the pry bar at the edge of the plank and tap it gently with the mallet.
Apply pressure slowly to lift the plank up, being careful not to force it. Once the plank begins to lift, use your hands to continue the process, pulling the plank gently towards you.
The nails should come out with the plank. If they don’t, remove them carefully with pliers to avoid injury. Remember to wear gloves and protective eyewear at all times to ensure your safety during this process.
Step 4: Carefully Extract Nails
Extracting nails carefully is crucial not only to the preservation of the wood but also to your personal safety. As you’re pulling nails from the planks, ensure you have a firm grip on your tool of choice – be it a pry bar or pliers.
Apply steady, controlled pressure to avoid any sudden jerks that could cause injury. If a nail is particularly stubborn, resist the temptation to yank it out forcefully. Instead, wiggle it gently from side to side until it loosens enough to be pulled out.
Dispose of the extracted nails immediately into a designated container to avoid any potential mishaps from loose nails scattered around your workspace. Always maintain a clean working area to reduce risks associated with this type of task.
Step 5: Clean and Stack
Cleaning the planks thoroughly before stacking them is an essential step in preserving the quality of the wood. Make sure to remove any dust or debris from the surface. If there are stubborn stains, consider using a gentle wood cleaner – but test it on a small, unnoticeable area first to ensure it won’t damage or discolor the wood.
As for stacking, it’s vital to do so in a way that promotes air circulation. Don’t just pile the planks haphazardly. Instead, stack them flat and ensure each plank is aligned with the one below it. If possible, stack them on a slightly elevated surface to keep them off the ground and reduce the risk of moisture absorption.
Additionally, remember to keep the stacked planks away from sources of heat or extreme cold. Temperature fluctuations can cause the wood to warp or crack. By taking these precautions, you’ll be ensuring the longevity and usability of your reclaimed wood for future projects.
Tips to Remove and Reuse Hardwood Floor
There are a few things you need to take into account before you reuse your old hardwood floors.
First, you need to make sure that the floors are in good condition and that there are no major cracks or chips. If there is any major damage, it might be better to just replace the floors altogether.
Secondly, you need to make sure that the subfloor is also in good condition. If the subfloor is damaged, it could cause problems later on when you reattach the hardwood floors.
If everything checks out and you decide to reuse your old hardwood floors, there are a few things you need to do:
- Remove all of the old nails or screws that were used to attach the flooring.
- Sand down any rough patches or areas where the flooring has been damaged.
- Apply a new coat of sealant or polyurethane to protect the floors from moisture and scratches.
Advantages of Reuse a Hardwood Flooring
There are many benefits to reusing hardwood floors. For starters, it’s a great way to save money. You can avoid the cost of buying new flooring, and you won’t have to spend time and money installing it.
Reusing hardwood floors is also eco-friendly. It reduces the amount of waste that ends up in landfills, and it saves energy and resources that would otherwise be used to produce new flooring.
Reusing hardwood floors also has aesthetic benefits. It can give your home a new look without having to spend a lot of money.
And if you choose to reuse your old hardwood floors in a different part of your home, it can create a sense of continuity and cohesion.
Reusing hardwood floors is a great way to preserve history. By keeping old floors alive, you’re keeping the memories and stories associated with them alive as well.
Related Topic: Do Dog Nails Scratch Wood Floors? (Guide)
In a Nutshell
So, there you have it. You can remove hardwood flooring and reuse it if done properly. Of course, we would be remiss not to mention that any of this depends on your specific situation and the condition of the wood flooring in question.
If you’re unsure about anything, please don’t hesitate to reach out for help.
Have you ever reclaimed or reused hardwood flooring before? Let us know in the comments below!
FAQs
How do you remove hardwood floors that are glued down?
By cutting the wood floor boards into small and manageable pieces you can easily remove the hardwood flooring without getting damaged. After that, you can reuse them as well.
Hardwood floor removal cost?
The average cost to remove a hardwood floor is $3.5 to $4 per square foot. However, if you do it as a DIY project then you save the labor cost and it will save a lot of money.
Thank you for your sharing. I am worried that I lack creative ideas. It is your article that makes me full of hope. Thank you. But, I have a question, can you help me?
This is one awesome article post.Much thanks again. Really Great.
Appreciate you sharing, great post.Much thanks again. Cool.