Over time, paint can start to peel, chip, or flake off of tile flooring in your home. Fortunately, removing paint from tile is a fairly simple process all you need are the right tools and a little time. To help get the job done quickly and without any fuss, here’s what you’ll need to know about getting paint off tile floors and the tools you’ll need to do it.
Overview of the Problem
When painting rooms, it’s not uncommon for drops of paint to land and dry on tile flooring. These spots can detract from the beauty of the tile and become a real irritation. Over time, the problem can worsen if the paint begins to peel or chip, leaving an unsightly mess on your once-pristine floor.
Paint splatters or spills can also occur during renovation projects or arts and crafts activities. This issue isn’t just confined to domestic settings – commercial spaces with tiled areas may also face this challenge.
Despite being a common issue, it’s essential to understand the right and wrong ways of dealing with paint on tile flooring to avoid causing more harm than good.
Preparation Steps
1. Protective Measures for Surrounding Areas
Before you begin the process of removing paint from your tiles, it’s crucial to take protective measures to ensure the surrounding areas are not damaged.
This means covering adjacent carpeting, furniture, and walls with drop cloths or plastic sheeting to prevent accidental staining or damage. It’s also advisable to use painter’s tape around the edges of the tile area to protect the grout from any potential harm.
Furthermore, ensure adequate ventilation in the room by opening windows or doors, and consider wearing protective gear – such as gloves and safety goggles – to protect yourself from the products used in the paint removal process.
2. Gathering Necessary Materials
To effectively and safely remove paint from tile flooring, you will need to gather some essential materials. These include a paint scraper or a plastic putty knife for scraping off dried paint.
Choose a plastic tool over a metal one to avoid scratching the tile surface. For stubborn paint spots, a commercial paint stripper can be beneficial. Make sure to select a product that is safe for tile surfaces.
A sponge or soft cloth will be needed for wiping away loosened paint and cleaning the area after the process. Additionally, you may require rubber gloves to protect your hands from the paint stripper and safety goggles to shield your eyes.
Lastly, you’ll need a bucket of warm soapy water for a final clean-up. Having all these materials at hand before starting will streamline the paint removal process and make it more efficient.
Method One: Warm Water and Dish Soap

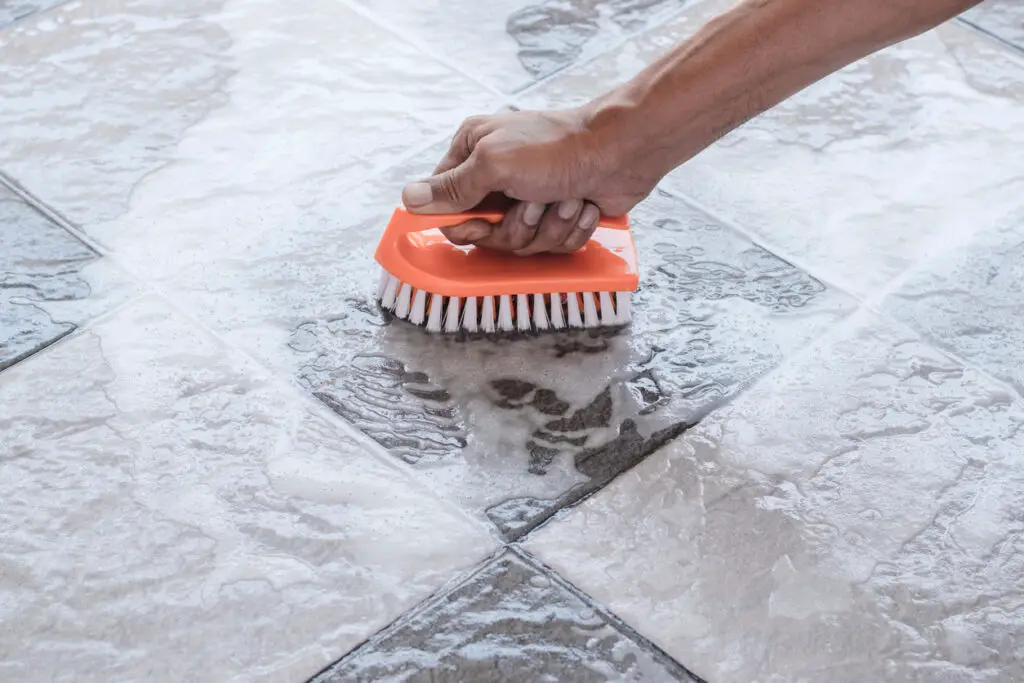
Prepare the solution: Mix a generous amount of dish soap into a bucket of warm water. The heat from the water will help in loosening the paint.
Application: Dip a soft cloth or sponge into the soapy water and apply it directly to the painted tile. Allow the solution to soak on the surface for about 10-15 minutes.
Scrape the paint: After allowing the solution to soak, try to gently scrape the paint off using a plastic putty knife or paint scraper. Remember to always scrape in one direction to avoid damaging the tile.
Repeat if necessary: If the paint is stubborn or the area is large, you may need to repeat steps 2 and 3 several times.
Final Cleaning: Once all the paint is removed, rinse the area with clean warm water using a clean sponge or cloth. This will remove any remaining soap residue and loosened paint particles.
Dry the area: Pat the area dry with a towel to prevent any water stains on your tile.
Precautions: Always test this method on a small, inconspicuous area first to ensure it doesn’t damage your tile. Be gentle while scraping to prevent scratching the tile surface. If the paint isn’t coming off, don’t force it consider using a commercial paint stripper instead.
Always wear protective gloves and safety goggles while handling the dish soap solution to prevent possible skin and eye irritation.
Method Two: Using a Razor Blade

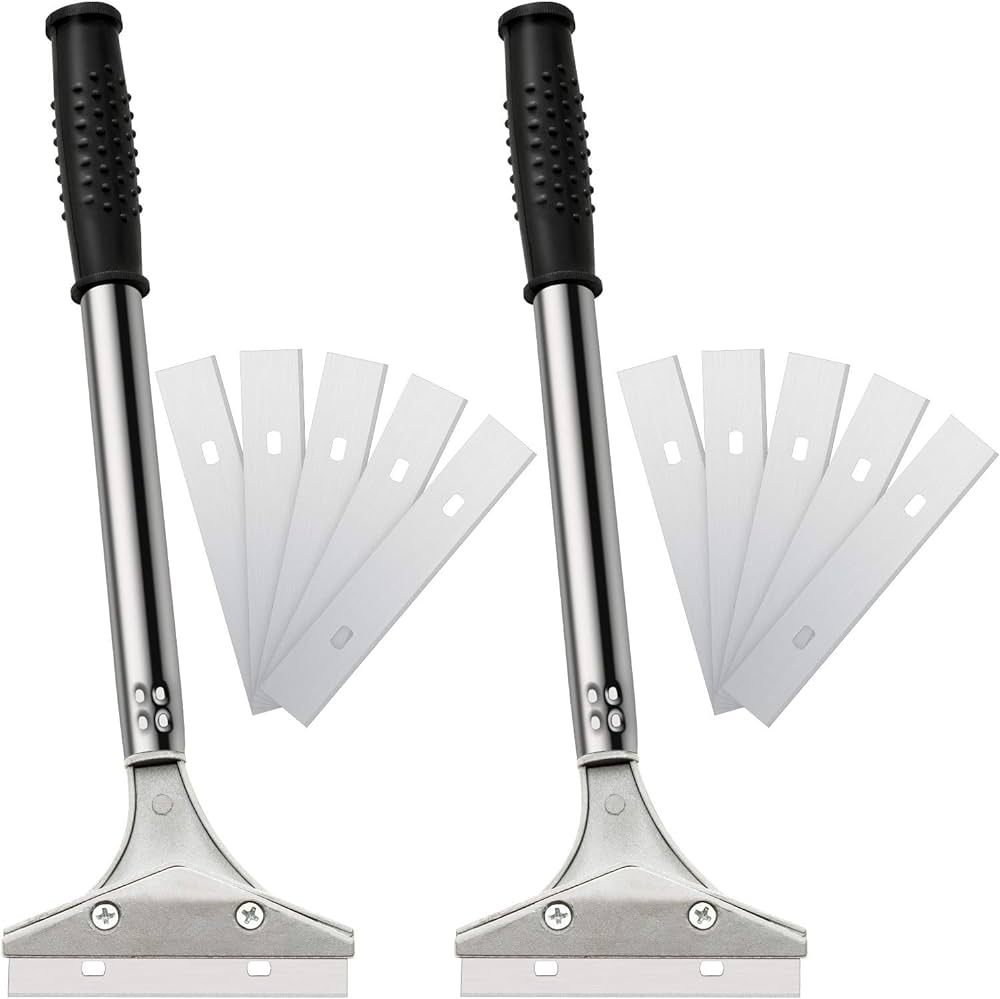
Safety First: Prior to starting, ensure you’re wearing protective gloves and safety goggles. This will minimize the risk of accidents, as razor blades can easily cause injuries.
Prepare the Blade: Hold the razor blade at a 45-degree angle to the tile surface. This angle will provide you with enough leverage to scrape off the paint without damaging the tile.
Gently Scrape: Starting from an edge of the paint splatter, gently scrape the paint using the razor blade. Keep the motion consistent and avoid using excessive force to prevent scratches on the tile.
Reposition When Necessary: If the razor blade gets stuck or the paint is thick, reposition the blade and try again. Do not force the blade through the paint.
Clean the Area: Once you’re done scraping the paint, wipe down the area with a damp cloth to remove paint debris.
Repeat if Necessary: If all the paint has not been removed, repeat steps 2 to 5 as necessary.
Final Cleaning: After all the paint is removed, mop the floor with a mild floor cleaner and warm water to remove any remaining paint particles, and then dry the area using a towel to prevent water stains.
Precautions: Always use a new, sharp razor blade as dull blades can scratch the tile surface. Never scrape against the edge of the tile as it can chip. Keep children and pets away from the working area. If the paint still doesn’t come off, consider seeking professional help.
Method Three: Commercial Paint Remover
When it comes to commercial paint removers, it’s essential to choose a product specifically designed for your type of tile.
For instance, ceramic tiles are resilient and can withstand powerful cleaners while natural stone tiles require gentle, pH-neutral products to avoid damage. Always spot-test a small, hidden area first before applying the remover to the entire surface.
Some of the top-rated removers include “Goof Off FG653 Professional Strength Remover” and “Citristrip QCSG801 Paint & Varnish Stripping Gel”, known for their efficacy and safety on various surfaces. Remember, even when using commercial removers, protective equipment such as gloves and goggles is a must to prevent skin and eye irritation.
After applying the remover, follow the manufacturer’s instructions precisely, and make sure to thoroughly rinse and dry the area to prevent any residue or water stains.
Detailed Steps for Using Commercial Paint Remover
Protective Measures: Before starting the process, put on your protective gloves and goggles to safeguard your skin and eyes from possible irritation caused by the paint remover.
Spot-Test: Choose a small, inconspicuous area on your tile floor to conduct a spot test. Apply a small amount of the commercial paint remover and let it sit for the recommended period as per the manufacturer’s instructions. This step is crucial to ensure the product won’t damage your tiles.
Application: If the spot test is successful, apply the paint remover to the painted area. Make sure to follow the application instructions provided by the manufacturer, as some products may require a specific method of application.
Wait: Allow the paint remover to sit on the paint for the recommended amount of time specified by the manufacturer. This will ensure the maximum effectiveness of the product.
Removal: After the designated time, use a plastic scraper or cloth to gently remove the loosened paint. Be careful not to scrape too hard to avoid scratching your tile.
Rinse and Dry: Once the paint is removed, rinse the area thoroughly with warm water to eliminate any residue from the paint remover. Dry the area using a clean, dry towel to prevent water stains.
Repeat If Necessary: If any paint remains, repeat the process from step 2. Always remember to proceed with patience and care to avoid damaging your tile flooring.
Related Topics:
Post-Cleaning Procedures
1. Ensuring Complete Paint Removal
After you’ve completed the process, it’s important to verify that all paint traces have been entirely removed. Inspect the treated area meticulously, checking for any leftover paint or residue. Utilize a magnifying glass if necessary, as some paint remnants may be small or blend in with the tile’s color or pattern.
If there is still paint present, it’s essential to repeat the cleaning process. Remember, patience is key: some paint stains may require multiple treatments for complete removal. If the stubborn paint persists, consider seeking professional help.
A professional cleaner will have specialized tools and skills to safely and effectively remove the paint without damaging your tile flooring. Always remember, the goal is not only to remove the paint but to ensure your tiles remain in pristine condition after the cleaning process.
2. Cleaning and Caring for the Tile Post-Paint Removal
Once you’ve successfully removed the paint from your tile flooring, it’s important to implement a proper cleaning and care routine to maintain its shiny and pristine condition. Begin by sweeping or vacuuming the area to remove any loose dirt or debris.
Following this, clean the area using a mild detergent mixed with warm water. Avoid using harsh or abrasive cleaners as they can damage the tile’s surface. Rinse thoroughly with clean water and dry using a soft, absorbent towel to prevent water spots or streaks from forming.
Regular cleaning helps prevent dirt and grime build-up, preserving the aesthetic appeal of your tiles.
In addition to cleaning, protect your tile flooring from potential damage by using furniture pads under heavy furniture and maintaining a no-shoes policy, particularly with high-heeled or hard-soled shoes that could create scratches.
Remember, proper and regular tile maintenance not only preserves the tile’s appearance but also extends its lifespan, allowing your flooring to look its best for years to come.
Preventing Future Paint Spills
Preventing future paint spills is an essential step in maintaining the cleanliness and longevity of your tile flooring. Before embarking on any painting project, ensure you protect your floor by covering it with a drop cloth, plastic sheet, or old newspaper.
These materials will protect your tiles from any accidental spills or splatters.
When painting, use smaller containers or paint trays which are easier to manage and less likely to knock over. Always wipe the paintbrush excess off on the edge of the paint can or tray before moving, to avoid dripping.
Additionally, consider using painter’s tape around the edges of the area you are painting to protect tiles from inadvertent brush strokes.
Finally, make sure to clean up any spills immediately, as fresh paint is easier to remove than dried paint. This can be done using a damp cloth or sponge.
Practicing these preventive measures will help keep your tile floors paint-free, saving you a lot of time and effort in post-paint cleaning.
Related Topic: How to Install Engineered Hardwood Click Flooring: Step-by-Step Guide
Conclusion
In conclusion, managing paint on tile flooring is a multi-step process that calls for proactive prevention and effective cleaning techniques. The use of simple materials such as a drop cloth, plastic sheet, or old newspaper can save your tiles from accidental paint spills during painting projects.
Smaller paint containers and painter’s tape further safeguard your tiles from inadvertent spills and brush strokes. Should a spill occur, immediate cleanup is crucial, with fresh paint being considerably easier to remove than dried paint.
Remember, preserving the aesthetic appeal and longevity of your tiles demands regular maintenance and quick action in the face of spills. Although it might require some effort, the result is a clean, vibrant tile floor that enhances your living space for years to come.


1 thought on “How to Get Paint Off Tile Flooring: Quick & Easy Solutions”